AI Summary
Would you like to approve a user after receiving a complete PayPal payment? Using a custom PHP snippet, you can modify your registration form to automatically approve users based on payment status.
With the User Registration addon, you have the ability to let users register for your site with either automatic or manual approval. But if you were creating a membership site and didn’t want a user approved until after their successful PayPal payment has been processed, you’ll need a small code snippet for that.
In this guide, we’ll share the custom snippet to help you achieve this functionality in WordPress.
Creating Your Form
First, you’ll need to create your user registration form. If you need any assistance with this, please review this documentation.
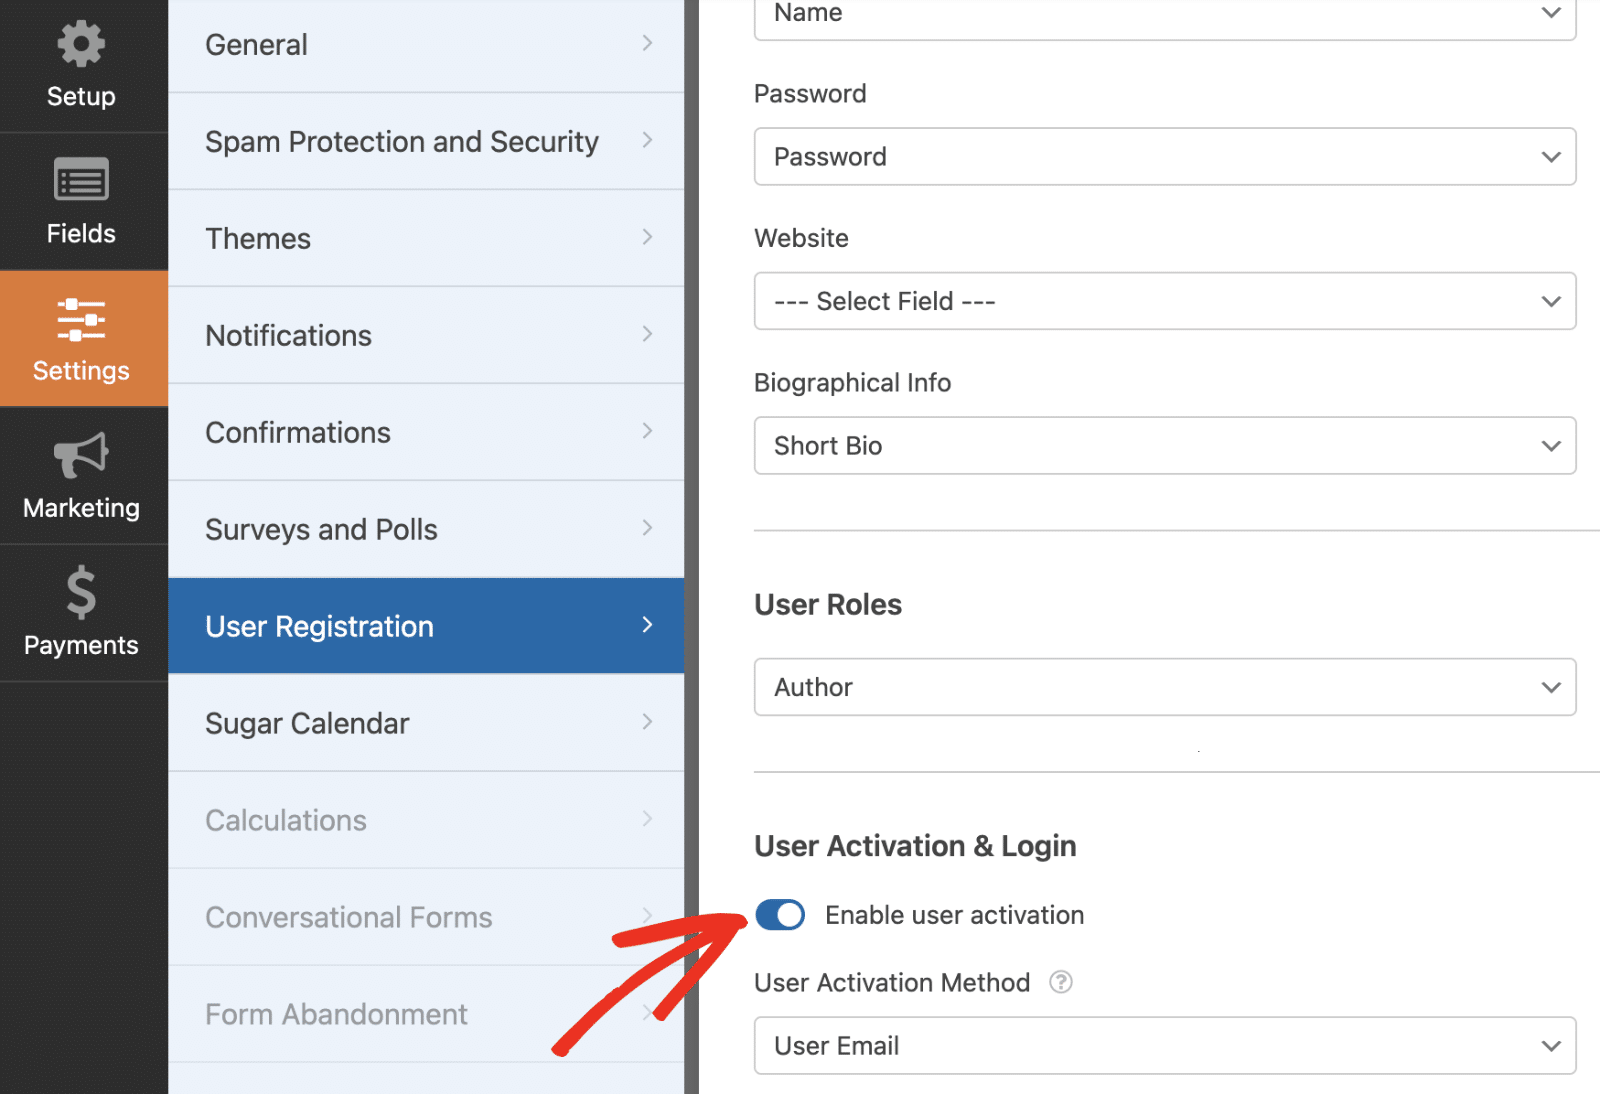
Once you’ve created the form, go to Settings » User Registration from the form builder. Once here, toggle the Enable user activation option to the on position.

Next, you’ll need to set the User Activation Method option to Manual Approval.

Enabling PayPal to Collect Your Membership Fee
Next, you’ll need to add a Payment field to your form to specify what amount you want to receive to activate the membership.
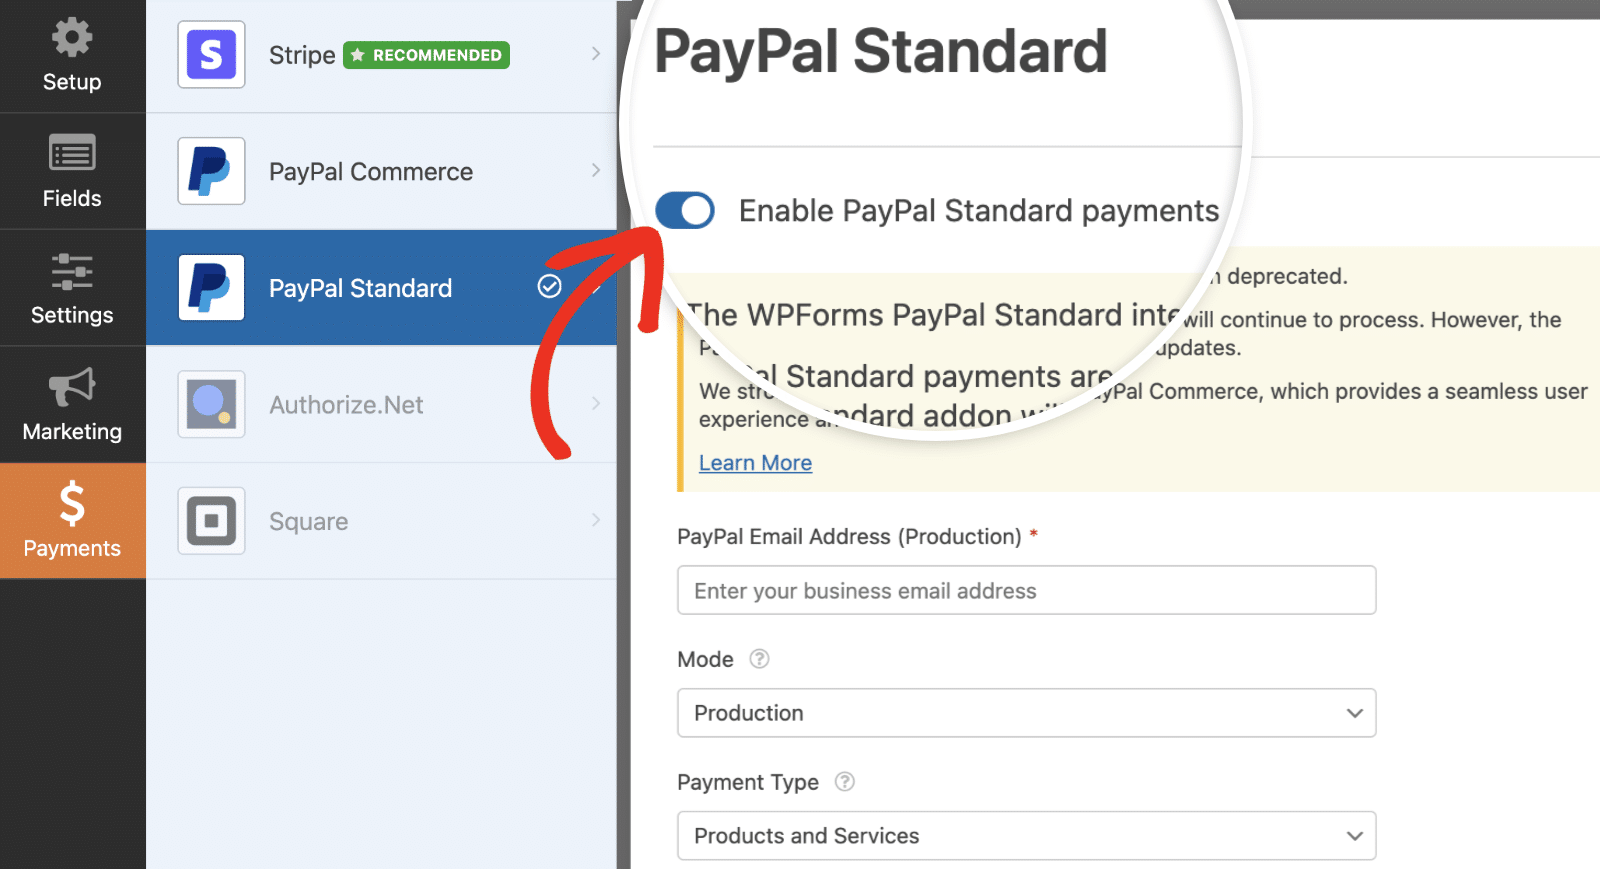
Once you’ve added the field, go to Payments » PayPal Standard in the form builder and toggle on the Enable PayPal Standard payments option.

After that, additional settings will appear for you to configure your PayPal payment settings. If you need further assistance with setting up PayPal payments, please see this documentation.
Setting Up the PayPal IPN
For the purpose of this tutorial, we’re going to enable Instant Payment Notification (IPN) with PayPal to ensure that when PayPal returns the status of the payment a message will be sent to your site and the snippet will be triggered.
To learn more about Instant Payment Notifications, please take a look at PayPal’s documentation on the IPN.
Approving Users after Completing the Payment
Now, it’s time to add the snippet to pull this all together. If you need any help in adding snippets to your site, please see this tutorial.
The snippet above will only run on the form ID 5. If you would like to run this snippet on all user registration forms, simply remove or comment out that block of the snippet.
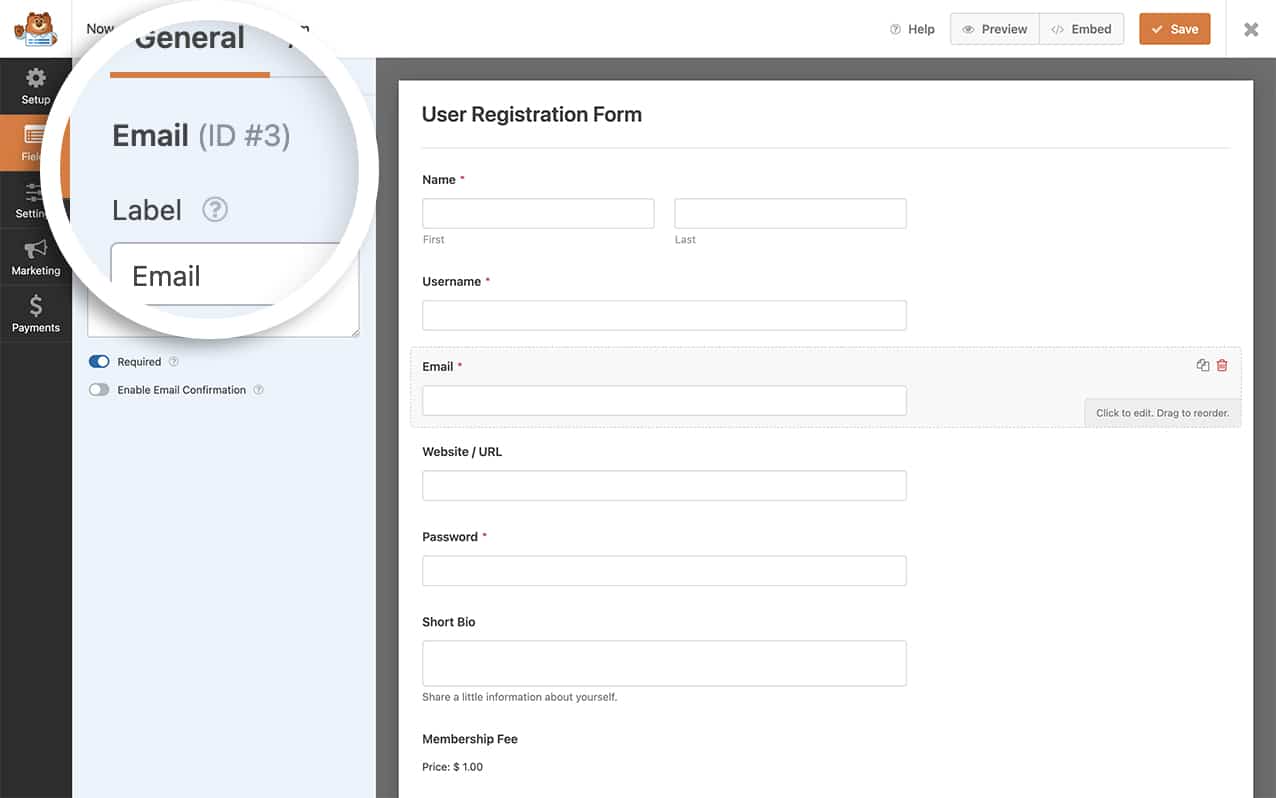
The only other ID you’ll need to know is that of the Email field. In this tutorial, the field ID for our Email form field is 3.

Note: If you need help in finding your field or form ID, please see this tutorial.
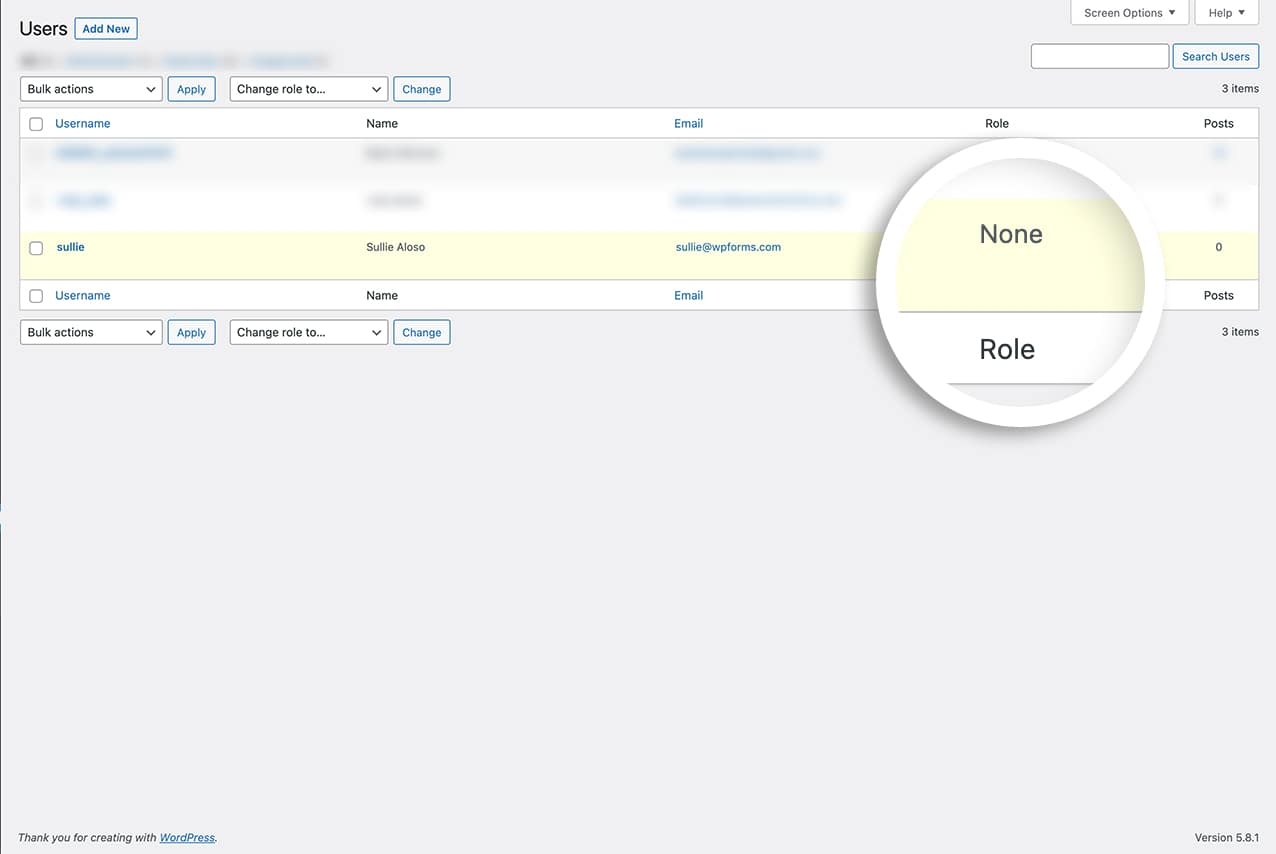
When a user submits a form, if the payment status returns anything other than Completed, the user will remain Unapproved.

That’s it! You’ve now learned how to assign user role in WordPress based on payment status using WPForms.
Next, would you like to exclude failed PayPal payments from your Form Locker settings? Be sure to see our tutorial on excluding failed payments from PayPal in Form Locker settings.
