Are you using Google AMP on your site to speed up mobile page loading times? You can set up AMP, or Accelerated Mobile Pages, to help your site load faster on mobile devices. However, it can also prevent some functionality on your site from working properly.
This tutorial will show you how you can use WPForms with AMP on your WordPress site.
Requirements: Google AMP compatibility is only available for WPForms Lite. Additionally, your site must have an SSL certificate installed and load over HTTPS for WPForms to work with Google AMP. If you’re not sure how to migrate to HTTPS, please see WPBeginner’s tutorial on this process.
What Is Google AMP?
Google AMP, or Accelerated Mobile Pages, is an open-source initiative with the goal of making web content load faster for mobile users.
However, to achieve these loading speed improvements, AMP prevents many resources from loading. As a result, some functionality will not work as expected on AMP pages.
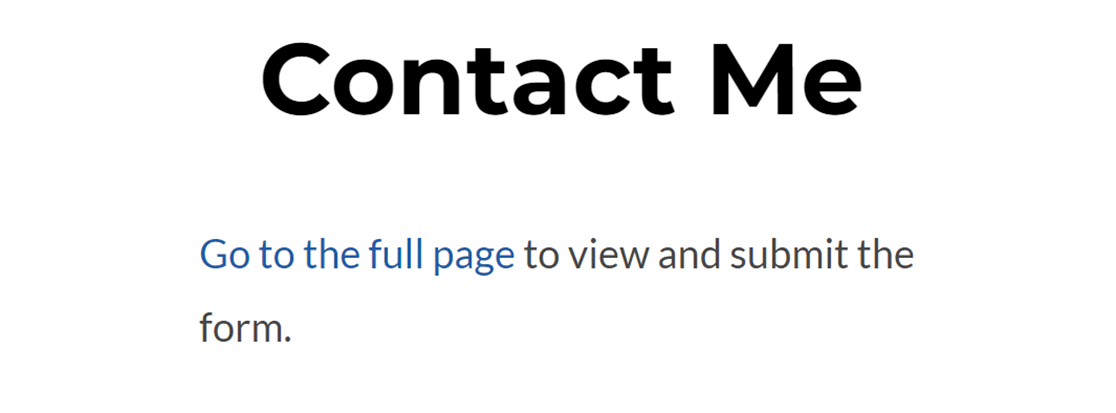
For example, by default, WPForms will automatically detect if your forms are being loaded on an AMP page. If an AMP page is detected, the user will see a link to load the full (non-AMP) version of the page.

This is why WPForms includes special compatibility specifically for Google AMP.
Adding AMP Compatibility to WPForms
Note: The Number Slider field and Modern Style Dropdown field are not supported when using AMP. We recommend using the Classic Style Dropdown and Numbers fields instead if you want to enable AMP for your WordPress site.
To get started, you’ll need to install and activate the official Google AMP plugin for WordPress. For details on how to install a plugin, please see WPBeginner’s guide.
You can use the Google AMP plugin’s setup wizard to configure the necessary settings. For details, see WPBeginner’s full tutorial on using AMP with WordPress.
No extra setup is needed to integrate your forms with the AMP plugin, and compatibility will automatically be added to all of your embedded forms.
Using reCAPTCHA with WPForms and AMP
To use reCAPTCHA in WPForms with AMP, you must use reCAPTCHA v3. This is the only version of reCAPTCHA that is supported by AMP.
For a step-by-step guide to enabling this feature, please see our tutorial on setting up reCAPTCHA in WPForms.
If you’re currently using v2 reCAPTCHA in your forms, you’ll need to repeat the setup process (including creating new keys) to switch to v3 reCAPTCHA.
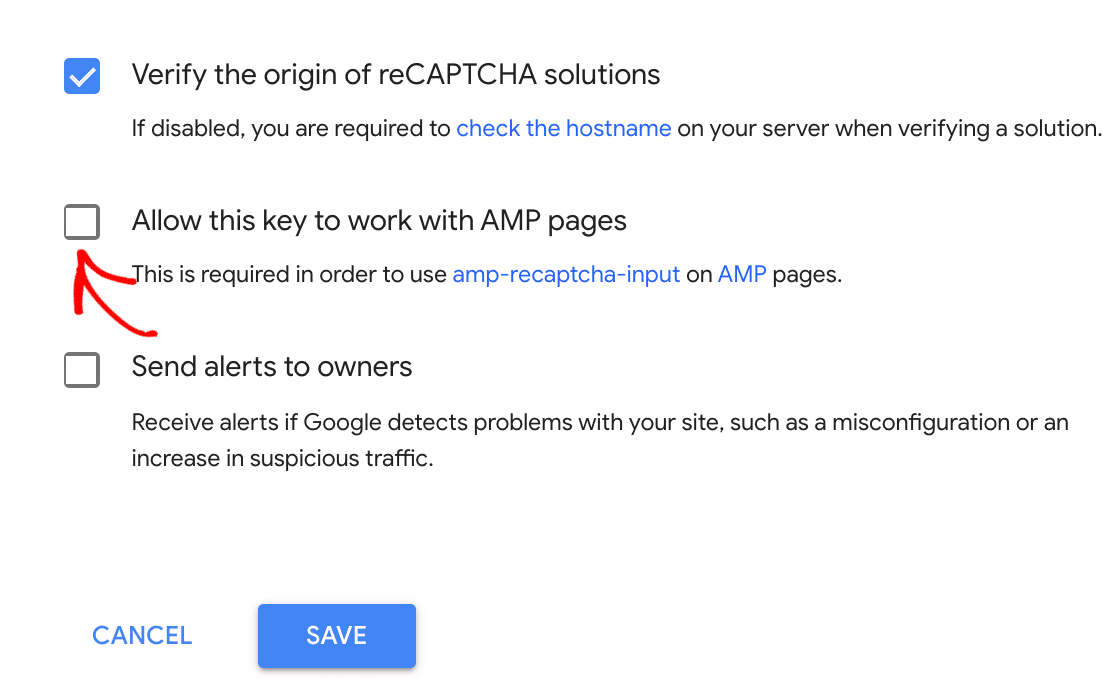
If you want reCAPTCHA to work on your AMP pages, you’ll need to enable this in your reCAPTCHA settings.
To do so, go to your reCAPTCHA admin dashboard and click on the gear icon for the v3 reCAPTCHA you added to WPForms.

Then scroll down to the bottom of the settings page and select the checkbox next to Allow this key to work with AMP pages.

Note: The CAPTCHA settings default to invisible reCAPTCHA on AMP pages. This means users won’t see a reCAPTCHA badge on forms embedded on AMP pages.
Remember to save your settings. Then the reCAPTCHA badge should be visible on your AMP pages.
Lastly, be sure to test your forms with AMP so that you can be sure they look and work exactly as you’d like.
That’s it! You can now make sure your site’s mobile users can still see and fill out your forms with Google AMP.
Next, would you like to learn how you can collect form submissions even when no internet is available? Be sure to check out our tutorial on the Offline Mode addon to find out more.
