AI Summary
Would you like to incorporate some custom HTML into your forms? The HTML field in WPForms lets you do so. This can be useful for adding text, links, and other elements to your forms.
This tutorial will show you all the options available for the HTML field in WPForms, as well as some use cases for it.
In This Article

Before you go any further, make sure WPForms is installed and activated on your WordPress site and that you’ve verified your license. Then you can create a new form or edit an existing one to access the form builder.
Adding an HTML Field to Your Form
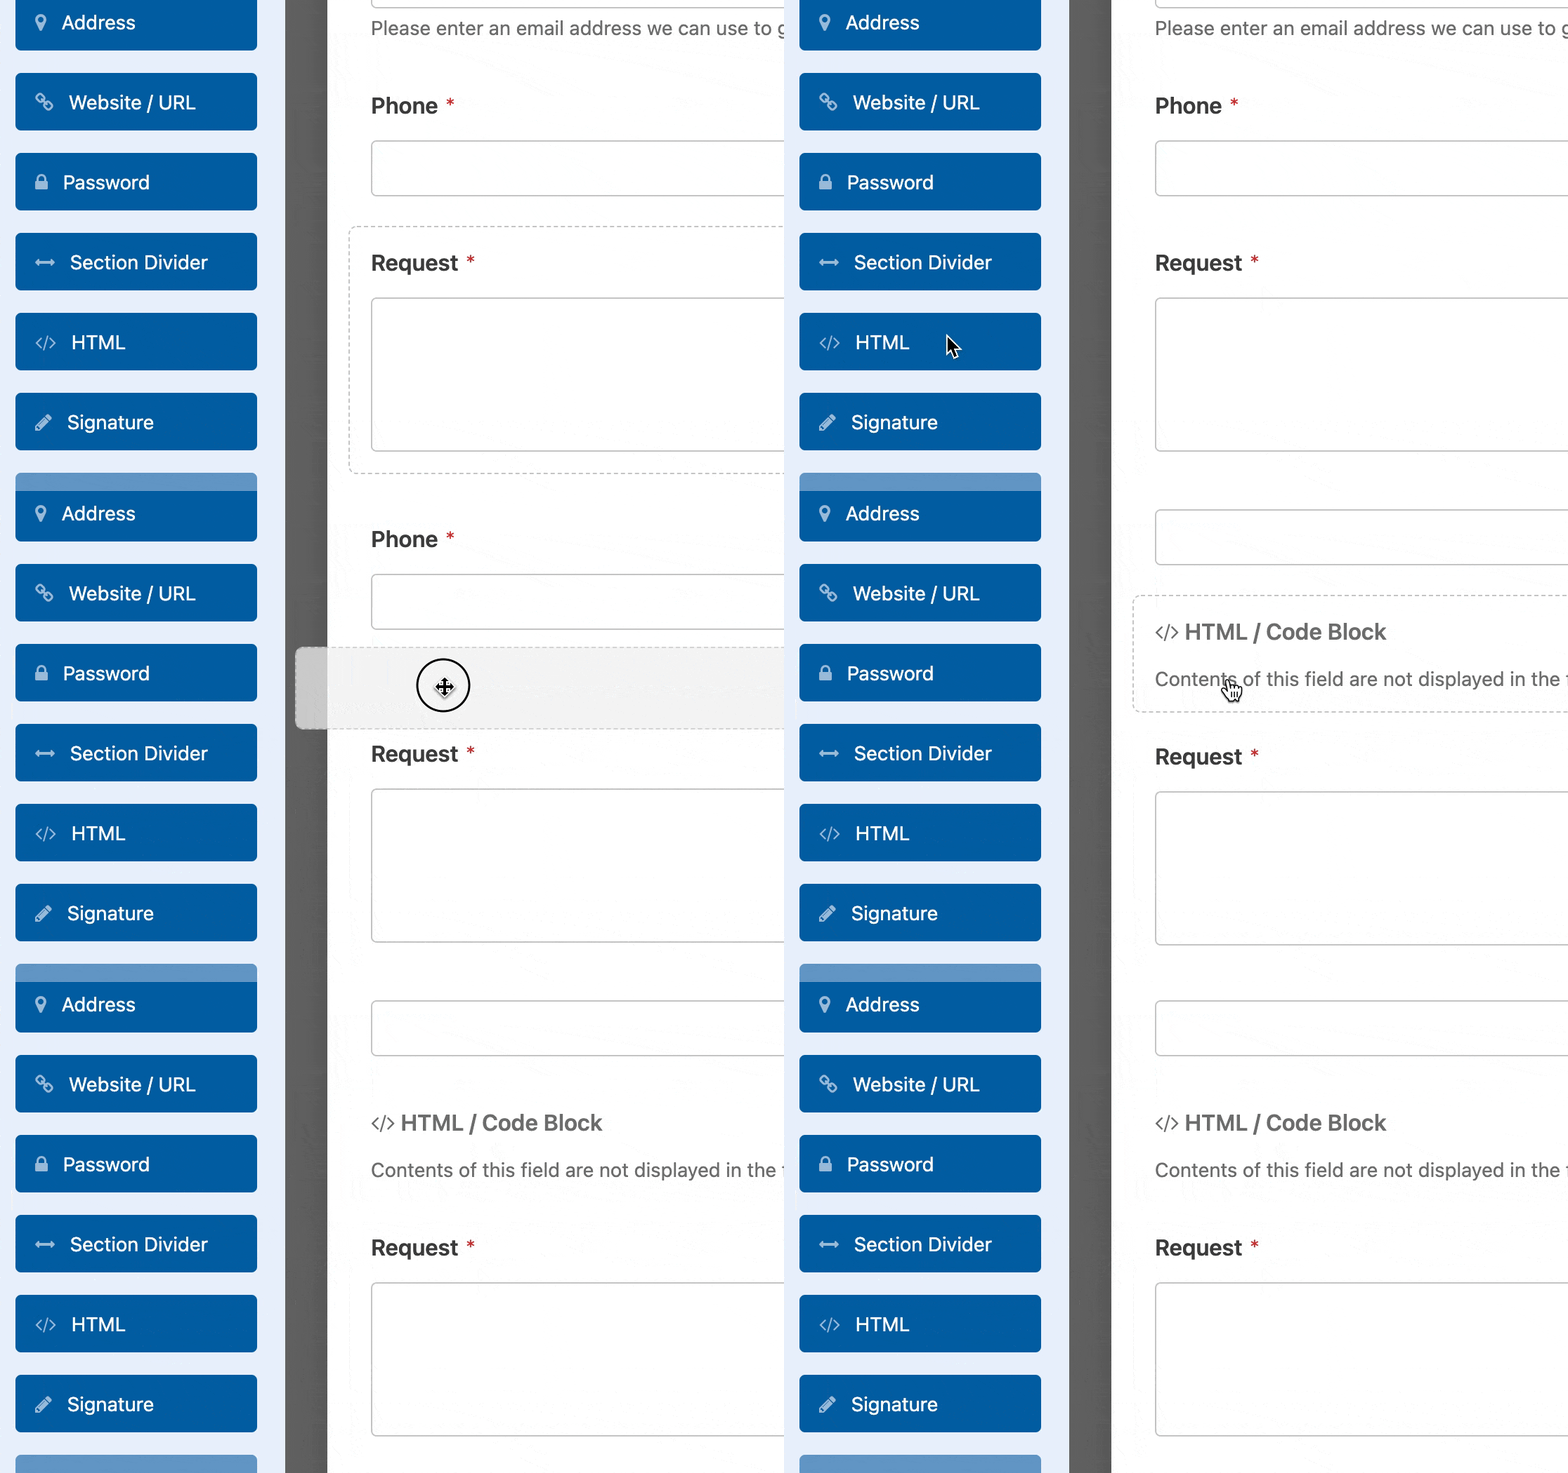
Since the HTML field is an advanced feature, you’ll find it under Fancy Fields in the form builder.

To add it to your form, click on it or drag and drop it into the preview area.
Apart from adding your HTML, the only field option you need to configure is the label. You can enter whatever text you like in the field provided.
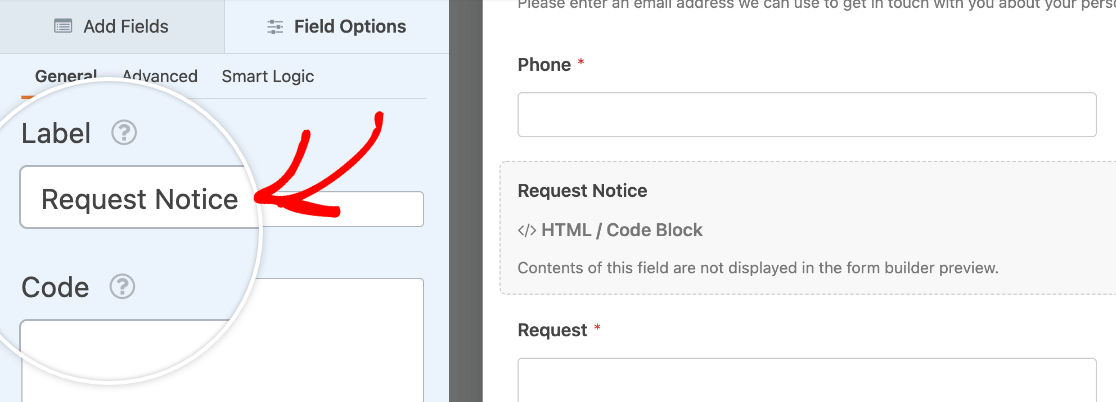
Unlike other fields, the HTML field label is only visible in the form builder to help you identify it in the preview area. Users will not see it on the frontend, and the field will not be included in your form’s entries.
Note: If you’ve set up notification emails on your form, content from the HTML field won’t be included in notification emails.
Using the HTML Field
The basics of using the HTML field are quite straightforward. Just enter your text or HTML in the field provided in the Field Options panel.
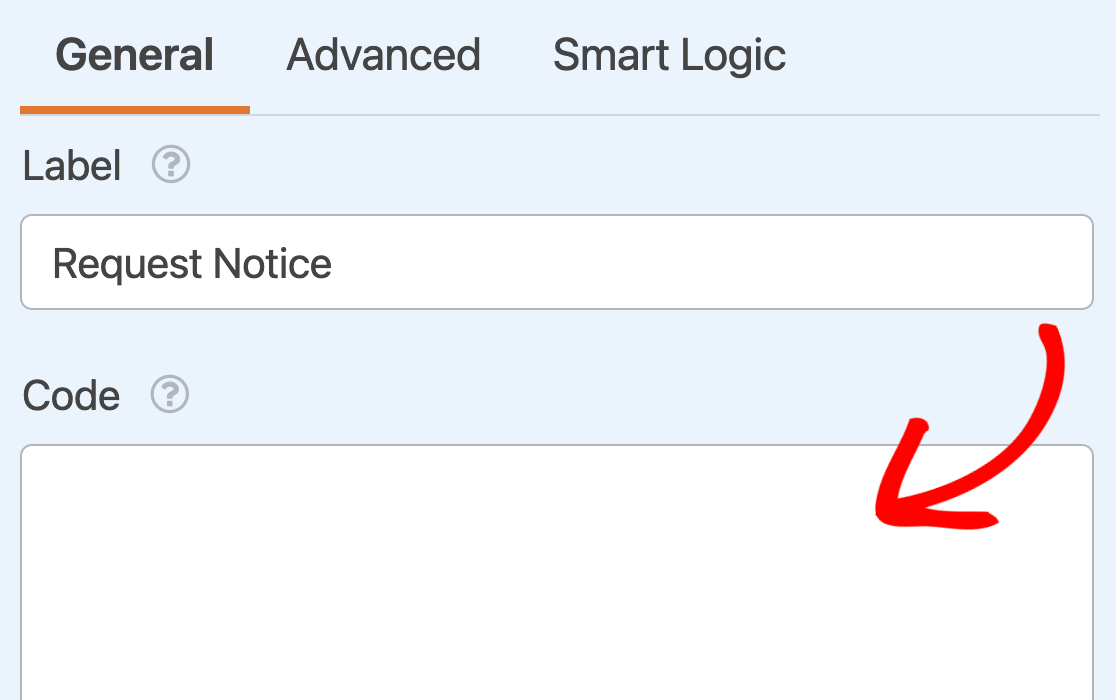
However, there are many different use cases for this field. It’s highly flexible, and you can adapt it to many different situations.
Below, we’ve covered some of the most popular use cases in more detail.
Note: Want to add shortcodes to your form’s HTML fields? Check out our developer documentation for a complete tutorial on how to do so.
Adding Stylized Text to a Form
HTML fields are one of many ways you can add extra text to your forms, such as instructions for filling them out or important information you want users to see before they submit their entries.
However, the HTML field is unique because it lets you include stylized text, such as bold text or italics. You can add the appropriate HTML tags right in the Code field in the Field Options panel.
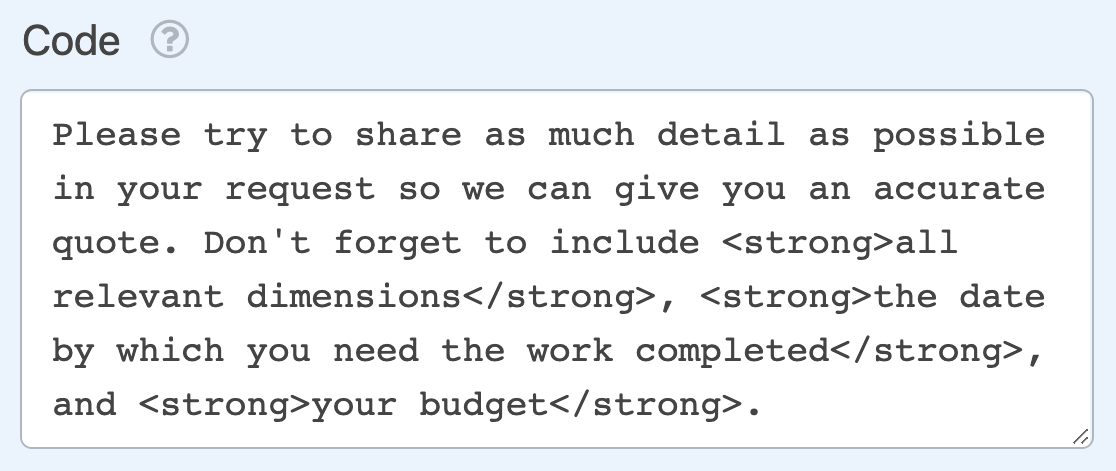
Note: If you’re new to HTML, you can find complete lists of HTML elements and attributes on Mozilla Developer Network’s HTML references page.
On the frontend, the example above would look like this:

Additionally, you can use HTML tags to add headings, lists, and more to the extra text in your forms.
Adding Links to a Form
The HTML field also enables you to add links to your form. This can be useful if you want to enable users to quickly access another page while they’re filling out your form.
To add a link to your HTML field, you need to use the <a> tag. First, add opening and closing tags around the text you want to use to anchor your link.

Then, in the opening tag, add the href attribute and set it to the URL you want to link to.
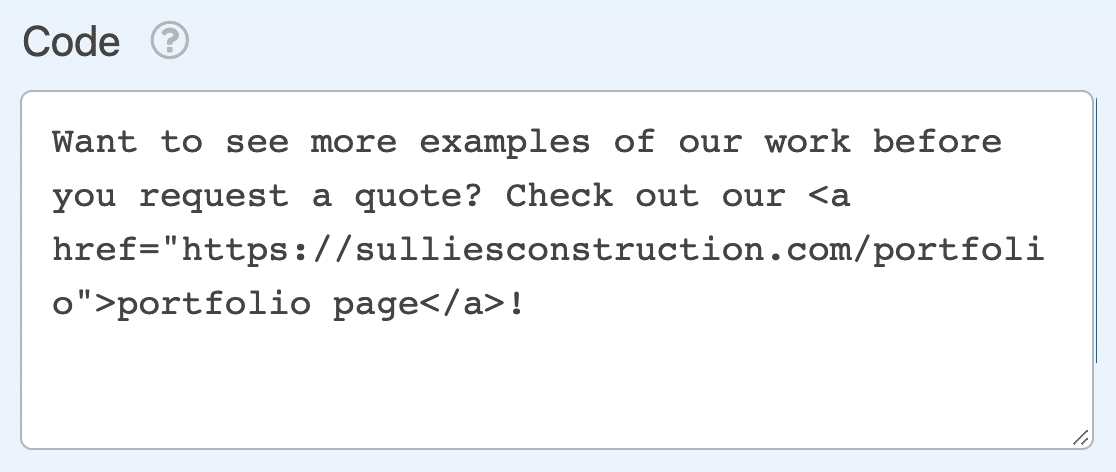
On the frontend, this will appear as a clickable link in your form.

Note: For more guidance on creating links with HTML, we recommend Mozilla Developer Network’s guide to creating hyperlinks.
Embedding an Image in a Form
You can also use <img> elements to add images to your form. To do so, add <img> to the Code field in the Field Options panel.
Then you’ll need to add the image’s src or source URL. If the image you’re adding to your form is in your WordPress Media Library, you can find its URL by looking at its Attachment Details.
The File URL is at the bottom of the window, and you can click the button to copy it to your clipboard.
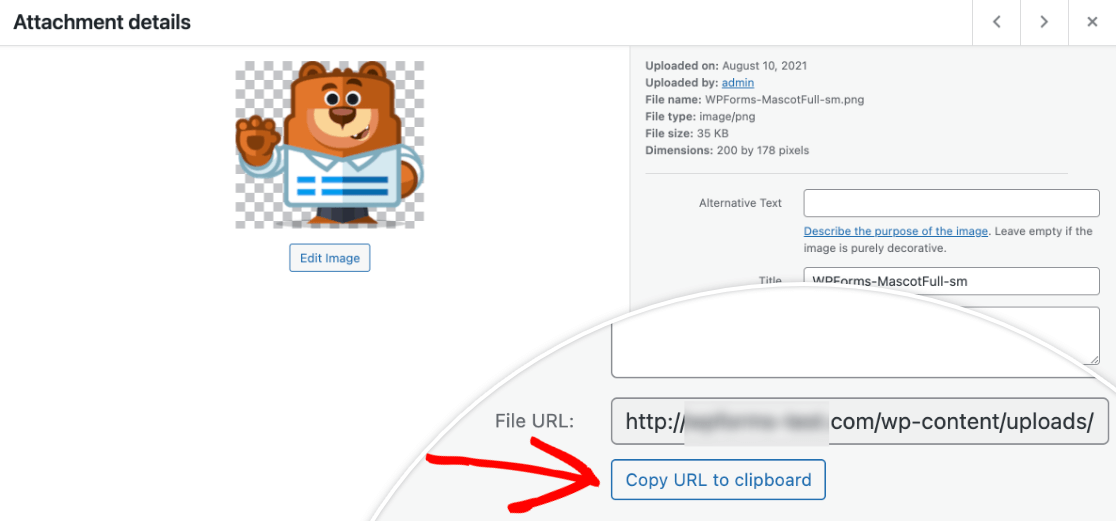
Then add it to the <img> element in your HTML field.
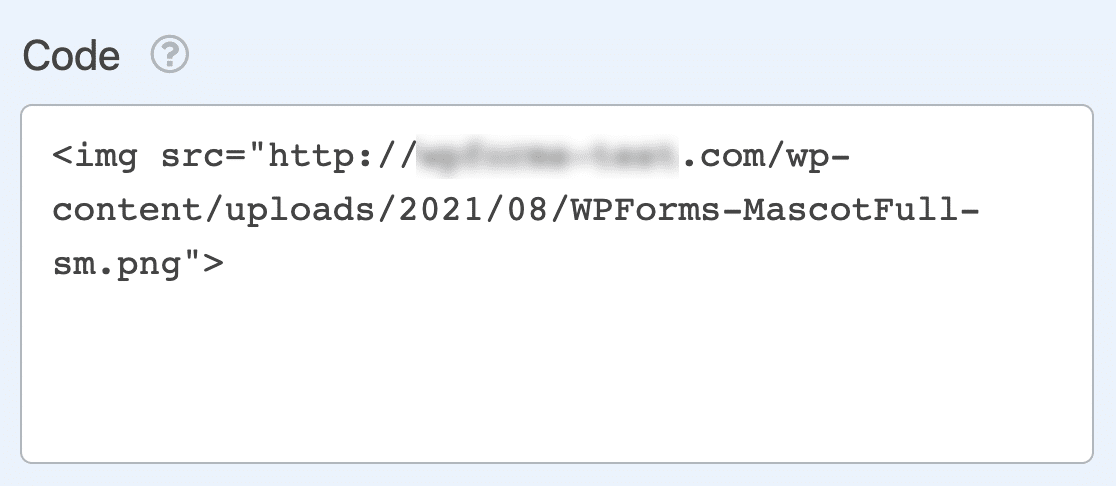
You can also use HTML attributes to change the size of your image and add alt text to it. On the frontend, it might look something like this:

Note: If you need more help adding an image to your form with HTML, we recommend Mozilla Developer Network’s tutorial on images in HTML.
Embedding a Video in a Form
The last use case we’ll cover in this article is embedding a video in a form. To accomplish this, you have to use an HTML element called an <iframe>.
Note: For more information on iframes and how they work, please see WPBeginner’s glossary entry for this term.
First, add the <iframe></iframe> element to the Code field in the Field Options panel.
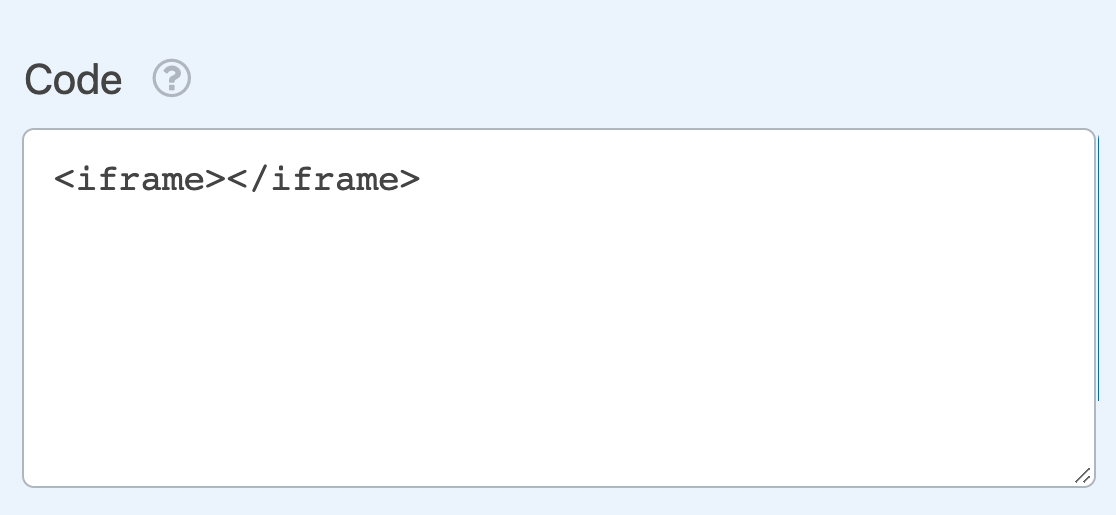
Then you need to add the src for the video you want to embed. If you’ve uploaded the video you’re using to your WordPress Media Library, you can find the File URL as we described in the previous section.
For YouTube videos, you can click on Share » Embed to copy the entire iframe and paste it into your HTML field.
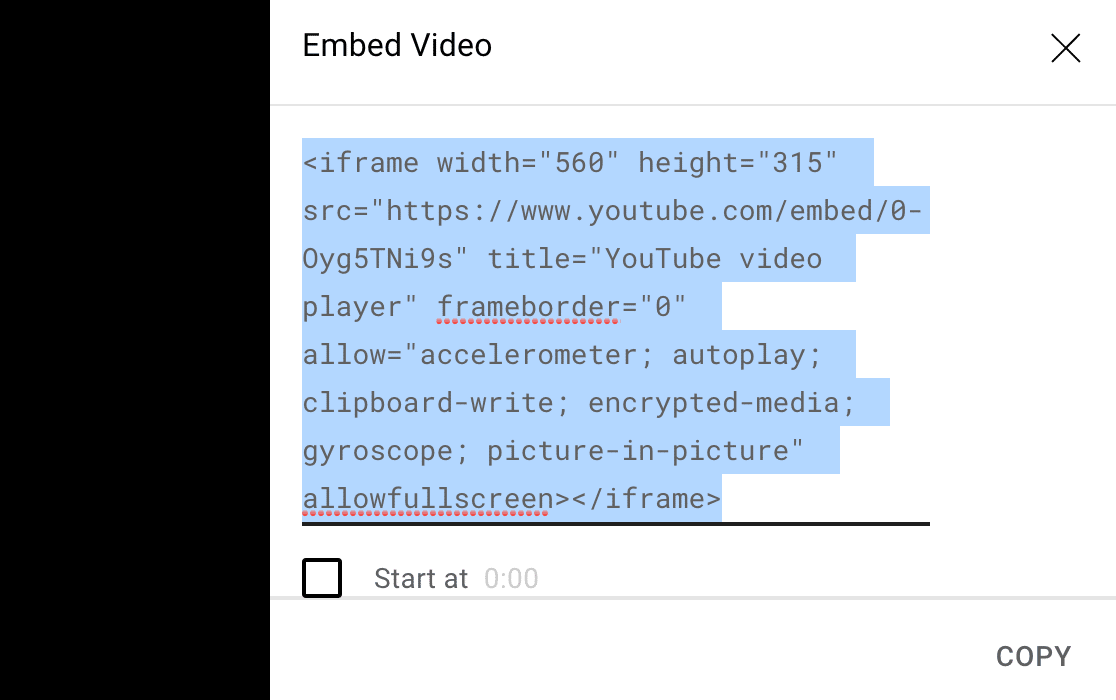
Once you’ve added your src to your HTML field, you can use HTML attributes to change the iframe’s size and more. On the frontend, it might look something like this:

Note: For a complete tutorial on using iframes, check out Mozilla Developer Network’s article on the iframe element.
Frequently Asked Questions
These are some of the most common questions we receive about the HTML field.
Can I use Smart Tags within the HTML fields of my forms?
Yes, while Smart Tags are a dynamic way to pull and display data within your form, they don’t process by default in HTML fields. However, with a small PHP snippet, you can enable Smart Tags within these fields.
For detailed instructions on how to implement this functionality, please refer to our developer documentation.
Note: Please be aware that this requires advanced functionality, such as adding code to your site, and is therefore recommended for developers.
That’s it! Now you have some ideas about using the HTML field in WPForms.
Next, would you like to learn about adding custom CSS to your forms? Our beginner’s tutorial has everything you need to get started.
