AI Summary
Would you like to add new subscribers to your Drip account and organize them with tags using WPForms? With our Drip addon, you can easily create forms that add users to your mailing list and apply custom tags automatically.
This tutorial will show you how to set up a newsletter signup form that adds subscribers to Drip and applies a specific tag.
Adding a New Subscriber and Creating New Tags
As an example, we’ll create a newsletter signup form that’ll add the user as a subscriber in Drip and also group users with the ‘WPForms’ tag.
To start, create a new form or edit an existing one to access the form builder. In the form builder, you’ll need to ensure you have an Email field.
Once you’re done adding the field(s) to your form, go to Marketing » Drip to access the Drip settings page. Next, click the Add New Connection button to add Drip to your form.

After that, select your account from the Select Account dropdown. Then choose Subscriber: Create or Update as the Action to Perform.

Note: If you’d like to add the user to an existing campaign in Drip, choose the Campaign Subscribe action. Then select the Campaign you wish to add the user to.
Next, map the Subscriber Email dropdown to the Email field on your form.

After that, scroll to the Tags To Add section and specify the Tag(s) you want to add. To add multiple tags, simply separate each tag with a comma.

Once done, be sure to save your changes. We recommend sending some test entries to confirm the connection is working as expected. Please see our form testing checklist tutorial for more details.
Viewing Subscribers in Drip
After publishing your form, users who submit the form will be added to your Drip mailing list. To see the new subscribers in your Drip account, go to People » Active.

Here, you’ll see all the new subscribers added to your account.

To view the new tag, go to People » Tags from your Drip account.
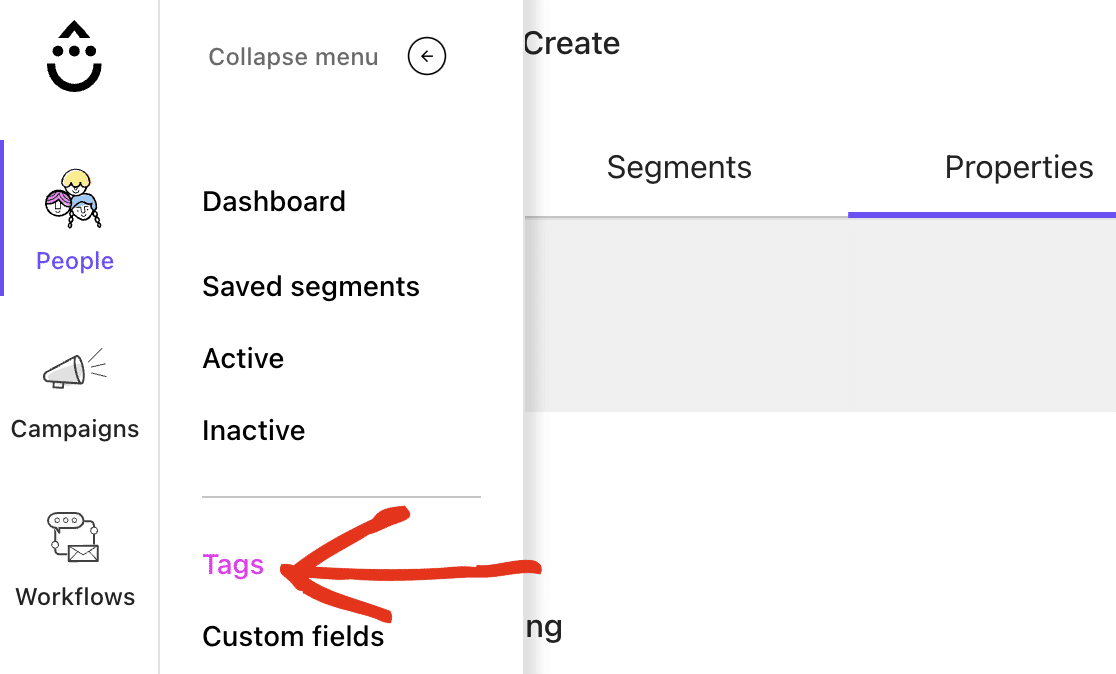
Here, you’ll see the new tag you specified when creating the newsletter form.

That’s it! You now know how to add new subscribers and create new tags in your Drip account using WPForms.
Next, you might want to check out our tutorial on using conditional logic to create even more powerful forms, or explore other email marketing integrations available with WPForms.