Introduction
Would you like to create a user-agent Smart Tag to know where you’re visitors are coming from? This data can make future decisions for your website super easy. In this tutorial, we’re going to create a Smart Tag that will automatically fill in a Hidden Field on your form to capture where you’re submissions are coming from.
A User-Agent is information that you can retrieve from the browser to see what browser, operating system, device used (desktop/mobile) etc.
Creating the User-Agent Smart Tag
First, we’re going to add the code snippet that will create a new Smart Tag inside WPForms that we can use in the builder.
If you need any help adding code snippets to your site, please see this tutorial.
/**
 * Register the User-Agent Smart Tag so it will be available to select in the form builder.
 *
 * @link   https://wpforms.com/developers/how-to-create-and-use-the-user-agent-smart-tag/
 */

//Create the Smart Tag to be used
function wpf_dev_register_smarttag( $tags ) {

    $tags[ 'user_agent' ] = 'User Agent';

    return $tags;
}
add_filter( 'wpforms_smart_tags', 'wpf_dev_register_smarttag' );

//Define what the Smart Tag is
function wpf_dev_custom_smarttags( $content, $tag ) {

    $user_agent = ! empty( $_SERVER[ 'HTTP_USER_AGENT' ] ) ? substr( $_SERVER[ 'HTTP_USER_AGENT' ], 0, 256 ) : '';

   if ( $tag === 'user_agent' ) {
      $content = str_replace( '{' . $tag . '}', $user_agent, $content );
   }
   return $content;
};
add_filter( 'wpforms_smart_tag_process', 'wpf_dev_custom_smarttags', 10, 2 );
In the snippet, you’ll notice there are two different functions. Each has been commented on so that you can understand what they are. The first function will create the Smart Tag, this is only the creation, however, it’s only in the second function that we define what the Smart Tag is which in this case is to pull in the HTTP_USER_AGENT.
Creating the form
Next, we’re going to create a new form so that we can add this new Smart Tag. If you need any assistance in creating a new form, please review this documentation.
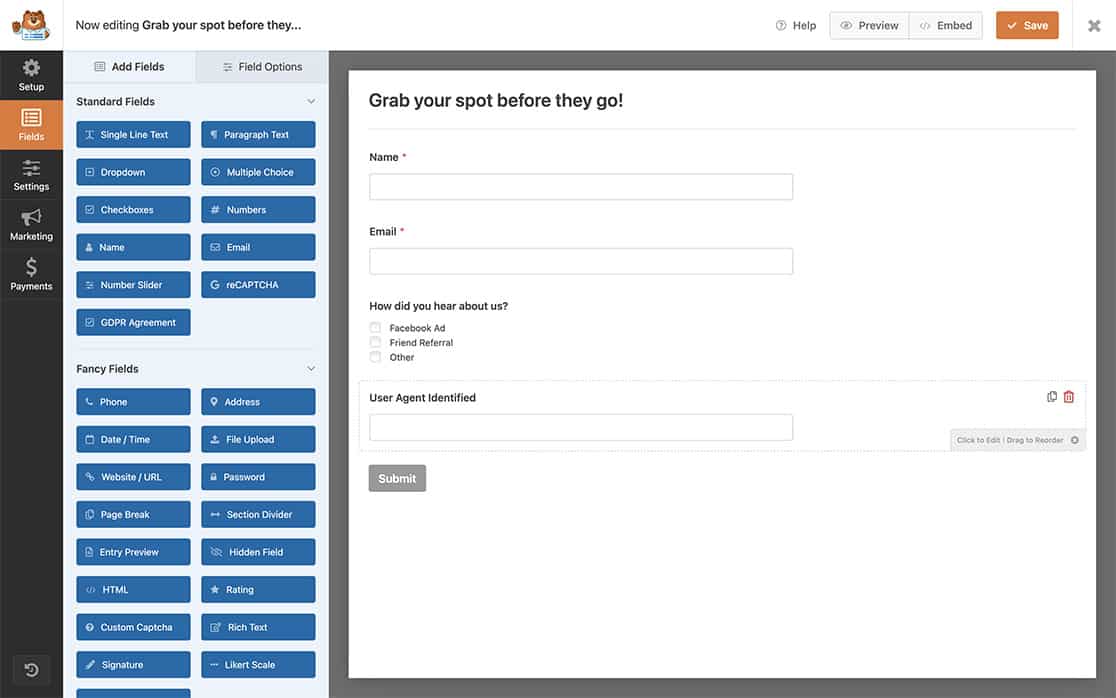
Our form is just going to have a few fields on it for the Name, and Email Address and then we’ll add a Hidden Field that will hold the information we capture with the user-agent Smart Tag.

Using the User-Agent Smart Tag
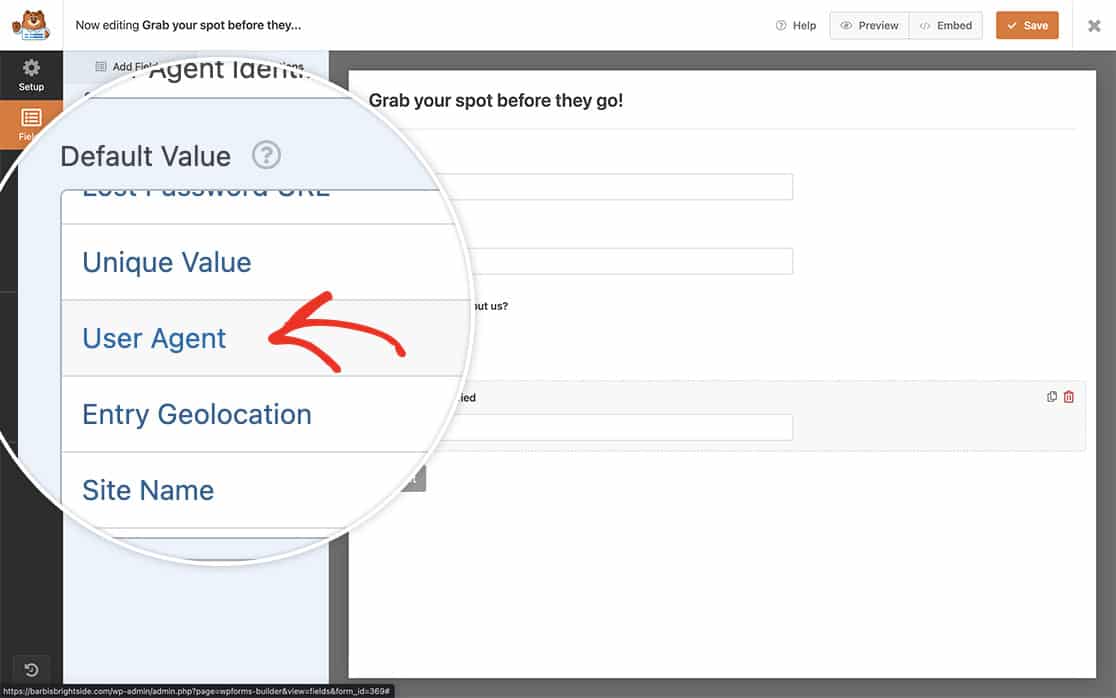
Once you’ve added your Hidden Field, click the Show Smart Tags link to open up a list of Smart Tags you can add inside the Default Value field.
Find the User Agent Smart Tag and select it to insert it on the Default Value.

Viewing the User-Agent
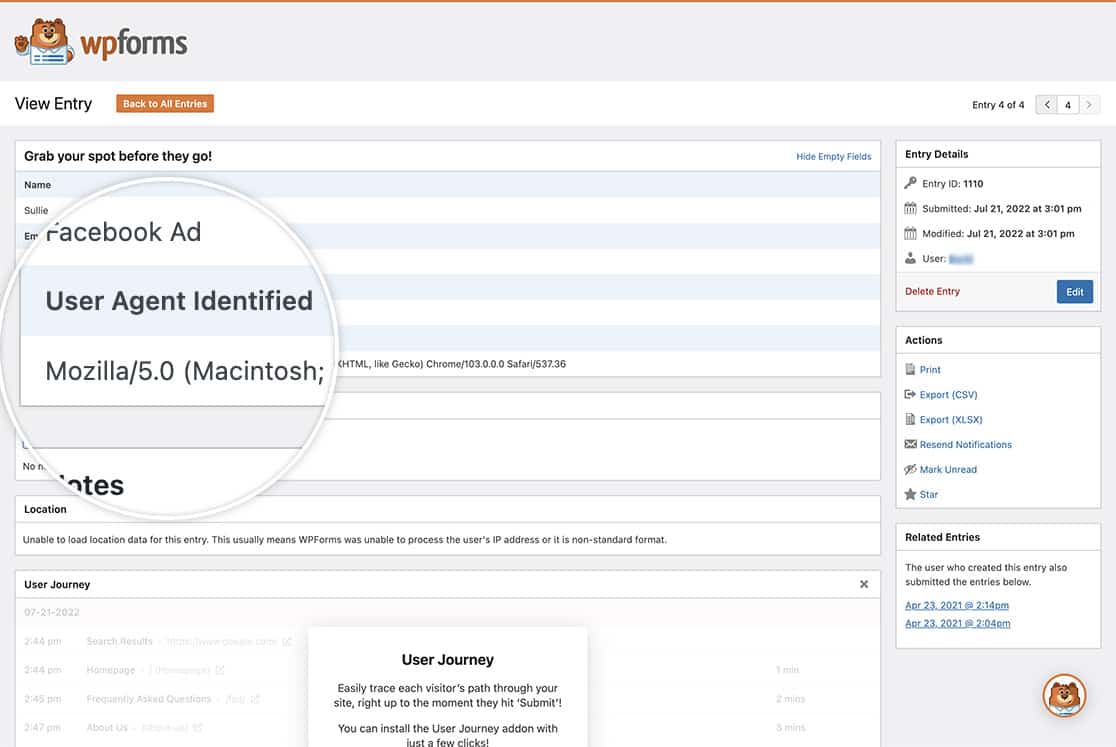
When you view your entries, you’ll see inside the Hidden Field all the user information that was captured.

And that’s all you need! Would you like to create more custom Smart Tags? Take a look at our article on How to Create a Custom Smart Tag.
Related
Filter References:
