AI Summary
Would you like to send the entry ID to Mailchimp? It’s an easy way to track and find specific users who sign up for your newsletter by simply searching for the entry ID number.
In this tutorial, we’ll walk you through each step on how to send this ID number to Mailchimp when users complete your forms.
Creating the Custom Field in Mailchimp
First, you’ll want to create a custom field in Mailchimp that will store this ID number. To do this, you can follow along with the steps in their guide.
For our form, we created a form inside Mailchimp that has the First Name, Last Name, Email Address, and a simple Text field.
The Settings for this field will have the Field Label as Entry ID and the Field Tag as ENTRY_ID.
Once you’ve saved the field to your form, your All Contacts page will show the column for this field. This is where we will store the entry ID when the form is submitted.

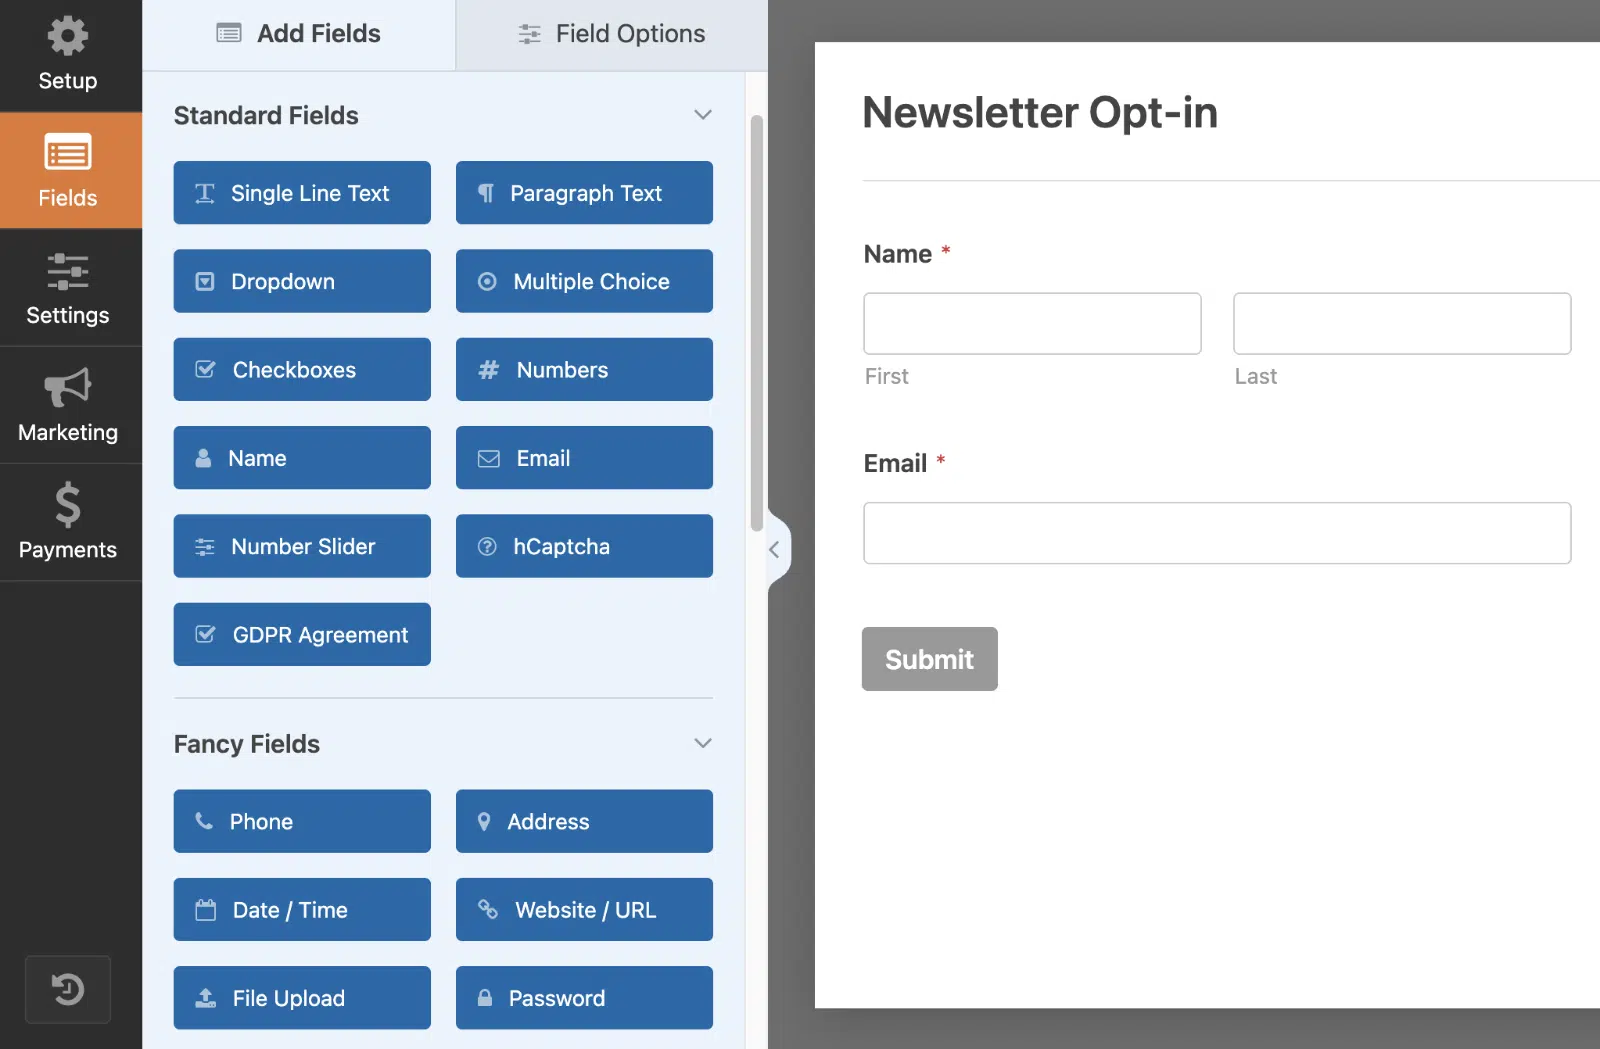
Creating Your Form
To do so, create a new form or edit an existing one to access the form builder. In the form builder, go ahead and add the fields you’d like to your form. For our example, we’ve added the Name and Email fields to our form.
If you need help in creating your form, please see this tutorial.
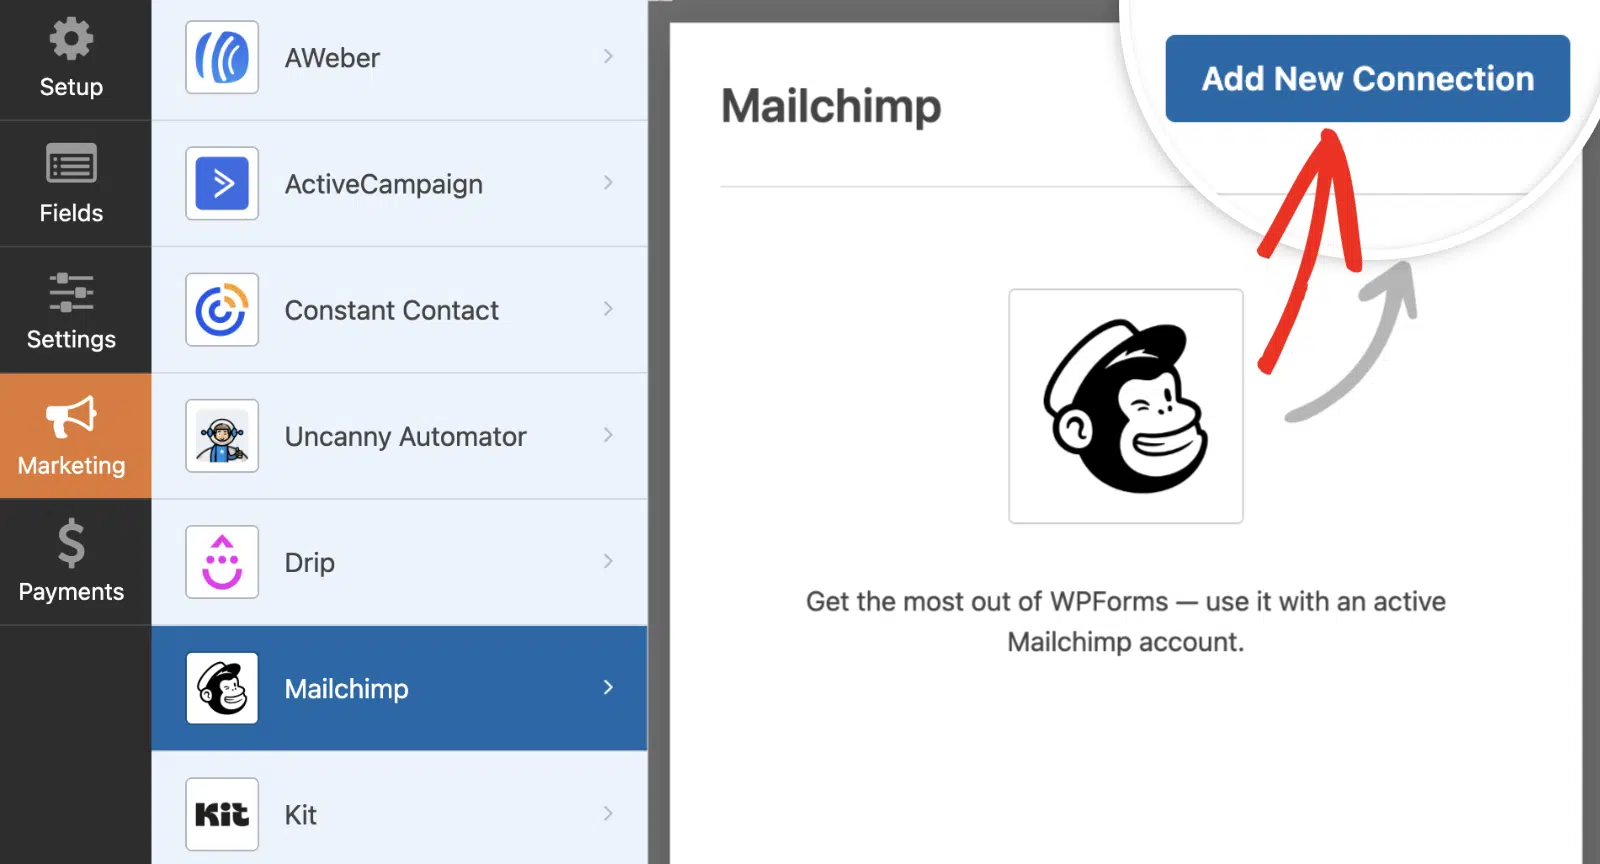
Connecting Your Form to Mailchimp
Note: You’ll need to install and configure the Mailchimp addon on your site to continue. See our tutorial on setting up the Mailchimp addon for more details.
Now, it’s time to connect your form to your Mailchimp account. To do so, go to Marketing » Mailchimp and click the Add New Connection button.
Then, proceed to connect your account and map your specify the action to perform for each form submission.
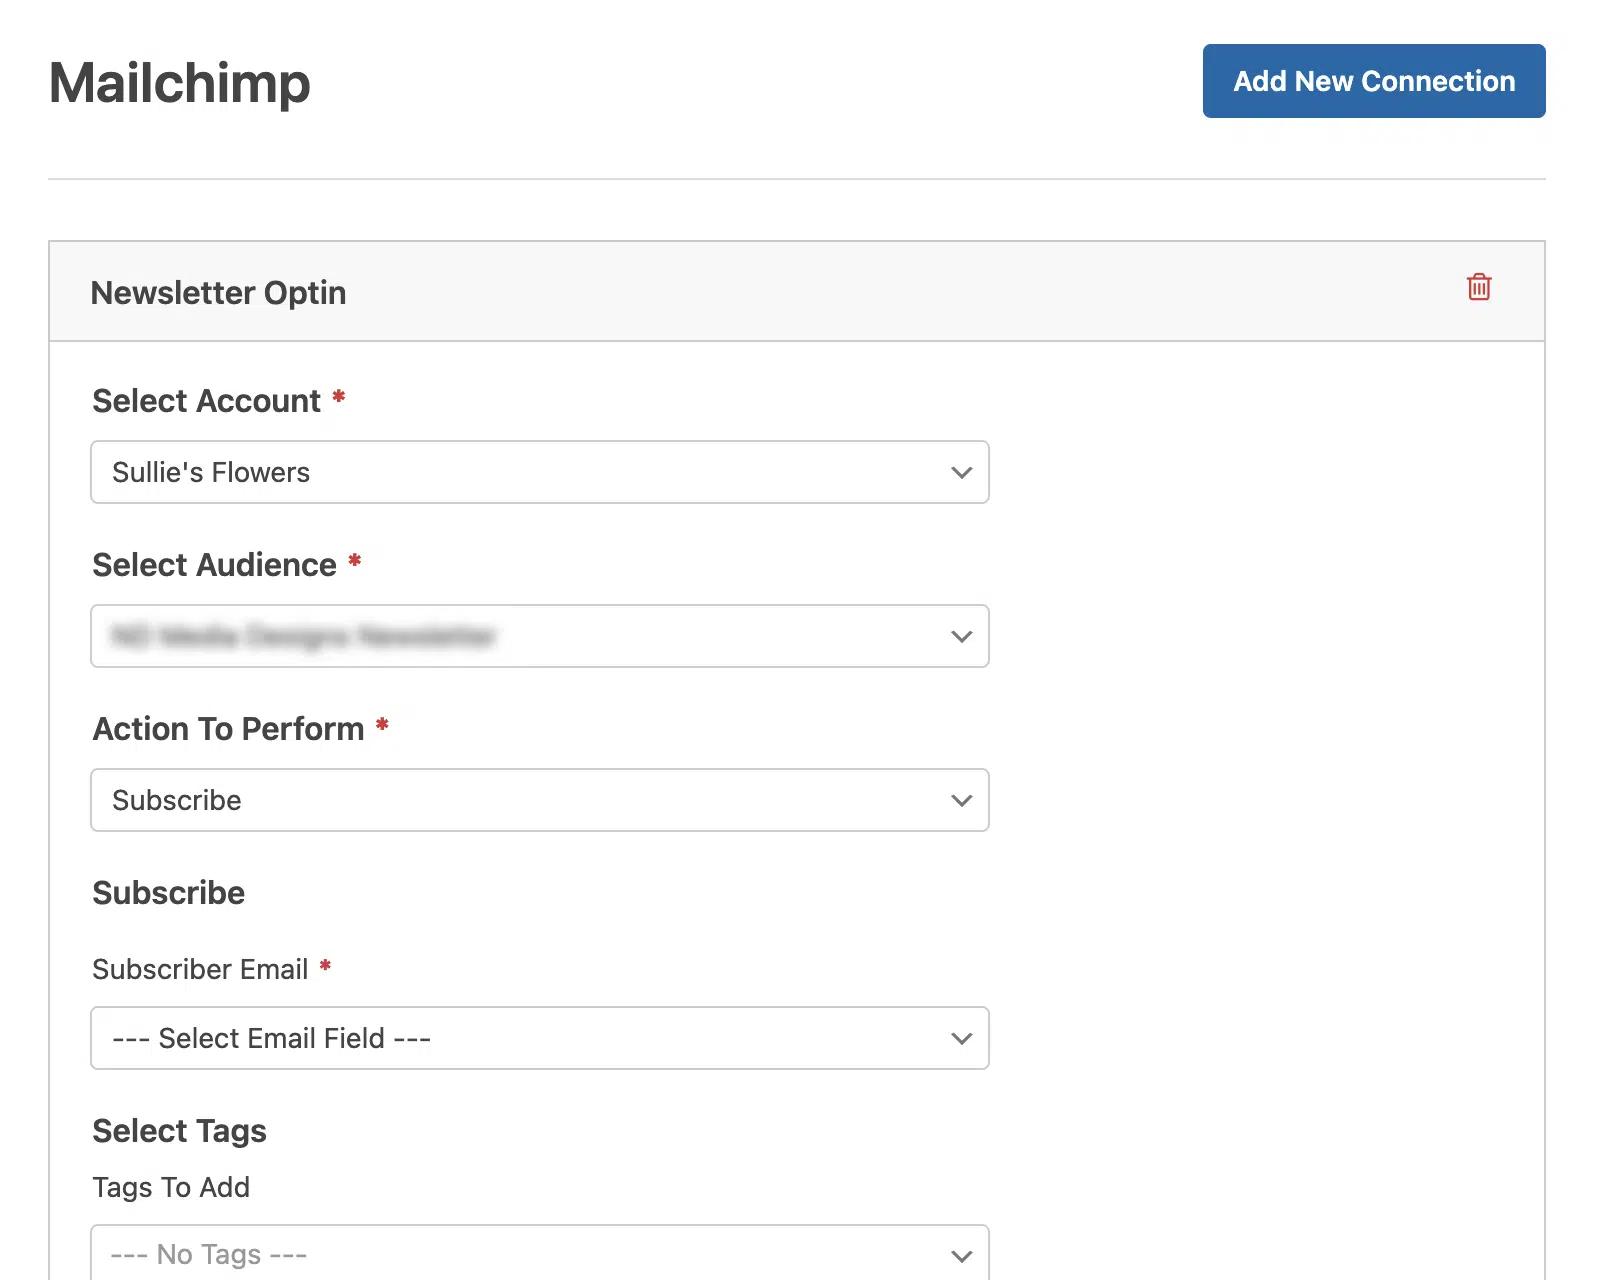
Once you’ve set up your connection and mapped your fields, you are ready for the next step!
Adding the Code to Send the Entry ID to Mailchimp
Now it’s time to add the snippet that will send through this ID when the form is processed and the subscriber is added to the Mailchimp list.
If you need help in adding code snippets to your site, please see this tutorial.
/** Send through entry ID from WPForms to Mailchimp
 *
 *  @link   https://wpforms.com/developers/how-to-send-the-entry-id-through-to-mailchimp/
**/

function wpf_dev_mailchimp_provider_process_action_subscribe_request_data( $data, $fields, $form_data, $entry_id ) {

    if ( empty( $entry_id ) ) {
      return $data;
    }

    // Change 'ENTRY_ID' to match the custom field you've created inside Mailchimp. See this doc for more details
    $data[ 'merge_fields' ][ 'ENTRY_ID' ] = absint( $entry_id );

    return $data;

}

add_action( 'wpforms_mailchimp_provider_process_action_subscribe_request_data', 'wpf_dev_mailchimp_provider_process_action_subscribe_request_data', 10, 4 );
Now when users complete your form and you view the subscriber, you’ll see the entry ID number in the contacts list.

That’s it! You’ve now learned how to send your form entry ID to Mailchimp.
Next, would you like to create a Smart Tag for a unique ID so that you can use it in other areas of your form? Take a look at our article on creating a unique ID for each form entry.