AI Summary
Introduction
Would you like to make the password used for the Form Locker addon non-case sensitive? In many cases, you may just want to keep the password required for these forms simple. Using a small code snippet you can easily simplify these passwords and in this tutorial, we’ll walk you through every step!
Creating the form
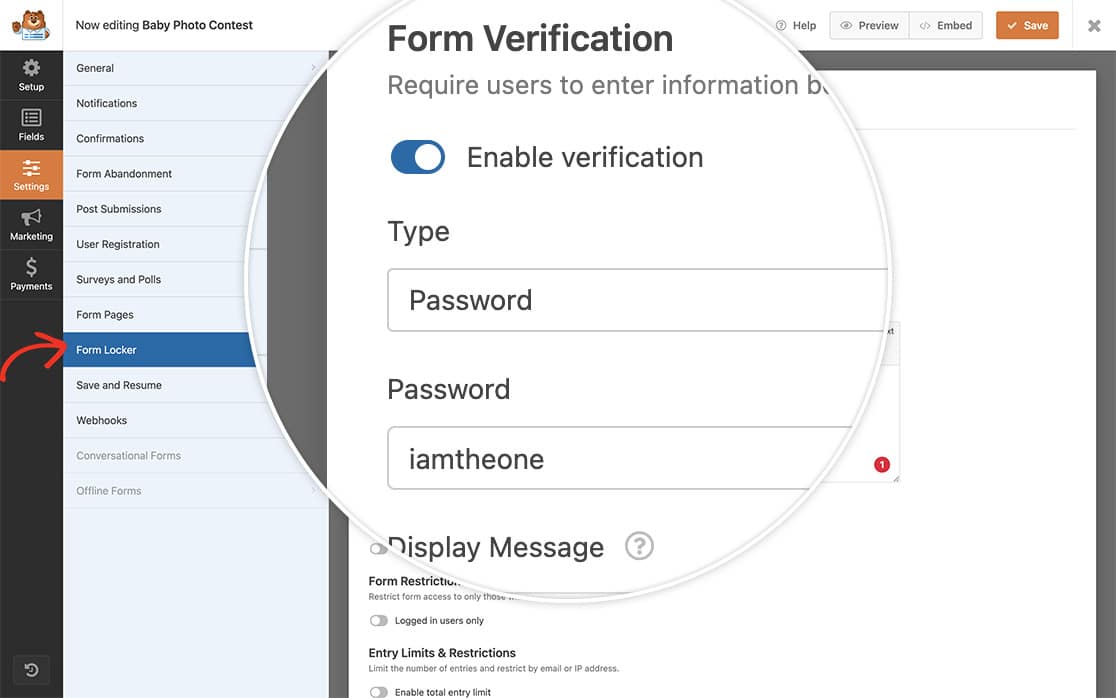
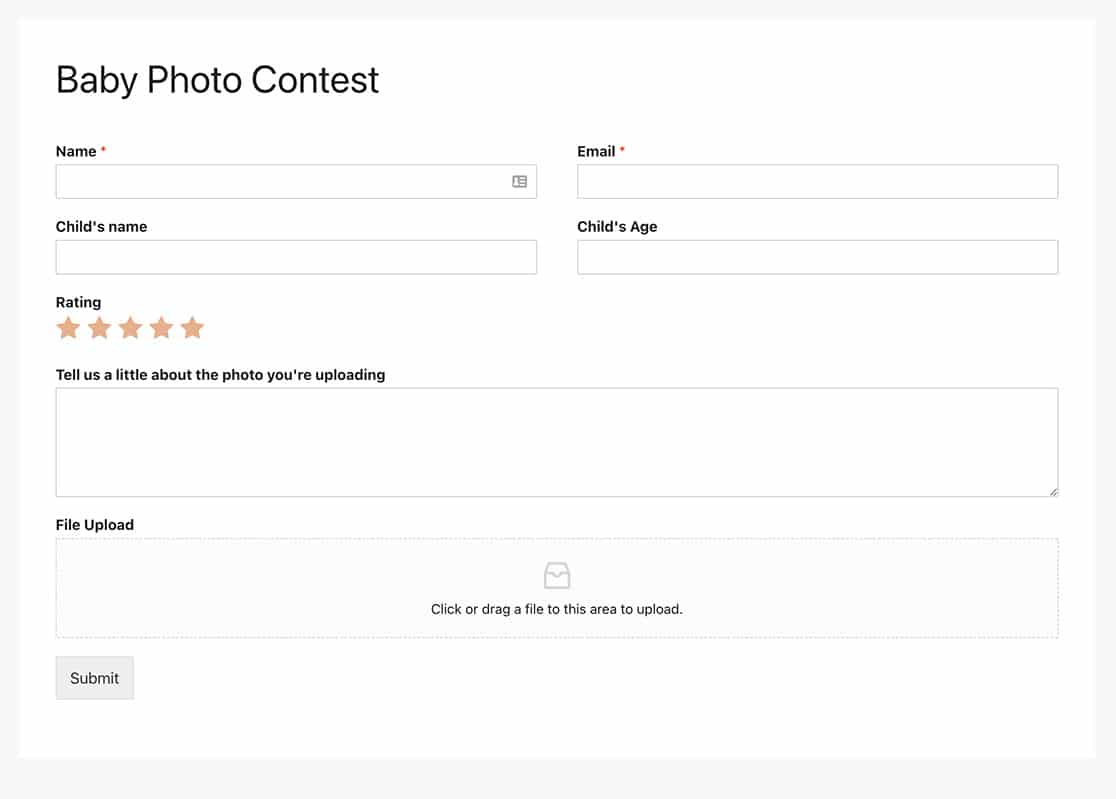
To begin, we’re going to create a form with our fields and make sure you’ve enabled the password verification inside the Settings of the form.
We’ve used the lowercase text of iamtheone as our password.

If you need any assistance in creating a Form Locker form, please check out this documentation.
Adding the snippet
Now it’s time to add the snippet to your site. If you need any help on how and where to add snippets to your site, please review this tutorial.
/**
 * Ignore case sensitive text in password for the Form Locker forms
 *
 * @link https://wpforms.com/developers/how-to-make-the-form-locker-password-non-case-sensitive/
 */

function wpf_form_locker_password( ) {
?>

<script type="text/javascript">

    jQuery(function($){

		$( '.wpforms-password-locked form' ).on( 'wpformsBeforeFormSubmit', function(){

			var $password = $( 'input[name="wpforms[form_locker_password]"]' );

			// Change input value to lowercase before submission
			$password.val( $password.val().toLowerCase() );

		});

    });

    </script>

<?php
}

add_action( 'wpforms_wp_footer_end', 'wpf_form_locker_password', 30 );
This snippet will look for any form that has been enabled for the Form Locker addon using the Password field for verification.

And that’s all you need to allow for a non-case sensitive password field on your Form Locker forms! Would you also like to display a number of remaining entries with Form Locker forms? Check out our tutorial on How to Display Remaining Entry Limit Number.
Related
Action Reference: wpforms_wp_footer_end
