AI Summary
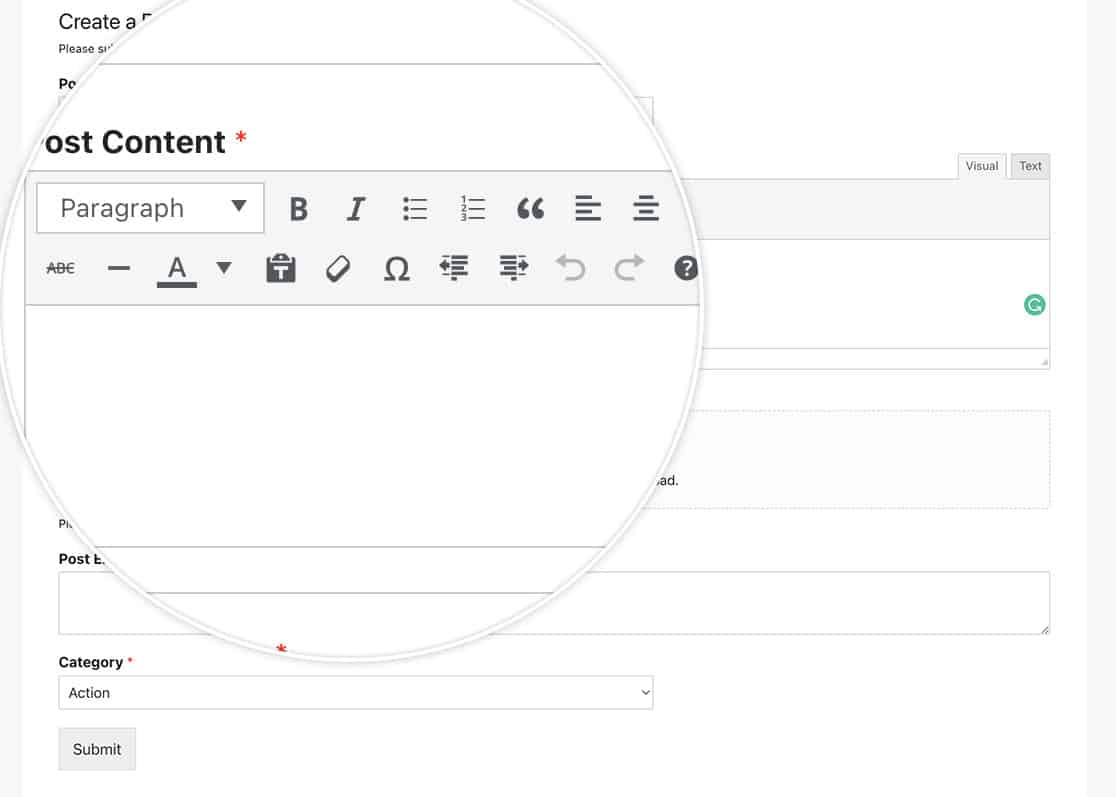
Would you like to customize which formatting icons appear in your Rich Text fields? By default, WPForms displays two toolbars with standard formatting options.
This guide will show you how to customize these toolbars to include exactly the tools your users need.

The default fields for the top toolbar are:
- Text Format to mark text as headings or paragraph text
- Bold
- Italic
- Bulleted List
- Numbered List
- Blockquote
- Align Left
- Align Center
- Align Right
- Insert/Edit Link
- Insert Read More Tag
- Toggle Toolbar (this turns the bottom toolbar on and off)
The default fields for the bottom toolbar are:
- Strikethrough
- Horizontal Line
- Text Color
- Paste as Text
- Clear Formatting
- Special Character
- Decrease Indent
- Increase Indent
- Undo
- Redo
- Keyboard Shortcuts List (a modal window will appear with these shortcuts)
In this tutorial, we’ll show you how to use PHP to customize the icons that will display to your visitors.
Setting Up Your Form
First, create a form and add a Rich Text field. If you need help creating your form, check out our guide on creating your first form.
Customizing Toolbar icons
To modify the available formatting options, you’ll need to add PHP code to your site. If you’re not sure how to add custom code, please review our guide on adding code snippets to WordPress site.
Here’s how to customize both toolbars:
To customize the toolbars:
- For the top toolbar: Modify the array on line 10
- For the bottom toolbar: Modify the array on line 42
- Add or remove buttons as needed, maintaining the same format
Removing Toolbars Completely
If you want to remove the formatting toolbars entirely, you can do so using CSS. If you need help adding CSS to your site, check out our guide on adding custom CSS to WordPress.
.wpforms-field .wp-editor-tabs, .wpforms-field .quicktags-toolbar {
    display: none !important;
}
To remove toolbars from a specific form:
div#qt_wpforms-1000-field_25_toolbar, #wp-wpforms-1000-field_25-editor-tools {
    display: none;
}
Replace 1000 with your form ID and field_25 with your Rich Text field ID. If you need help finding these IDs, check out our guide on how to find form and field IDs.
And that’s all you need to customize the Rich Text form field! Next, would you like to customize the icons when using the Rating form field? Check out our guide on customizing the look of Rating icons for more details.
