Introduction
Would you like to create conditional logic for coupons? With this tutorial, you’ll be able to build a dynamic form where the script intelligently selects the appropriate coupon based on the user’s selection. This comprehensive tutorial will guide you step-by-step through the process of creating this form and implementing the conditional script for automatic coupon application. Let’s dive right in!
Creating the coupons
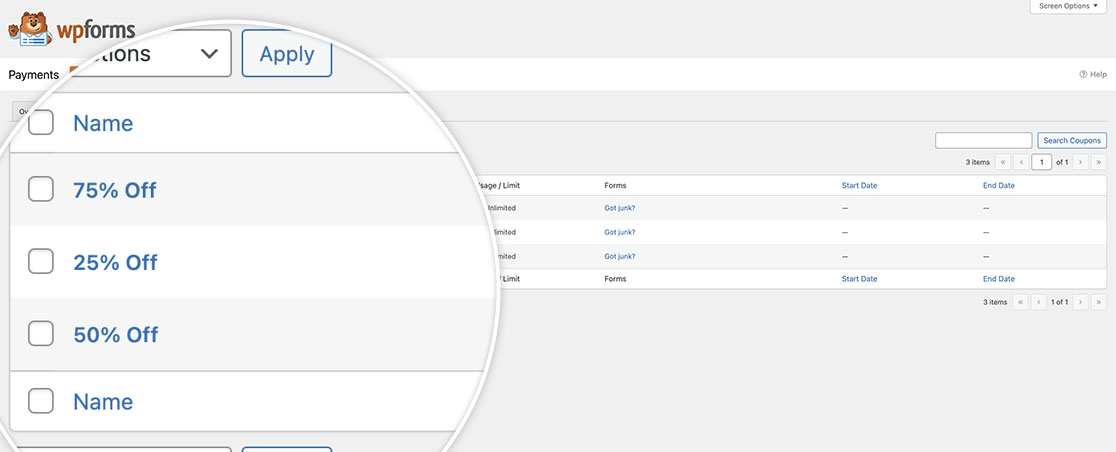
To begin, we’re going to create three new coupon codes. Each one is created to give a particular percentage amount for the coupon.
If you need help in creating coupons with WPForms, please check out this guide for further assistance.
Creating the form
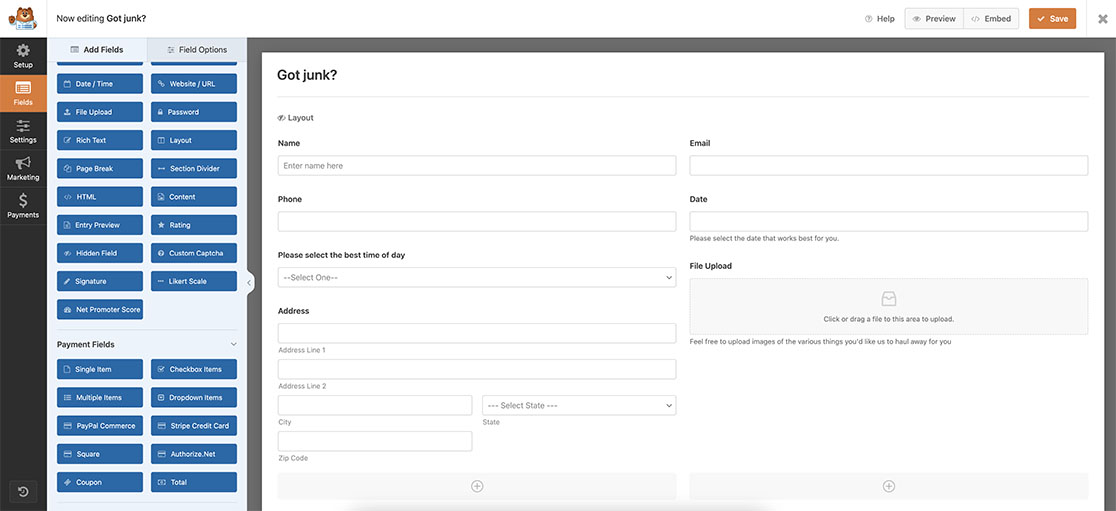
Next, we’ll create the form and add our fields required. If you need any assistance with creating your form, please review this useful documentation.
Adding the Dropdown options
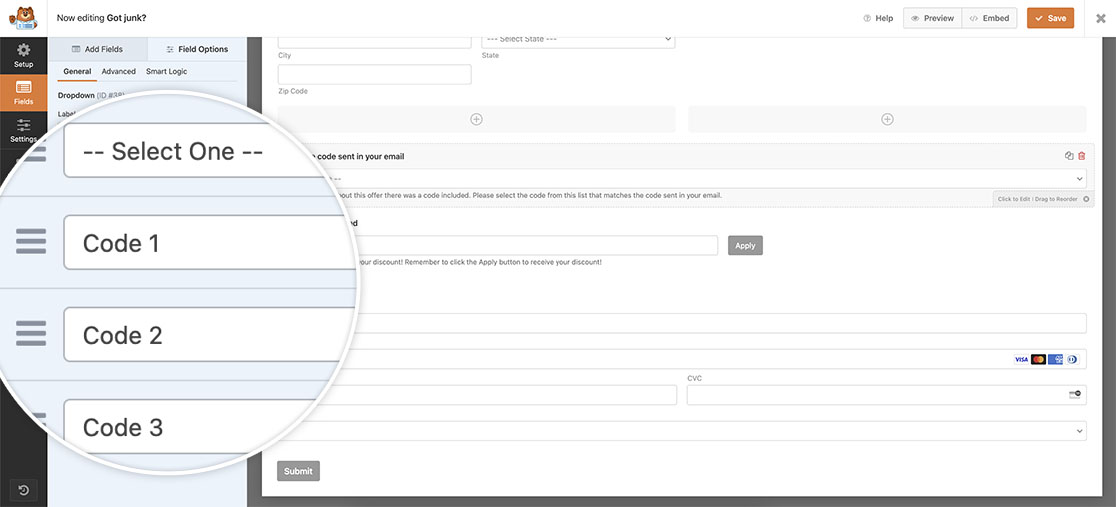
Now that we’ve added our required fields to the form, let’s add a Dropdown field. We will use this field to base our conditional logic on for the coupon. Based on the option selected, the correct coupon code will be displayed.
For the purpose of this tutorial, we’re going to have our dropdown options as the following:
- — Select One —
- Code 1
- Code 2
- Code 3
Apply Smart Logic for the Coupon field
Next, we’re going to add our Coupon field to the form. Because you’ve already assigned the form to these coupons in the first step, you’ll see the coupon codes when you add the field to your form.
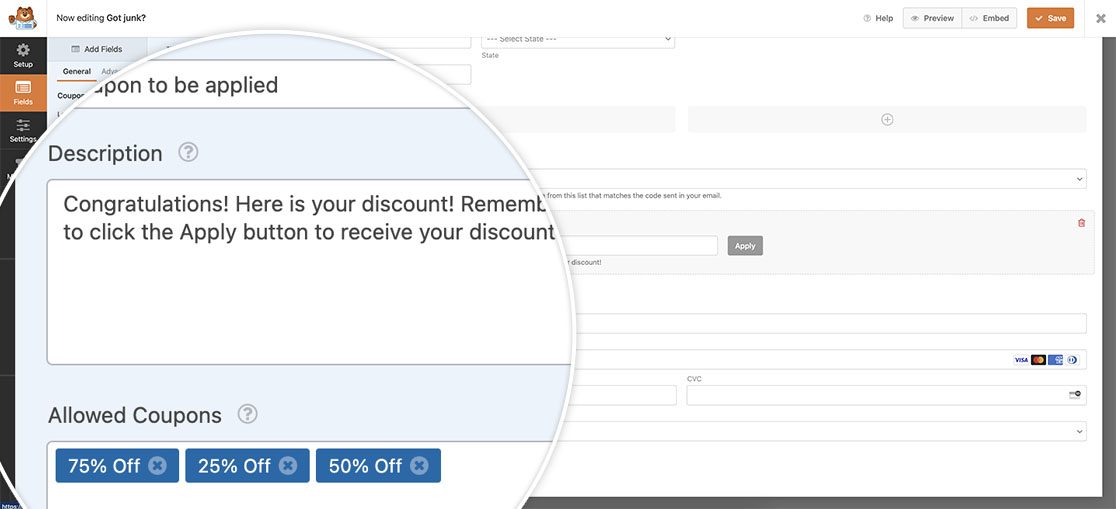
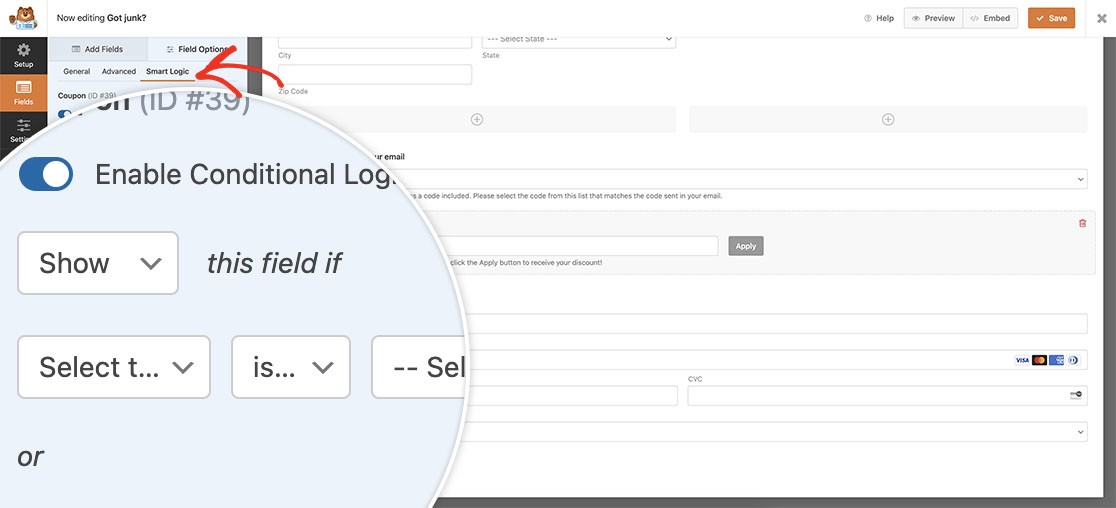
However, since we don’t want this field to show until they’ve selected the code, we’re going to apply some conditional logic to the field as well. To apply this logic to the field, select the Coupon field and click the Smart Logic tab.
Tell the field to Show this field if the Dropdown is not the — Select One — we set up when defining the options of the dropdown field in the previous step. This way, when the form loads, the Couponfield will not be displayed until they select an option.
Adding the snippet
Now it’s time to add the snippet to your site. If you’re not sure how and where to add snippets to your site, please review this helpful guide for more details.
/**
 * Conditional logic for coupons
 *
 * @link https://wpforms.com/developers/how-to-display-the-age-from-a-date-picker-field/
*/

function wpf_dev_conditional_logic_for_coupons() {
    ?>
    <script>
        jQuery(function($){

            // Look only at form ID 3382
            $( "form#wpforms-form-3382" ).on( 'change', function () {

                // Set the value of the Dropdown field ID 38 that has been selected
                // to a variable named selectedval
                var selectedval = $( "#wpforms-3382-field_38 option:selected" ).text();

                // If the dropdown selection is our Code 1 coupon code,
                // populate the coupon field ID 39 with the coupon code 25OFF
                if(selectedval == "Code 1"){
                    document.getElementById( 'wpforms-3382-field_39' ).value = '25OFF';
                }
				// If the dropdown selection is our Code 2 coupon code,
				// populate the coupon field ID 39 with the coupon code 50OFF
                else if(selectedval == "Code 2") {
                    document.getElementById( 'wpforms-3382-field_39' ).value = '50OFF';
                }
				// If the dropdown selection is our Code 3 coupon code,
				// populate the coupon field ID 39 with the coupon code 75OFF
                else if(selectedval == "Code 3") {
                    document.getElementById( 'wpforms-3382-field_39' ).value = '75OFF';
                }
            });
           });
    </script>
    <?php
}
add_action( 'wpforms_wp_footer_end', 'wpf_dev_conditional_logic_for_coupons', 10 );
This snippet is going to look only at the form ID 3382. Then it will look at the option selected from the Dropdown field which is the field ID _38 and assign that value to a variable called selectedval.
The next few lines of the snippet will compare the dropdown selection to the names we set up for each coupon code. If they select Code 2, for example, the value of 25OFF will be assigned to the Coupon field, which is the field ID _39. Your visitors will still need to click the Apply button to apply the discount, but the selection will have already been made for them.
You will need to update these IDs to match your own IDs from your form. If you need any assistance in finding these IDs, please review this tutorial for further information on where to find this.
And that’s all you need to setup conditional logic for coupons. Would you also like to use the same logic for a Date field? Take a look at our detailed guide on How to Use Conditional Logic With a Date Picker.
Related
Action Reference: wpforms_wp_footer_end
