AI Summary
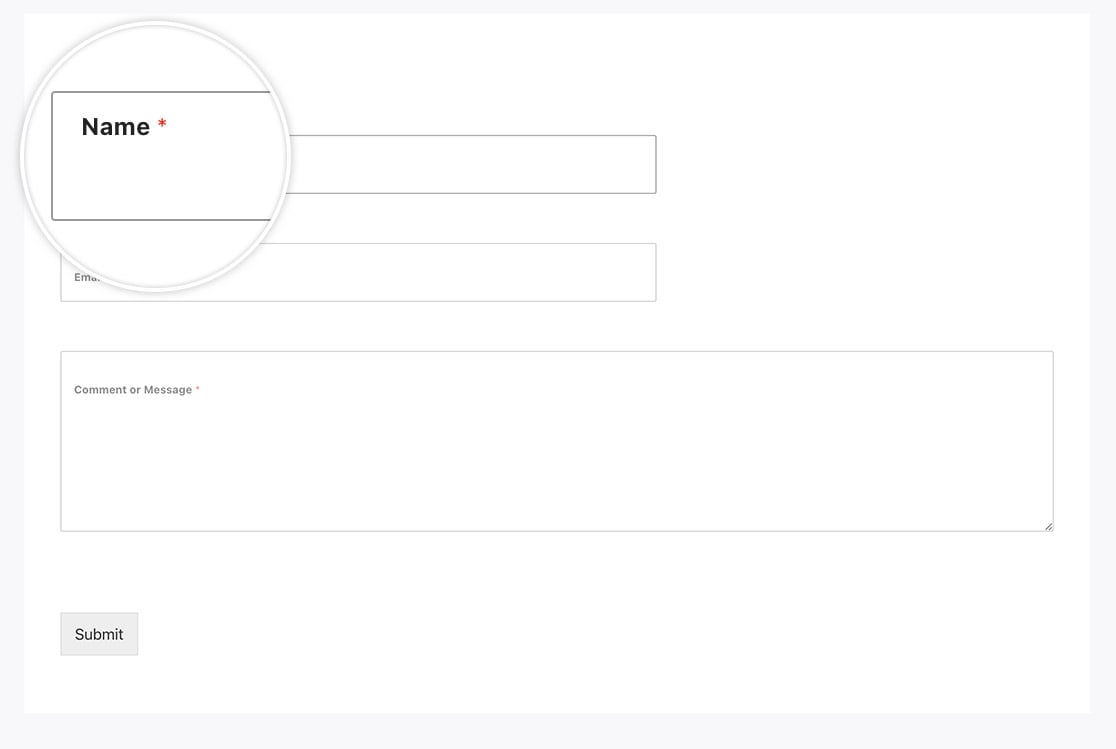
Would you like to give your forms a modern, interactive look with floating labels? Floating labels provide an elegant way to show field labels that animate when users interact with your form fields.
This guide will show you how to implement this feature using WPForms.
Creating Your Form
We’ll begin by creating a simple contact form. If you need any assistance with creating a form, please review this documentation.
If there is a Phone field on the form, you’ll need to set the format to either US or International. This snippet will not work on the Smart format.
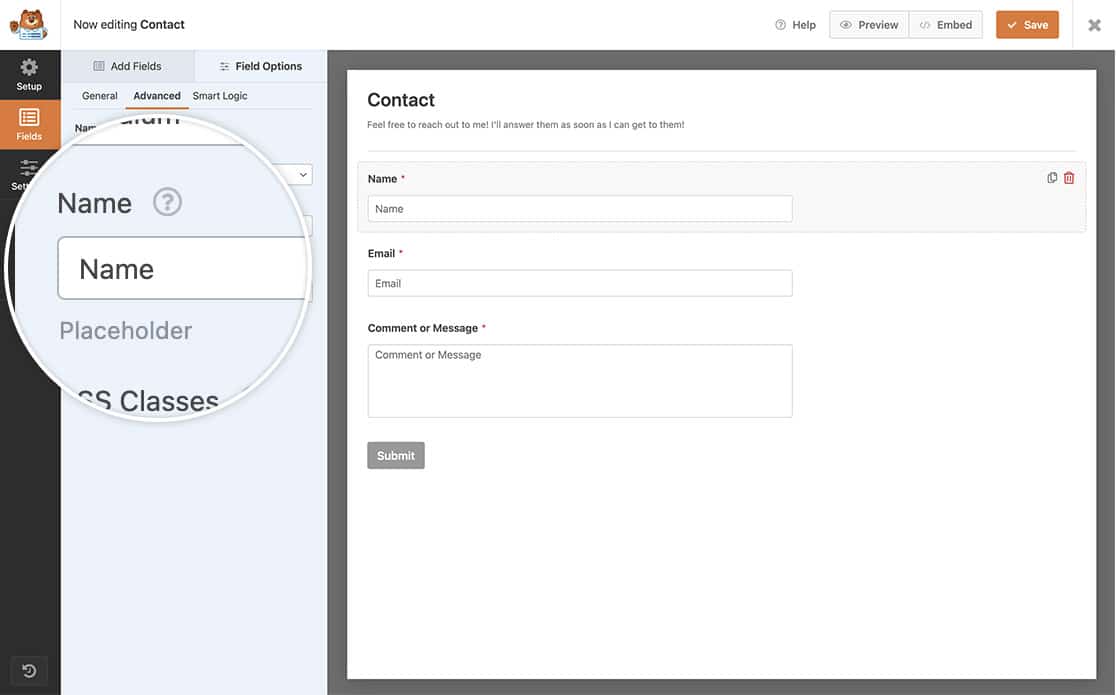
You’ll also need to add Placeholder text to each field as well. This text can be added by selecting the field and clicking on the Advanced tab to add the text.
If you need help on how to do this, check out our guide on adding placeholder text to a field.

Adding CSS Classes
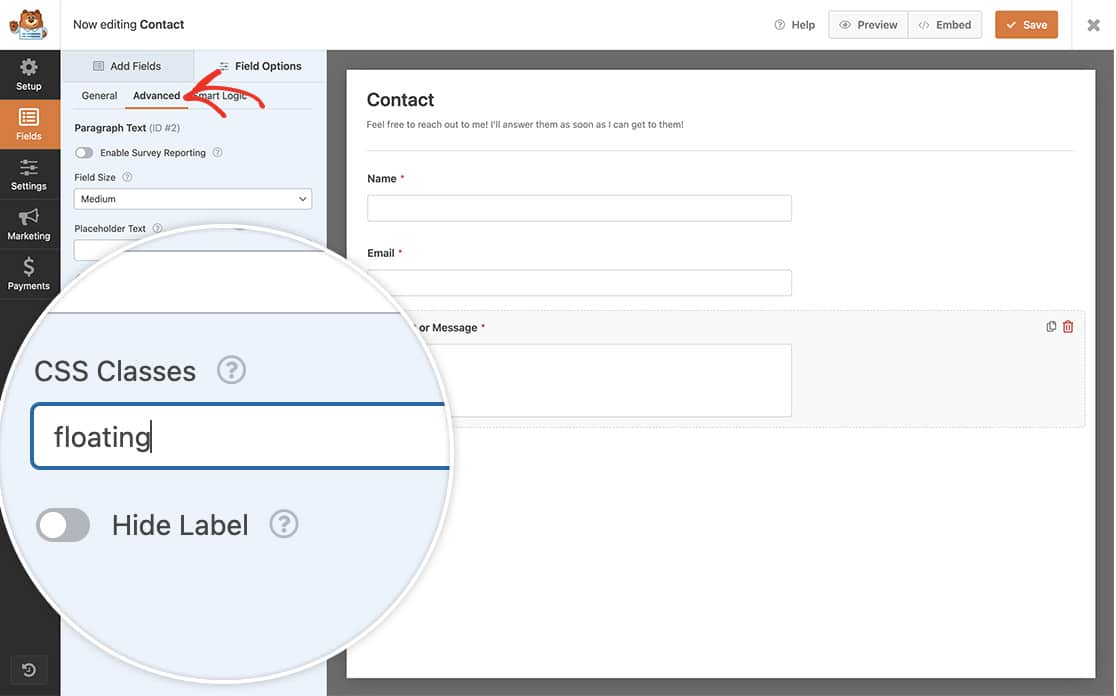
Next, we’re going to add a CSS class of floating to the fields we wish to have floating labels for.
Select each field one by one and click the Advanced tab and add floating inside the CSS Classes field.

Floating Labels – PHP snippet
We’re going to add a couple of small PHP snippets that will remove the label from being on top of the form fields to being just below the form fields.
If you need assistance on how and where to add snippets to your site, please review this tutorial.
What this snippet is doing is removing the position of the field label from being displayed before the field and placing it after the field.
Floating Labels – CSS snippet
Now that our form is created and our snippets are in place, we need to add the custom CSS to our site to pull this all together.
For assistance in how and where to add custom CSS, please review this tutorial.

FAQ
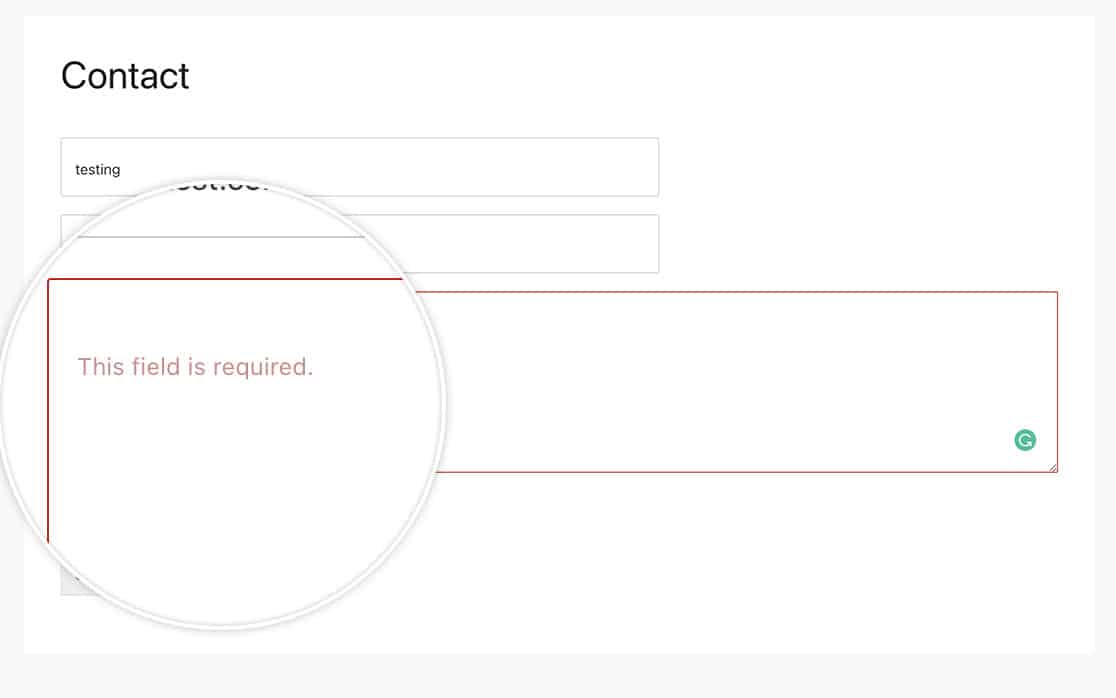
Q: Will the field validation still display?
A: Absolutely! The validation errors will keep the same style.

Q: Why isn’t this working for me?
A: Be sure to run back through the steps above, if you missed placing the Placeholder text in the fields, the labels wouldn’t appear to have the floating effect when a user clicks inside the field.
And that’s it! You’ve now created a form with floating labels that float up when the user starts to type in the field. Next, would you like to change the color of the confirmation message or just completely remove it? Take a look at our article on How to Remove Confirmation Message Box Styling.
