AI Summary
Would you like to add descriptive text under your field labels for the Checkbox and Multiple Choice fields? In this tutorial, we’re going to use some basic HTML to show you how easy this can be achieved in just a few short simple steps.
By default many WPForms field labels will accept standard HTML tags like br (create a new line), i (italics), and b (bold text), however please be aware that not all fields will accept these tags and not all HTML tags will be accepted. Please remember to test each of your forms thoroughly to make sure your changes appear exactly how you expect. For more information on the definition of HTML elements, please check out Mozilla’s documentation on this matter.
Creating the form
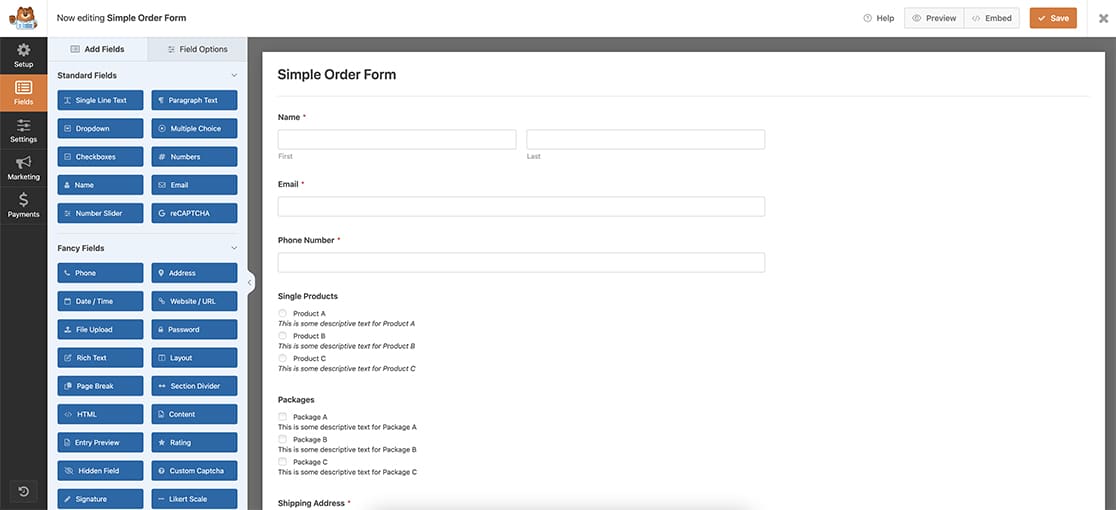
We’ll begin by creating our form and adding our fields that will include at least one Checkbox and one Multiple Choice.
If you need any assistance with how to create a form, please check out this useful guide.

Adding the descriptive text
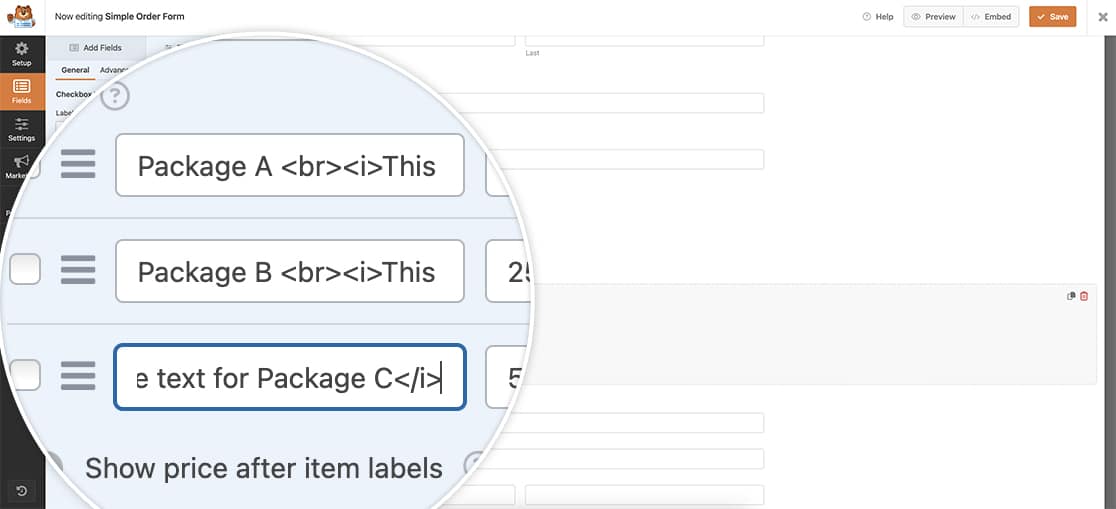
Once you’ve added your Checkbox and Multiple Choice fields, in each label, you’re going to start by adding a <br> tag. This is a standard HTML tag that will create a new line under the original label.
Next, we’re going to make the descriptive text under the Multiple Choice field that will be bold text and under the Checkbox labels, we’re going to make this text italics.
To do this, we’re going to use the standard HTML code for bold by wrapping our descriptive text in a <b> HTML tag.
For the Multiple Choice labels, each label will be created by adding this text inside the label field.
Product A <br><b>This is some descriptive text for Product A</b>Product B <br><b>This is some descriptive text for Product B</b>Product C <br><b>This is some descriptive text for Product C</b>
For the Checkbox labels, each label will be created by adding this text inside the label field.
Package A <br><b>This is some descriptive text for Package A</b>Package B <br><b>This is some descriptive text for Package B</b>Package C <br><b>This is some descriptive text for Package C</b>

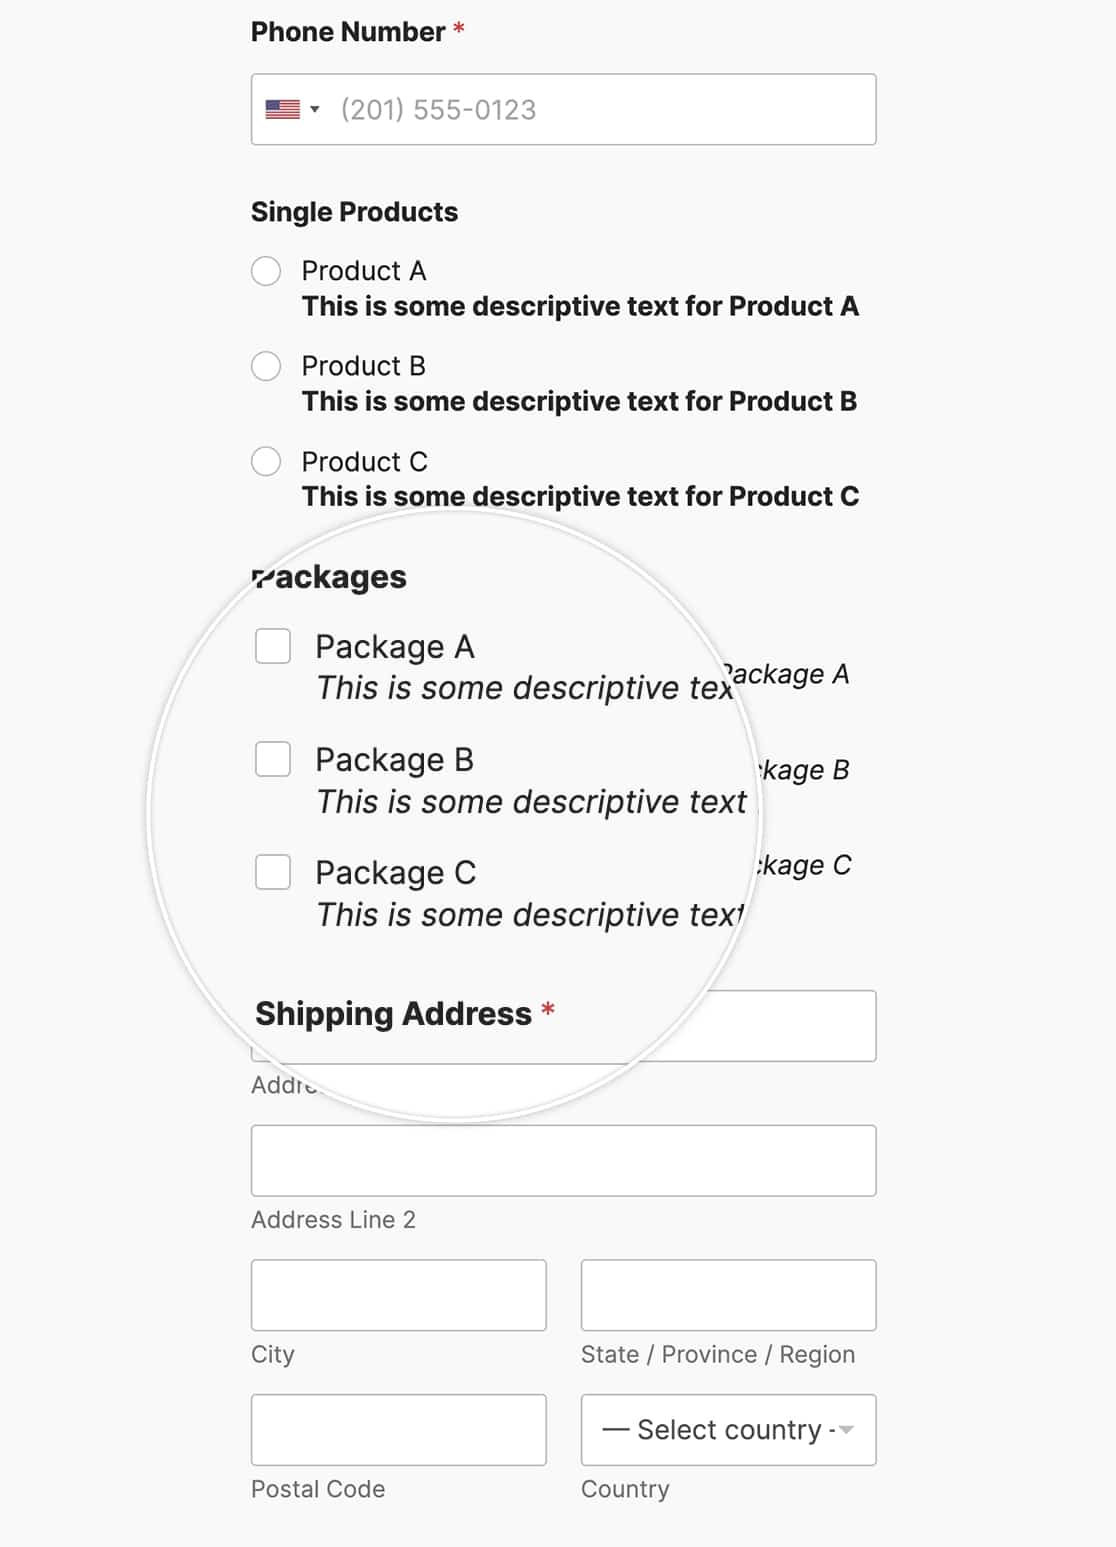
By adding this HTML to your labels, you’ll now see descriptive text under your labels for these fields.

Would you like to also customize the Checkbox and Multiple Choice colors? Take a look at our article on How to Customize the Checkbox Field Styles.
