AI Summary
Would you like to improve the address validation experience for your Authorize.net payment forms? By default, Authorize.net limits address fields to 60 characters but only shows a technical error message after form submission.
This guide will show you how to add user-friendly validation that catches address length issues before submission.
Understanding the Problem
When an Address exceeds 60 characters, Authorize.net displays this cryptic error:
Payment was declined by Authorize.Net.
API: (E00003) The 'AnetApi/xml/v1/schema/AnetApiSchema.xsd:address'
element is invalid – The value XXXXXXXXXXXXXXXXXXXXXXXXXXXXXXXXXXXXXXXXXXXXXXXXXXXXXXXXXXXX
is invalid according to its datatype 'String' –
The actual length is greater than the MaxLength value.
We’ll replace this with a clear, user-friendly message that appears immediately during form entry.
Setting Up Your Form
First, we’ll need to create a form using the Authorize.net addon. If you need help creating an Authorize.net payment form, check out our guide on setting up Authorize.net payments.
Make sure to add an Address field to your form. You’ll need this to capture the shipping or billing address for the transaction.
Mapping Address Fields
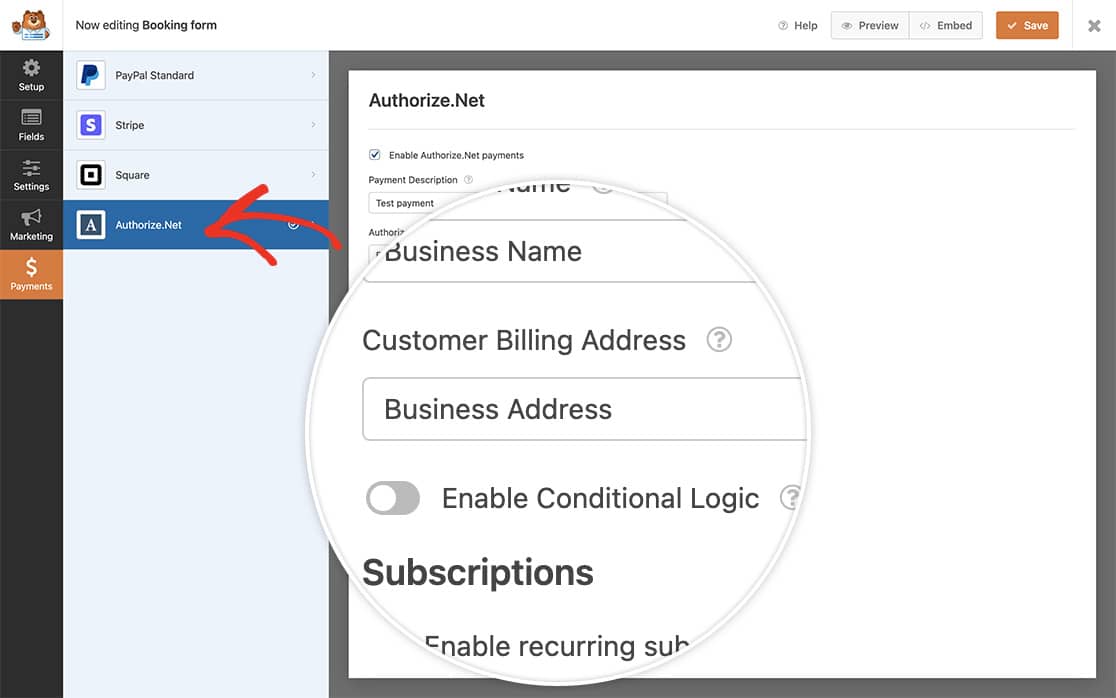
Navigate to the Payments tab in your form builder and select the Authorize.net tab. Map your form’s address fields to the corresponding Authorize.net transaction fields. This ensures the address data is properly transmitted with the payment.

Adding Validation Code
Add this code to your site to enable address validation. If you’re not sure how to add custom code, please review our guide on adding code snippets to WordPress.
Customizing the Code:
- On line 11: Replace 1000 with your form ID
- On line 16: Replace 25 with your Address field ID
- On line 19: Replace 25 with your Address field ID again
If you need help finding your form and field IDs, check out our guide on how to find form and field IDs.
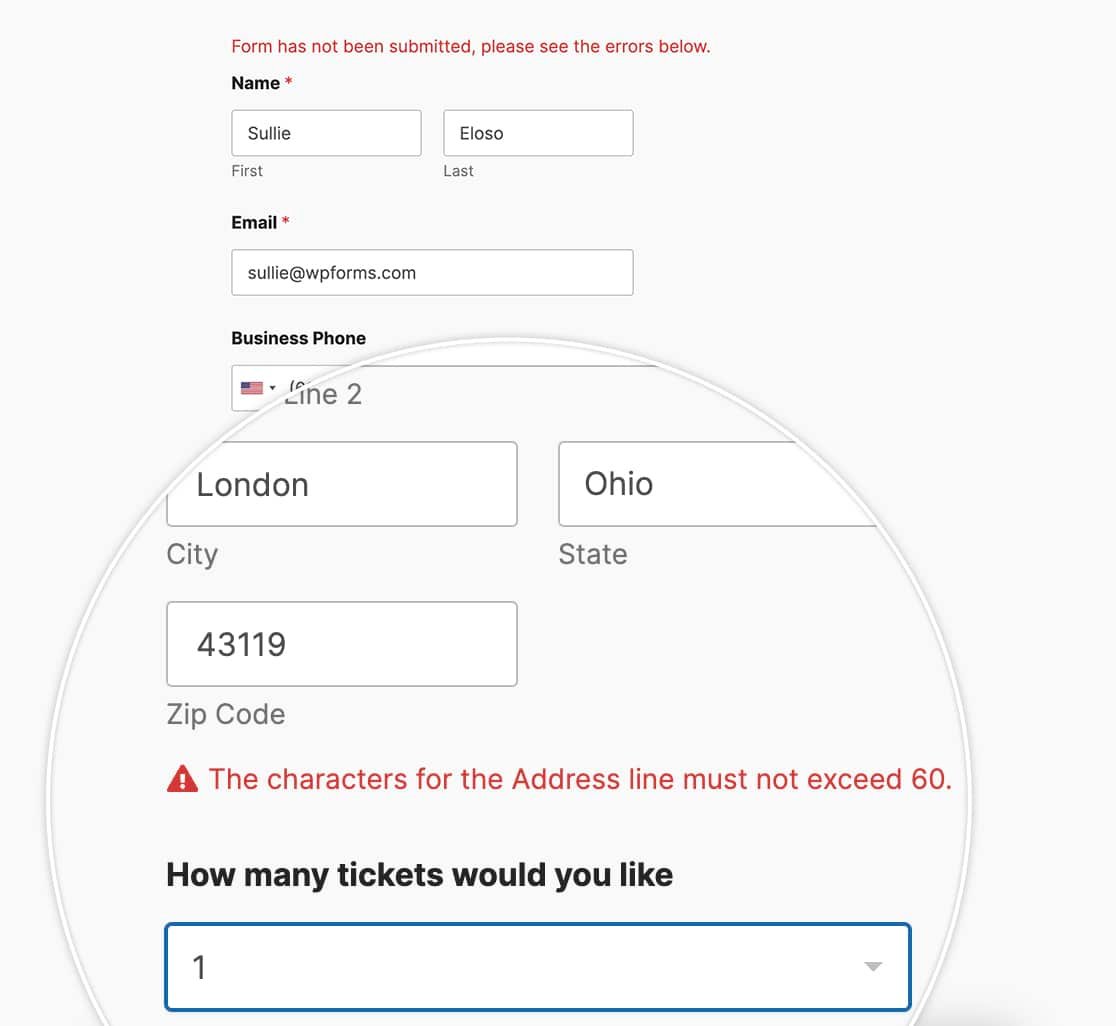
Now when the users enter their address they will see an immediate address validation message if any line in the Address exceeds 60 characters.

And that’s all you need! Next, would you like to also send an invoice number to Authorize.net? Check out our tutorial on sending an invoice number through to Authorize.net payments.
