Are you looking to automatically add a year to the entry date of your form submissions? In this tutorial, we’ll guide you through the process of setting up a form for volunteers, complete with a start date. Additionally, we’ll show you how to dynamically generate an expiration date that is one year ahead of their sign-up date using PHP. This involves creating hidden fields to store both the volunteer’s start date and the calculated expiration date. Let’s dive in!
Creating the form
We’re going to begin by creating a new form. If you need any assistance with how to create a new form, please review this documentation.
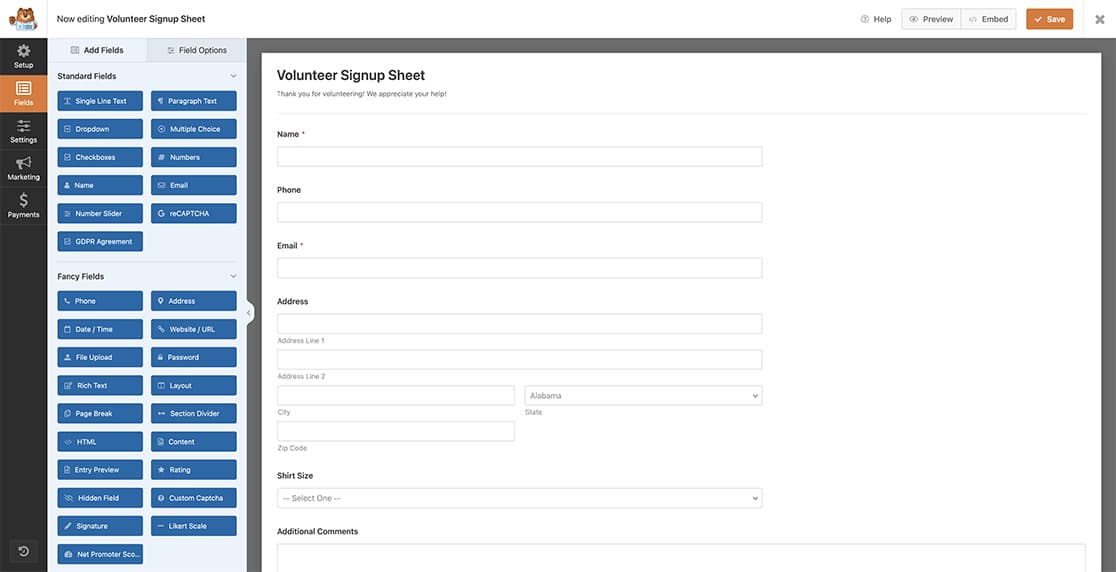
For the purpose of this tutorial, we’re creating a volunteer sign-up form. This form will capture the various information needed for the volunteers as well as two hidden fields that will store the start date, which is the entry date of the submission, as well as an expiration date for the volunteer since we will want to have the volunteer sign up again each year.

Defining the Hidden Fields
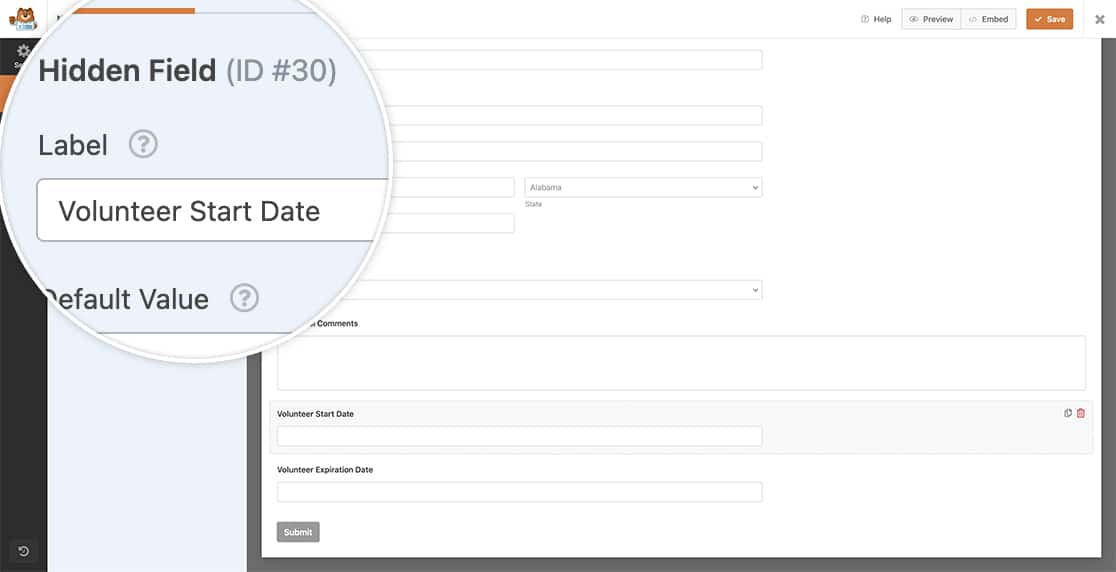
Inside our form, we have two hidden fields. One is to store the information of the exact entry date and the second is where we will take the entry date, add one year, and then store that data inside the second hidden field which will be an expiration date.

Adding a year to the WPForms entry date
Now it’s time to add the snippet to your site. If you need any assistance with how and where to add snippets to your site, please check out our tutorial on this subject.
/**
 * Add one year to the entry date and store this date inside a hidden field
 *
 * @link   https://wpforms.com/developers/how-to-add-a-year-to-the-wpforms-entry-date/
 */

function wpf_dev_process_complete( $fields, $entry, $form_data, $entry_id ) {

    // Optional, you can limit to specific forms. Below, we restrict output to
    // form #2189.
    if ( absint( $form_data[ 'id' ] ) !== 2189 ) {
        return;
    }

    // Get the full entry object
    $entry = wpforms()->entry->get( $entry_id );

    // Fields are in JSON, so we decode to an array
    $entry_fields = json_decode( $entry->fields, true );

    // Checking to make sure Name field (ID 2) is not empty
	if (isset( $fields[2][ 'value' ] )) {

		// Set the date to today's date so the Entry Date is recorded
        // on the first hidden field in the form
        // Remember to update the 30 to match the field ID of your form for your first hidden field
		$entry_fields[30][ 'value' ] = date('m/d/Y');

        // Set the date format and store the current date in a variable
		$setDate = date('m/d/Y');
		$date = strtotime($setDate);

		// Get the date set above and add 1 year to this date
        $new_date = strtotime('+ 1 year', $date);

		// Store this new date inside the hidden field ID
		// Remember to update the 33 to match the field ID of your form for your second hidden field
		$entry_fields[33][ 'value' ] = date('m/d/Y', $new_date);

	}

    // Convert back to json
    $entry_fields = json_encode( $entry_fields );

    // Save changes
    wpforms()->entry->update( $entry_id, array( 'fields' => $entry_fields ), '', '', array( 'cap' => false ) );

}
add_action( 'wpforms_process_complete', 'wpf_dev_process_complete', 10, 4 );
In the above snippet, it’s important to note that there is a form ID reference (2189) as well as a few field ID references (2, 30, and 33). You’ll need to update each of these ID numbers to match your own form and field IDs. If you need help with where to find your ID numbers, please check out this tutorial.
In the snippet above, our function starts with making sure the form ID matches 2189, if it doesn’t, this snippet will not run.
In the next part of the snippet, we’re checking just to make sure the Name field (this is the field ID 2) is not empty. Since we’ve set our form up to make the Name field a required field, we know this will never be empty, but we’ve placed it in as a validation check nonetheless.
Once we continue through our snippet, we’re going to set the first hidden field (field ID 30) to the current date, which is the same as the entry date of the submission.
And finally, we’re going to take the current date, add one year and then place that new date inside the second hidden field (field ID 33).
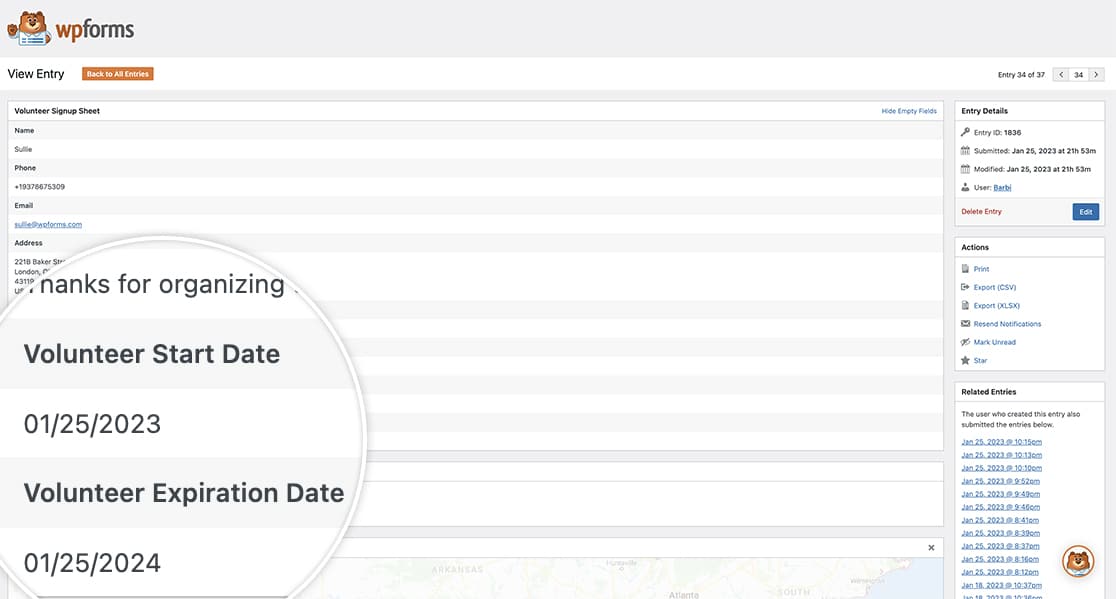
And now when you view the entry, you can clearly see the original date of the form submission as well as the new date that will stand as the expiration date of the submission.

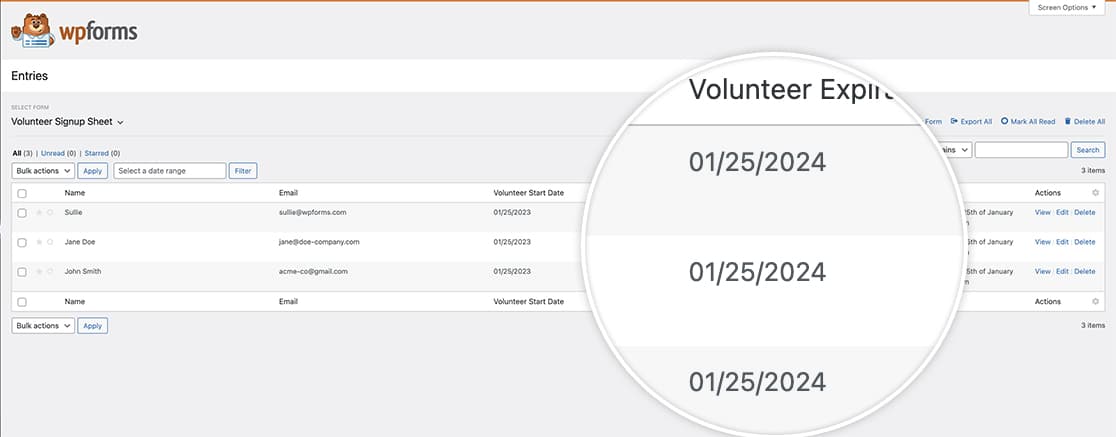
You can even follow the guide in this documentation to change the default view of the entries screen so you can easily see these dates when you view all entries.

And that’s it! You’ve successfully added and stored a new date inside your entries that is exactly one year from the entry date. Would you also like to store field values in your entries? Check out our tutorial on How to Store Field Values in the WPForms Entry.
