How to Restrict Countries Inside Smart Phone Form Fields

Would you like to limit the countries available in the Smart Phone form field? Sometimes, you may need the Phone field to accept numbers from specific countries only. With a simple code snippet, you can easily restrict the displayed flags in the Smart format for the Phone form field to these selected countries. In this tutorial, we’ll guide you through the process step-by-step.

By default, when using the Smart format for the Phone form field, the logic will try to determine what country flag should display by using the user’s IP address. By following these steps, you’ll be able to only allow certain flags for these countries to be selected from the dropdown.

Creating the form

We’ll being by creating our form, adding our fields including the Phone form field.

If you need any assistance in creating your form, please review this documentation.

Once you’ve added the Phone form field, click on the dropdown for the Format and make sure that you’ve selected Smart from the dropdown.
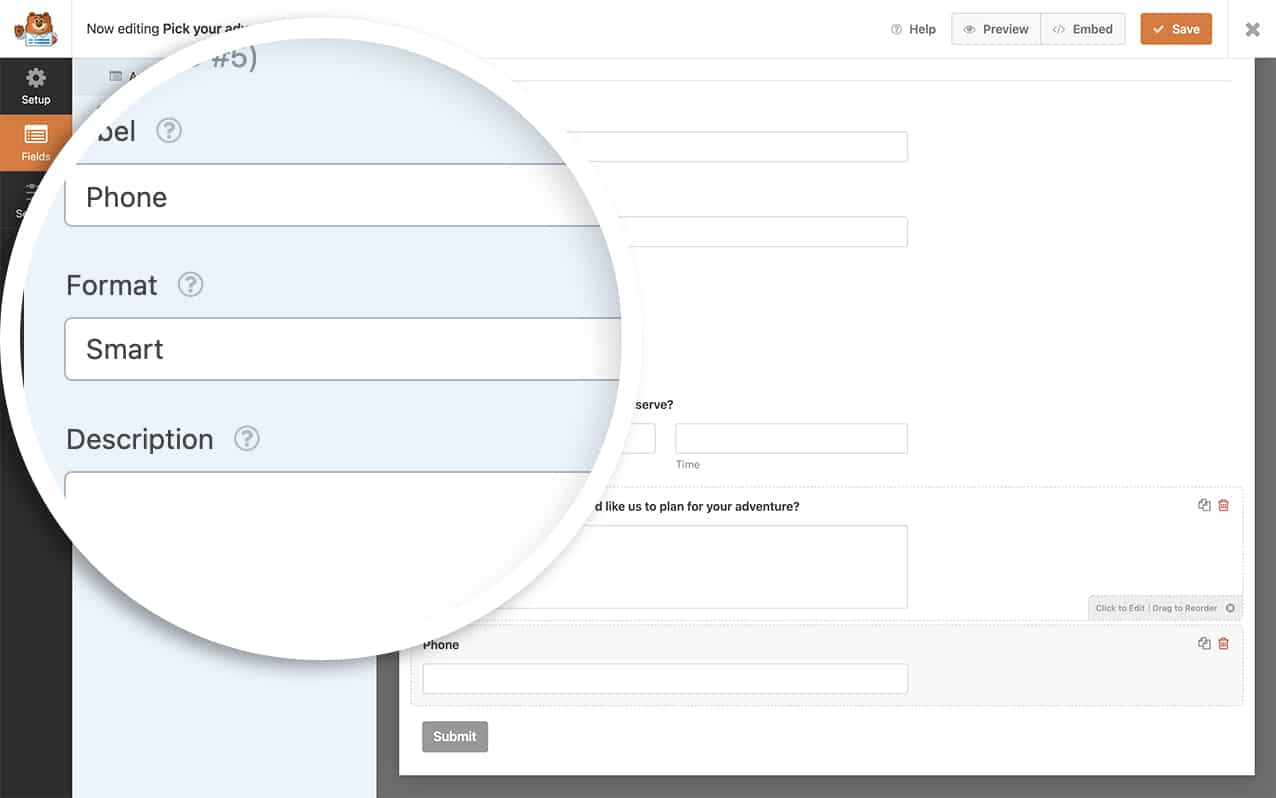
select the Smart format for the phone field from the dropdown

Restricting the countries

Now it’s time to add the snippet to your site. If you need help in how to add snippets to your site, please review this tutorial.

/**
 * Restrict countries inside the Smart Phone form field
 *
 * @link   https://wpforms.com/how-to-restrict-countries-inside-smart-phone-form-fields/
 */
 
function wpf_dev_smart_phone_field_restrict_countries() {
    ?>
 
<script type="text/javascript">
        jQuery( document ).on( 'wpformsReady', function() {
            jQuery( '.wpforms-smart-phone-field' ).each(function(e){
                var $el = jQuery( this ),
                    iti = $el.data( 'plugin_intlTelInput' ),
                    options;
                // Options are located in different keys of minified and unminified versions of jquery.intl-tel-input.js.
                if ( iti.d ) {
                    options = Object.assign( {}, iti.d );
                } else if ( iti.options ) {
                    options = Object.assign( {}, iti.options );
                }
                if ( ! options ) {
                    return;
                }
                $el.intlTelInput( 'destroy' );
				
				// Set the preferred countries - these flags will appear at the top of the list
            	options.preferredCountries = [ 'gb', 'us', 'de', 'in' ]; // Your preferred countries
				
				// Put a country code here according to this list: https://en.wikipedia.org/wiki/ISO_3166-1_alpha-2
				// Uncomment this line if you want to display all the countries in order but have this country automatically selected
                //options.initialCountry = 'in';
				
                // Put a country code here according to this list: https://en.wikipedia.org/wiki/List_of_ISO_3166_country_codes
                // Uncomment this line if you only want these countries to be able to be selected
            	//options.onlyCountries = [ 'de','in' ];
                 
                $el.intlTelInput( options );
                 
                // Restore hidden input name after intlTelInput is reinitialized.
                $el.siblings( 'input[type="hidden"]' ).attr( 'name', 'wpforms[fields][' + options.hiddenInput + ']' );
            });
        } );
    </script>
 
    <?php
}
add_action( 'wpforms_wp_footer_end', 'wpf_dev_smart_phone_field_restrict_countries', 30 );

Inside the options.onlyCountries = [ 'us','gb' ];, we’ve told the field to only accept formatted phone numbers from the USA and from Great Britain. If you want to look for your two-letter country codes, please check out this documentation. You’ll just need to separate each one with a comma and it’s important to note that these letters are not case-sensitive.

We’re going to provide some further explanation with 3 specific examples in the snippet.

Set Preferred Countries:

options.preferredCountries = ['gb', 'us', 'de', 'in']: This sets the preferred countries (Great Britain, United States, Germany, and India) that appear at the top of the country list in the phone input field.

Optional Initial Country:

// options.initialCountry = 'in': If uncommented, this line would set the initial country to India when the form loads.

Optional Restriction of Countries:

// options.onlyCountries = ['de', 'in']: If uncommented, this line restricts the selectable countries to Germany and India only.
Now when the flag dropdown is clicked, you’ll only see the two countries.

now you can only see the 2 countries that we've restricted the field to display

Would you like to also make sure the phone number typed into the form comes through the email notification as a link? Check out the tutorial on How to Make Phone Numbers a Link in Email Notifications.

Referece Action

wpforms_wp_footer_end

FAQ

Q: Why are some options showing twice?

A: On the Smart Phone form field, there is typically the top choice which is picked up by the browser’s IP address and below a grey line, you’ll see the remaining countries. The country that the IP address is associated with is considered the active country.

If you only want to show the countries that you’ve selected in your list and only show them once, you’ll need to add some CSS to your site.

If you need help ono where and how to add custom CSS to your site, please review this tutorial.


form#wpforms-form-917 .iti__active {
    display: none;
} 

This CSS will only be applied to the form with the ID of 917. You’ll need to update the CSS to match your own form ID.

It will still show a default flag when the page loads if the browser can detect the country based on the IP address, but you won’t see any duplicates inside your dropdown.

adding this CSS will remove the duplicate countries from the dropdown

If you need help in finding your form ID, please check out this tutorial.