AI Summary
Are you interested in crafting a personalized Smart Tag to enhance the functionality of your forms? If you envision integrating a custom Smart Tag, such as embedding a downloadable link within an email notification or confirmation message, the process is straightforward with a custom code snippet. In this guide, we’ll walk you through the steps to harness PHP for creating a tailored Smart Tag.
Smart Tags serve as a convenient means to dynamically fetch specific data into form fields or notification emails. WPForms offers a plethora of built-in Smart Tags, capable of extracting information like the URL of the current page or the email address of a logged-in user, among others. For a comprehensive understanding of the pre-defined Smart Tags within WPForms, please refer to our documentation.
Creating the custom Smart Tag
In the example below, we’ll demonstrate how to create a new custom Smart Tag specifically designed to display a URL for a download link once a form is completed. The process involves two PHP functions, each serving a distinct purpose.
The first function is responsible for creating the Smart Tag. It’s designed in a way that only basic name changes are required to customize it for any other Smart Tag.
The second function is where the bulk of the code will be implemented. Within the if statement, you’ll need to add any necessary code to fetch the value(s) you’d like this Smart Tag to display.
To get started, simply copy and paste both functions onto your website, ensuring to customize the Smart Tag’s name as needed. If you’re not sure where or how to add snippets to your site, please check out this tutorial.
/**
 * Register the Smart Tag so it will be available to select in the form builder.
 *
 * @link   https://wpforms.com/developers/how-to-create-a-custom-smart-tag/
 */

function wpf_dev_register_smarttag( $tags ) {

    // Key is the tag, item is the tag name.
    $tags[ 'download_link' ] = 'Download Link';

    return $tags;
}
add_filter( 'wpforms_smart_tags', 'wpf_dev_register_smarttag', 10, 1 );

/**
 * Process the Smart Tag.
 *
 * @link   https://wpforms.com/developers/how-to-create-a-custom-smart-tag/
 */

function wpf_dev_process_smarttag( $content, $tag ) {

    // Only run if it is our desired tag.
    if ( 'download_link' === $tag ) {

                // Replace our link in this demo with the URL you wish to provide
        $link    = 'https://yoursite.com/file.pdf';

        // Replace the tag with our link.
        $content = str_replace( '{download_link}', $link, $content );

    }

    return $content;
}
add_filter( 'wpforms_smart_tag_process', 'wpf_dev_process_smarttag', 10, 2 );
Note: Smart Tag names can contain lowercase Latin letters, digits, and an underscore only.
Creating the form
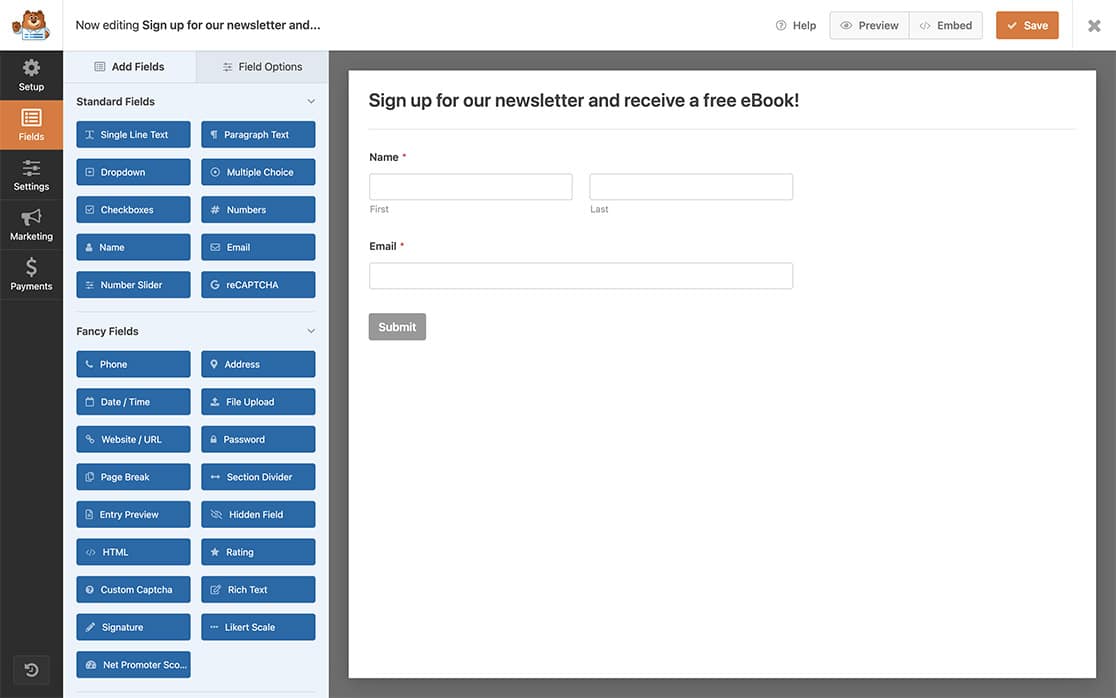
Next, let’s create a straightforward newsletter form. When users sign up for our newsletter, we aim to provide them with a complimentary link to download an eBook. This serves as an excellent illustration of harnessing the capabilities of WPForms Smart Tags. Once this Smart Tag is established, you can effortlessly incorporate it into any future form creations without the need for additional code adjustments.

For any assistance in how to create a form, please review this documentation.
Using the new custom Smart Tag
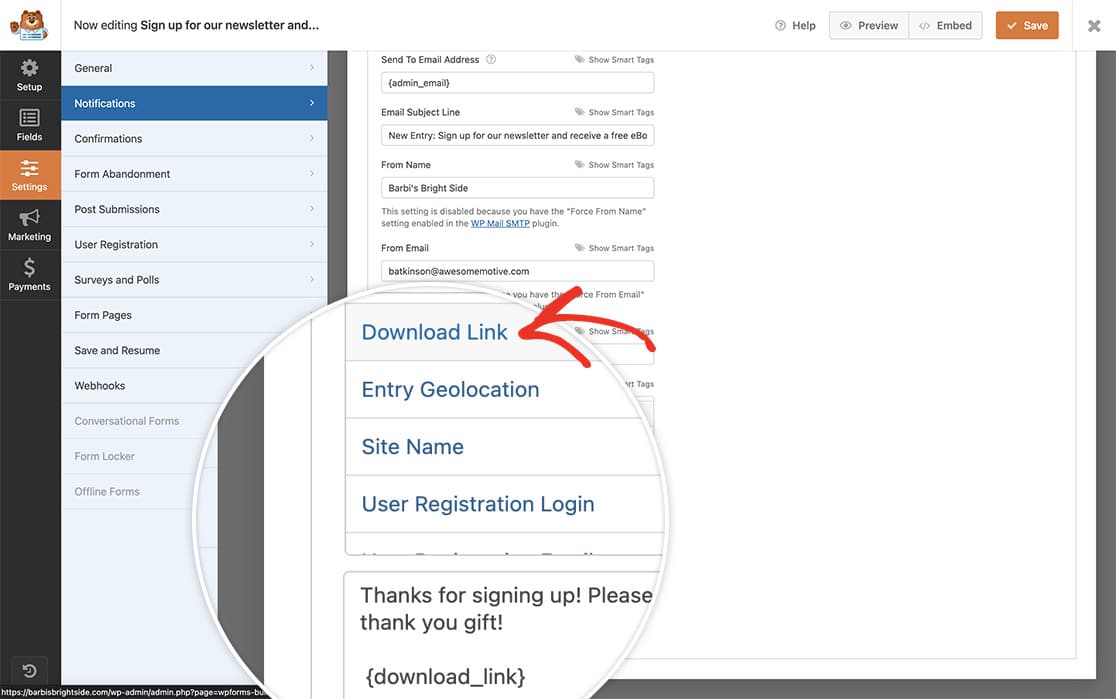
Now, let’s put our newly created custom Smart Tag to use. In this tutorial, we’ll incorporate the Smart Tag for our Download Link into our email Notifications.
To begin, navigate to the form builder and click on Settings, then select Notifications. Within the Notifications settings, scroll down to the Email Message box. Click on the Show Smart Tags link, and browse through the available Smart Tags until you locate the Download Link Smart Tag. Simply select it, and it will automatically be added to the notification template.

FAQ
Can I create a Smart Tag to dynamically add the website’s current locale?
Yes, you can create a custom Smart Tag to retrieve the current locale of your website (e.g., ‘fr’, ‘de’, ‘en’). Here’s how you can implement this:
/**
* Register the Smart Tag so it will be available to select in the form builder.
*
* @link https://wpforms.com/developers/how-to-create-a-custom-smart-tag/
*/

function wpf_dev_register_smarttag( $tags ) {

// Key is the tag, item is the tag name.
$tags[ 'page_locale' ] = 'Get Locale';

return $tags;
}
add_filter( 'wpforms_smart_tags', 'wpf_dev_register_smarttag', 10, 1 );

/**
* Process the Smart Tag.
*
* @link https://wpforms.com/developers/how-to-create-a-custom-smart-tag/
*
* WordPress get_locale(): https://developer.wordpress.org/reference/functions/get_locale/
*/

function wpf_dev_process_smarttag( $content, $tag ) {

// Only run if it is our desired tag.
if ( 'page_locale' === $tag ) {

// Stores the locale returned by the get_locale() function in the variable $locale
$locale = get_locale();

// Replace the tag with the $locale variable value.
$content = str_replace( '{page_locale}', $locale, $content );

}

return $content;
}
add_filter( 'wpforms_smart_tag_process', 'wpf_dev_process_smarttag', 10, 2 );
This snippet creates a new Smart Tag called ‘Get Locale’ using the WordPress get_locale() function.
After adding the snippet, you can use the {page_locale} Smart Tag in your forms, email notifications, or confirmation messages.
And that’s it! You’ve successfully created a new custom Smart Tag. Would you like to be able to process that custom Smart Tag inside an HTML form field? If so, take a look at our article on How to Process Smart Tags in HTML Fields.
