Want to let users print your forms for offline completion? While browsers offer built-in printing functionality through the default File menu, adding a dedicated print button or link can improve user experience.
This guide will show you how to add a print option directly to your forms using simple HTML code.
Setting Up Your Form
First, create a form and add your desired fields. If you need help creating your form, please review our guide on creating your first form.
Adding the Print Link
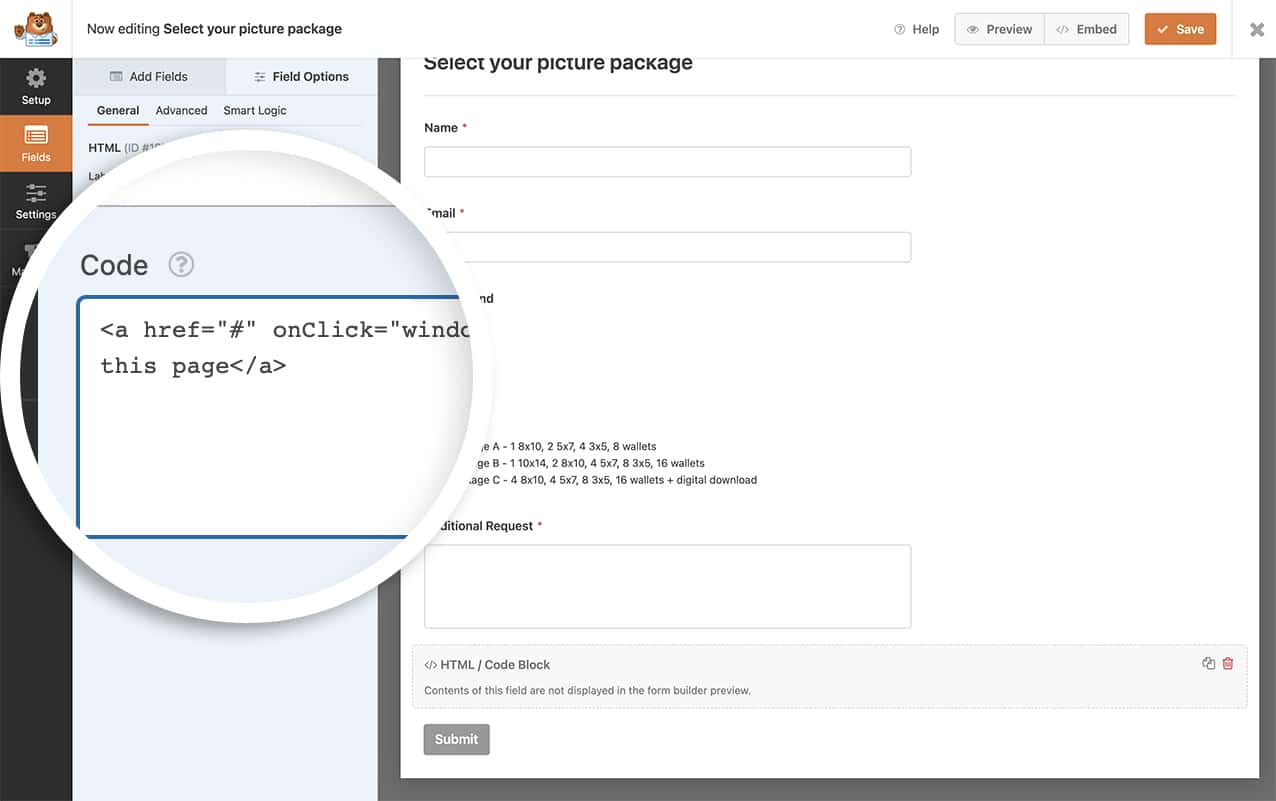
Next, add an HTML field to your form. Inside this field, add the following code:
<a href="#" onClick="window.print()">Print this page</a>

This code creates a simple text link that triggers the browser’s print dialog when clicked. The href="#" prevents page redirection, while onClick="window.print()" calls the browser’s print function.
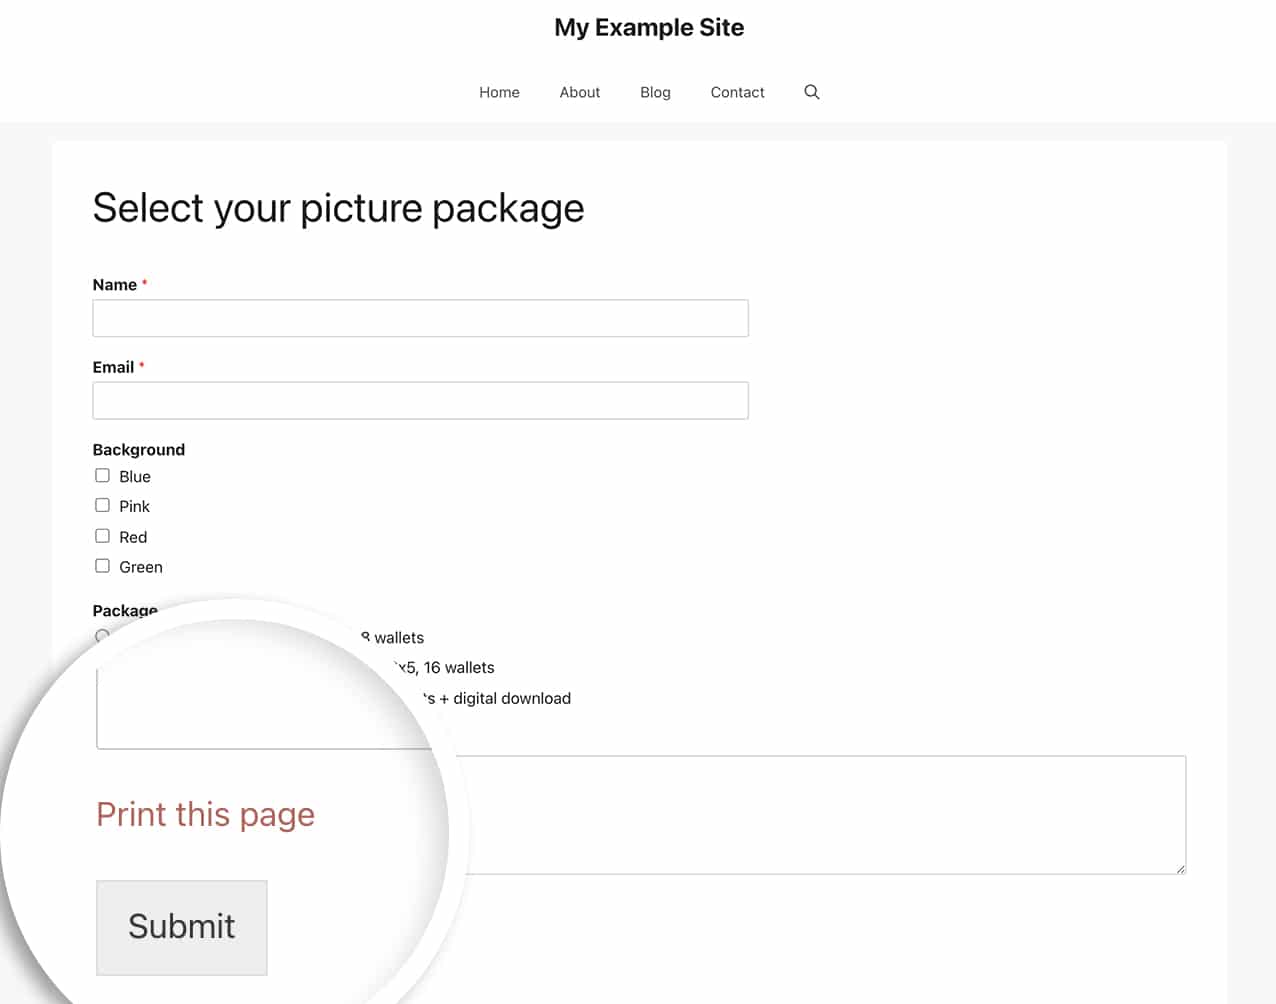
Once you’ve saved the form, you can see that just above the Submit button is a link to print the form.

Styling Your Print Link (Optional)
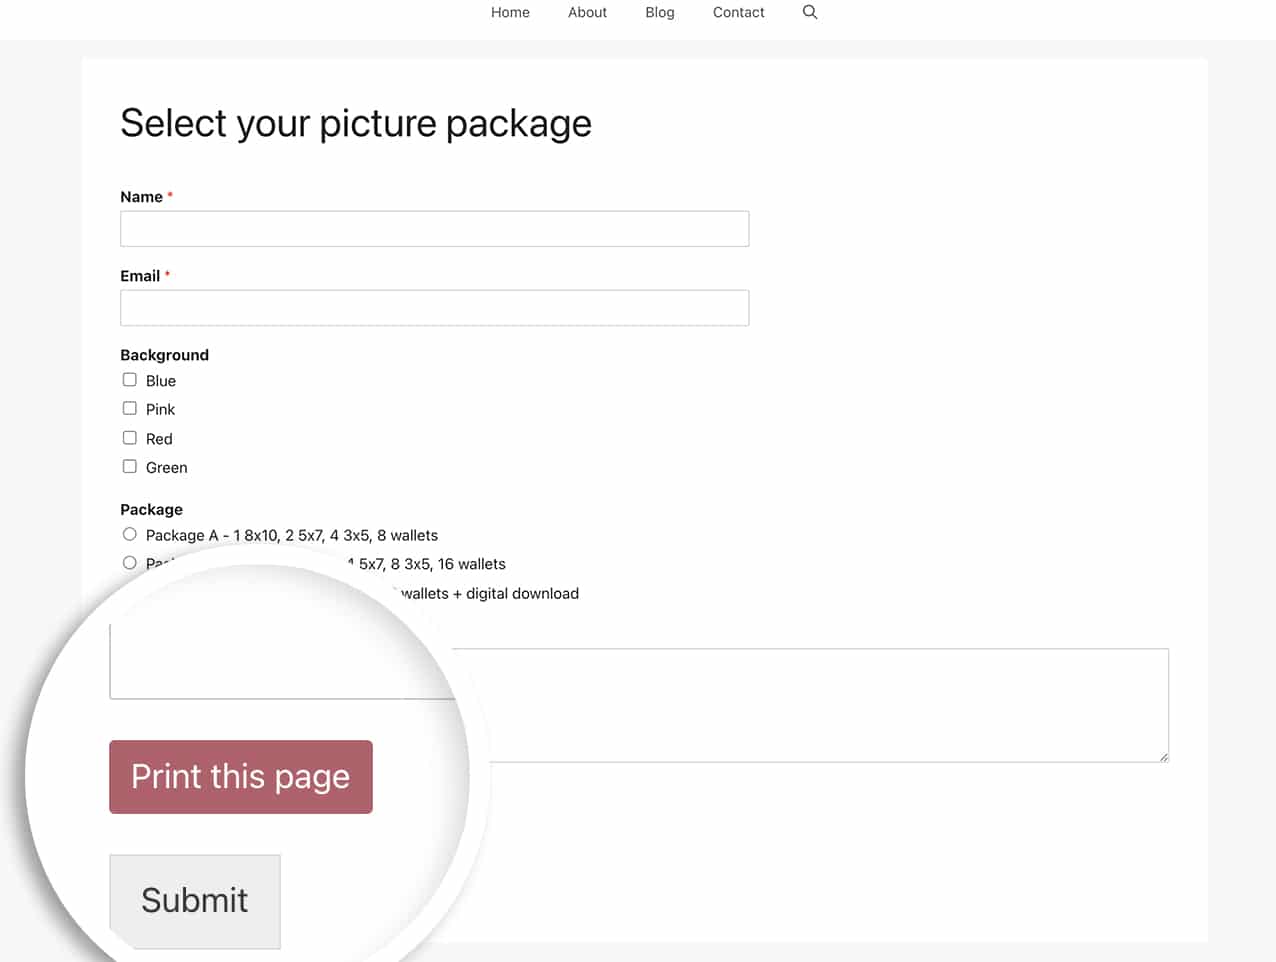
To make your print link look more like a button, you can add custom styling. First, modify your HTML to include a CSS class:
<a class="print_link" href="#" onClick="window.print()">Print this page</a>
Then add this CSS to your site. If you need help adding custom CSS, please review our guide on adding custom code.
a.print_link {
    display: inline-block;
    padding: 5px 10px;
    border-radius: 3px;
    background-color: #B95D6A;
    color: #ffffff;
    border: 1px solid #b95d6a;
    transition: all 0.2s ease-in-out;
}

a.print_link:hover {
    background-color: #ffffff;
    color: #b95d6a;
}

Printing Multi-Page Forms
If your form uses Page Breaks, you’ll need additional CSS to ensure all pages print properly. Add this CSS to your theme:
@media print {
    /* print only styles here */
    #wpforms-form-1000 .wpforms-page {
        display: block !important;
    }
}
Remember to replace 1000 with your form ID. If you need help finding your form ID, please check our guide on locating form IDs.
To apply this to all forms, use:
@media print {
    /* print only styles here */
    .wpforms-page {
        display: block !important;
    }
}
You can also use these print styles to hide elements like the sidebar, footer, or header when printing.
And that’s all you need! Would you like to know how to use shortcodes inside these HTML form fields? Check out our tutorial on How to Display Shortcodes Inside the HTML Field.
