AI Summary
Introduction
Would you like to enable a checkbox after reading a disclaimer or terms of service? Learn to harness the potential of the Enable Disclaimer / Terms of Service Display feature for Checkbox fields. This capability lets users express their agreement to your terms of service. Yet, if you’re keen on deactivating this field until users have scrolled through your disclaimer entirely, this tutorial is tailor-made for your needs!
Creating the Form
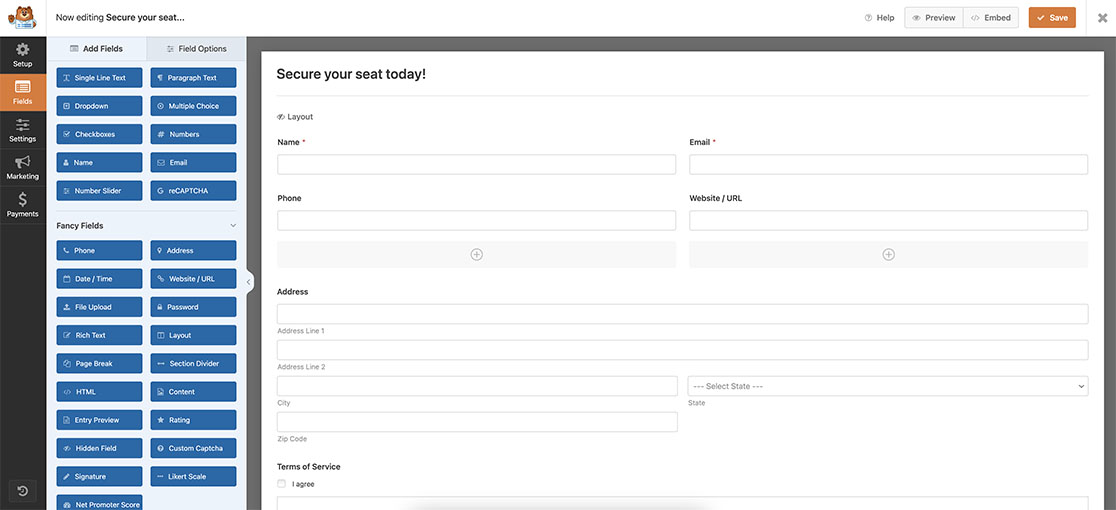
Begin by creating your form and adding your fields. If you need any help in creating your form, please review this useful guide.

Enabling Terms of Service
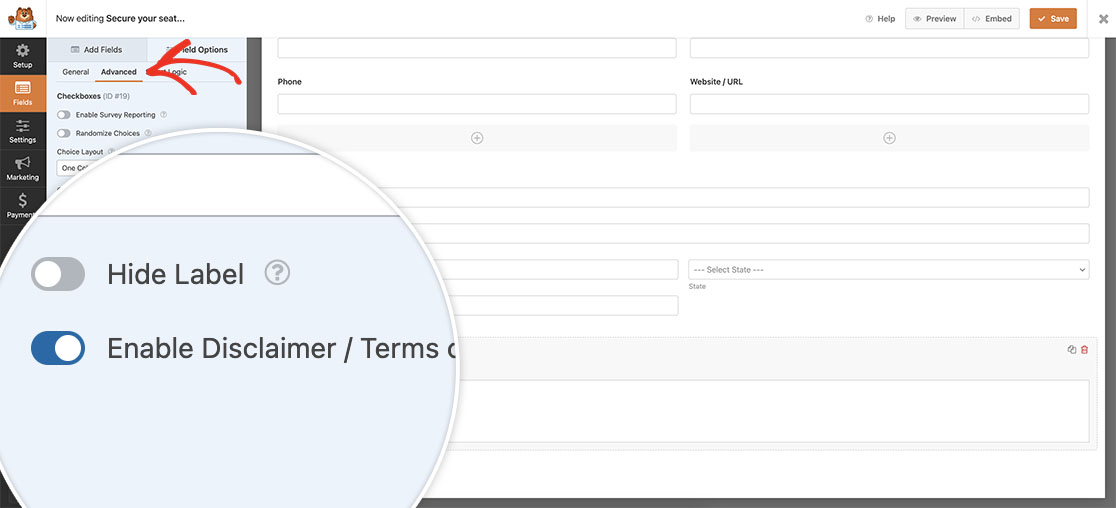
Once you’ve added your other fields, add a Checkbox field and click the Advanced tab. On this tab, you’ll see an option to Enable Disclaimer / Terms of Service Display. Toggle this option on and add your text to the Description field.

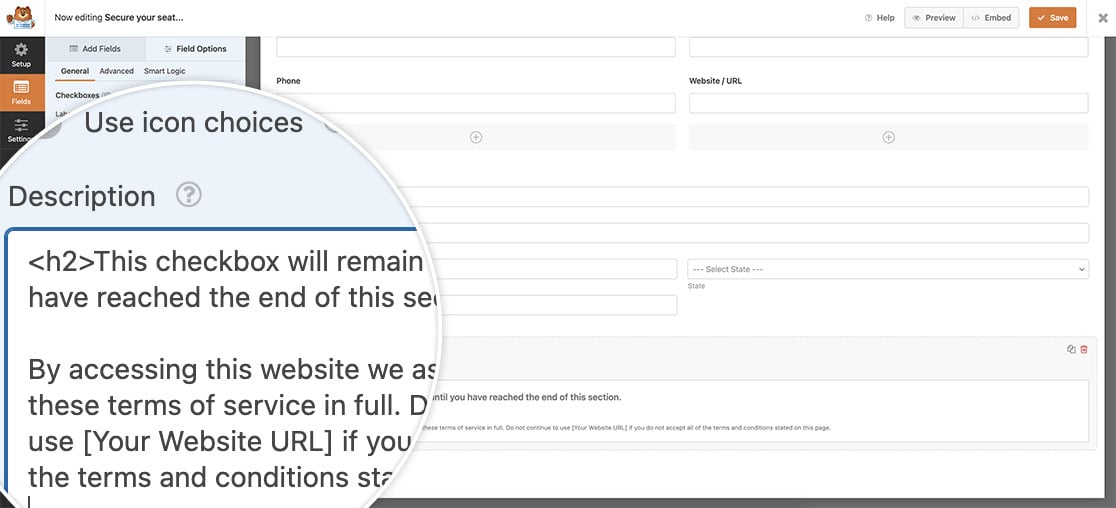
Once enabled, click back to the General tab to add your text to the Description.

Adding the snippet
Now, it’s time to add the snippet to your site. For assistance on how and where to add snippets to your site, please review this tutorial.
/**
 * Disable checkbox until terms of service has been read
 *
 * @link https://wpforms.com/developers/how-to-enable-a-checkbox-after-reading-disclaimer/
 */

function wpf_dev_tos_confirmation( ) {
?>

<script type="text/javascript">

jQuery(document).ready( function() {

    // Set an attribute on the checkbox description to readonly
    jQuery( "div#wpforms-3658-field_14-description" ).attr( "readonly","readonly" );

    // Set an attribute on the checkbox description to overflow-y scroll to check the scroll position
    jQuery( "div#wpforms-3658-field_14-description" ).attr( "overflow-y","scroll" );

    // Set an attribute on the checkbox field to disabled
    jQuery( "#wpforms-3658-field_14 input" ).attr( "disabled","true" );

    // As the user scrolls through the description, envoke this function
    jQuery( "div#wpforms-3658-field_14-description" ).scroll(function () {

        // Evaluate the scroll position inside the checkbox description
        if (jQuery(this).scrollTop() == jQuery(this)[0].scrollHeight - jQuery(this).innerHeight() || jQuery(this).scrollTop() + jQuery(this).innerHeight() >= jQuery(this)[0].scrollHeight ) {

            // When user has scrolled to the bottom of the description, remove the disabled attribute
            jQuery( "#wpforms-3658-field_14 input" ).removeAttr( "disabled" );

        }

    });

});

</script>

<?php
}

add_action( 'wpforms_wp_footer_end', 'wpf_dev_tos_confirmation', 30 );
This snippet will look at the description of the Checkbox field using the div#wpforms-3658-field_14-description. Our form ID is 3658, and our field ID for the Checkbox field is 14. It will then set two attributes on this field: readonly and overflow-y, scroll. We do this so we can calculate the scroll position of the description so we’ll know when our visitors scroll to the bottom of our disclaimer.
The next section of the snippet will add an attribute of disabled on the Checkbox field using the field ID of #wpforms-3658-field_14 input.
As the user scrolls down through the disclaimer, we’re going to calculate the position of the scroll, when it reaches 0, that’s when we’ll remove the disabled attribute and our visitors can then click the Checkbox to agree.
As your visitors view your form, they won’t be able to agree to your disclaimer checkbox until they have scrolled to the bottom of the disclaimer.
And that’s it! Would you like to count checkbox selections inside your form? Take a look at our article on How to Count Checkbox Selections Inside Your Form.
Related
Action Reference: wpforms_wp_footer_end
