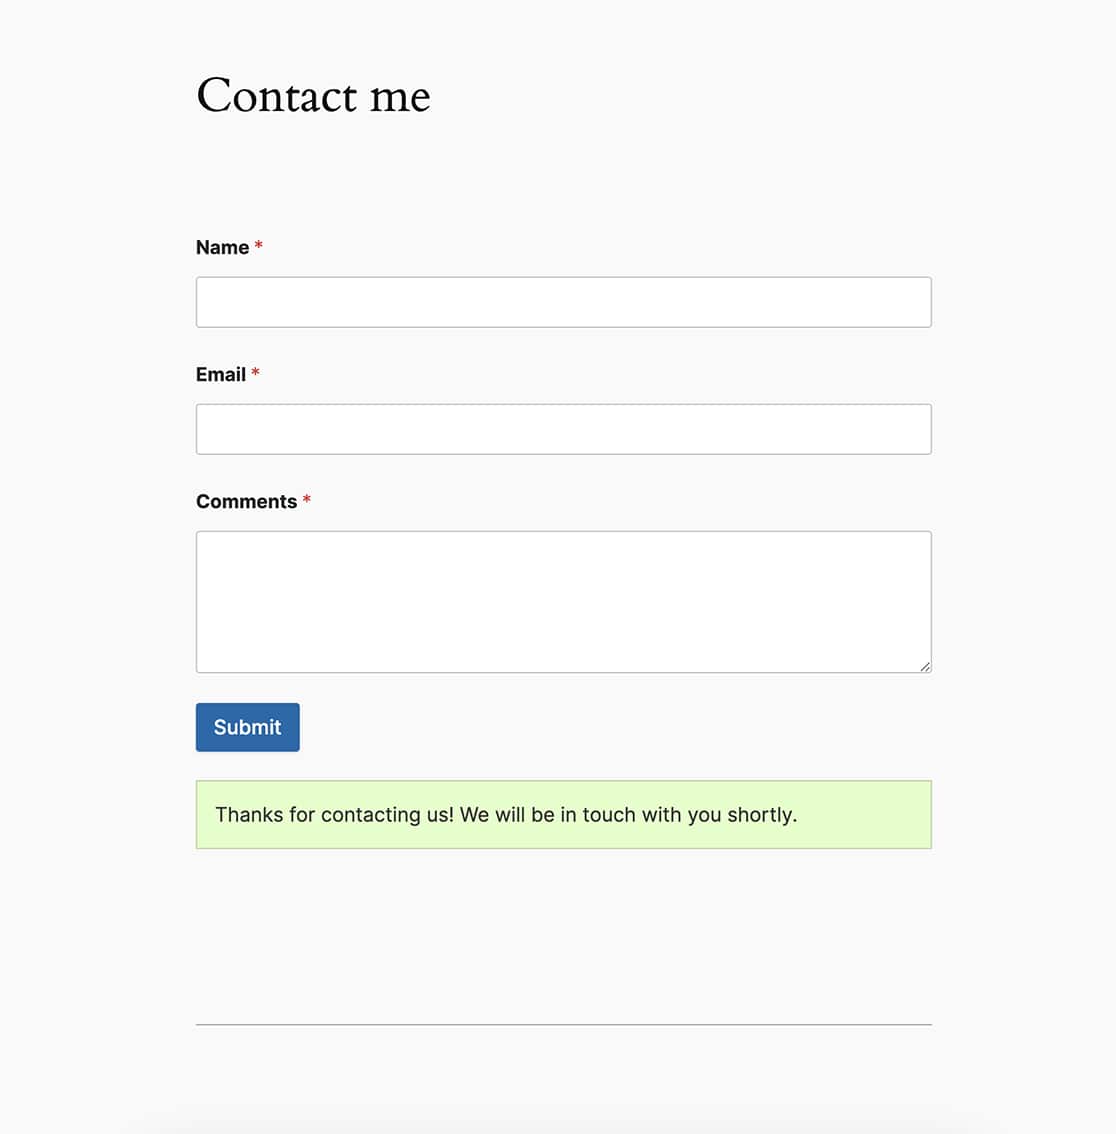
Are you interested in showing the form confirmation message alongside the form itself after submission? Typically, when a form is submitted, you have the option to either display a confirmation message or redirect to another webpage. However, in this tutorial, we’ll guide you through the process of accomplishing both using a simple code snippet.
Creating the form
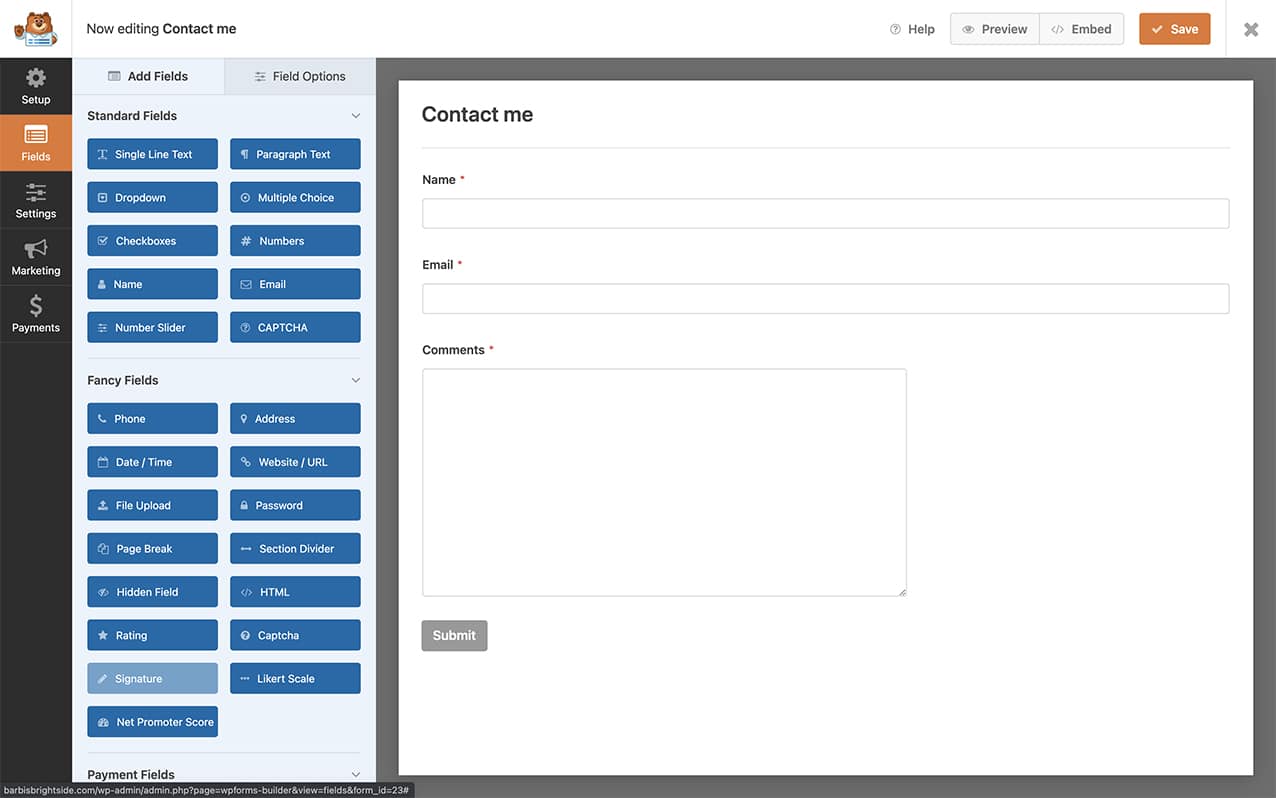
First, you’ll need to create a new form. For the purpose of this tutorial, we’ve already completed this step. However, if you need assistance in creating a form with WPForms, please review this documentation.
For our form, we’ve added just the Name, Email and Paragraph Text form field.

Disabling AJAX on the form
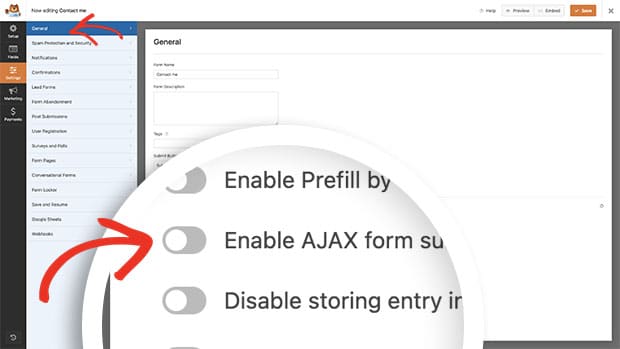
Next, you’ll need to make sure the Enable AJAX form submission is disabled on the form. To check this setting click on the Settings tab inside the form builder and then click General.

Displaying the confirmation and the form
Next, you’ll need to add a small code snippet to your site that will allow the form to display again before the confirmation message.
If you need help adding snippets to your site, please review this tutorial.
/*
 * Display confirmation message and form after successful submission.
 *
 * @link  https://wpforms.com/developers/how-to-display-the-confirmation-and-the-form-again-after-submission/
 */

function wpf_dev_frontend_output_success(  $form_data, $fields, $entry_id ) {

    // Optional, you can limit it to specific forms. Below, we restrict output to form #235.
    if ( absint( $form_data[ 'id' ] ) !== 235 ) {
        return;
    }

    // Reset the fields to blank
	unset(
		$_GET[ 'wpforms_return' ],
		$_POST[ 'wpforms' ][ 'id' ]
	);

	// Comment this line out if you want to clear the form field values after submission
	unset( $_POST[ 'wpforms' ][ 'fields' ] );

	// Actually render the form.
	wpforms()->frontend->output( $form_data[ 'id' ] );

}

add_action( 'wpforms_frontend_output_success', 'wpf_dev_frontend_output_success', 10, 3 );
Since we only want this snippet to run on a particular form, we’re using the if ( absint( $form_data[ 'id' ] ) !== 235 ). This means that this snippet will only run if the form ID matches 235.
If you need help in identifying your form ID number, please see this tutorial.
If you want to keep the values inside the form fields after the form submits, just comment out the unset( $_POST[ 'wpforms' ][ 'fields' ] );. You can do this by adding two slashes (//) in front of the unset fields code.
Example:
// unset( $_POST[ 'wpforms' ][ 'fields' ] );
Now you’ll see when the form is submitted, your visitors will see the confirmation and the form on the same page after the form is submitted!

And that’s it! Would you like to set a default date on your date picker? Take a look at our tutorial on How to Set a Default Date for Your Date Picker Form Field.
Reference Action
wpforms_frontend_output_success
FAQ
Q: Why does my confirmation message appear below the form?
A: If your confirmation message is appearing above your form and you’d like it to appear below, please change the priority of this function.
To explain what the priority of a function is, let’s take a look at the snippet above, specifically the last line.
add_action( 'wpforms_frontend_output_success', 'wpf_dev_frontend_output_success', 10, 3 );
In this case, the name of the action hook (as defined by WPForms) is wpforms_frontend_output_success, the name of our function is wpf_dev_frontend_output_success. Inside this function, we are pass 3 arguments ($form_data, $fields, $entry_id), and we have the default priority set to 10.
Since we want the default functionality of the form to appear first, in this case, the confirmation message, we need to change the priority so that the message appears first and the function runs after. To do this, we are going to increase the priority to 1000.
Most functions use 10 as a default priority number so if you want something to run before you would make the priority something under 10 if you want the function to run after, increase the priority to something over 10.
/*
 * Display confirmation message and form after successful submission.
 *
 * @link  https://wpforms.com/developers/how-to-display-the-confirmation-and-the-form-again-after-submission/
 */

function wpf_dev_frontend_output_success(  $form_data, $fields, $entry_id ) {

    // Optional, you can limit it to specific forms. Below, we restrict output to form #235.
    if ( absint( $form_data[ 'id' ] ) !== 235 ) {
        return;
    }
                // Reset the fields to blank
		unset(
			$_GET[ 'wpforms_return' ],
			$_POST[ 'wpforms' ][ 'id' ]
		);

		// Comment this line out if you want to clear the form field values after submission
		unset( $_POST[ 'wpforms' ][ 'fields' ] );

		// Actually render the form.
		wpforms()->frontend->output( $form_data[ 'id' ] );

}

add_action( 'wpforms_frontend_output_success', 'wpf_dev_frontend_output_success', 1000, 3 );
Q: Why isn’t the snippet working for me?
A: If the snippet isn’t working, please make sure you’ve changed the 235 to match your own form ID on your site. Please see this tutorial to help find your form ID.
Q: Why do I see a blank page after I submit the second time?
A: If you’re seeing a blank page or an AJAX error in the console log, please make sure you’ve disabled AJAX as mentioned in the steps above. This snippet will only work if AJAX is disabled on the form.

