Would you like to add images before or after your form labels? Adding images to the labels can make these elements stand out with a little flare on your form, and this can be easily achieved with a little CSS.
In this tutorial, we’ll walk you through how to add images before and after field labels in WPForms.
Creating Your Form
To begin, create a new form or edit an existing one to access the form builder. For our form, we’ve added a Name, Email, Phone, URL, File Upload, and Paragraph form fields.
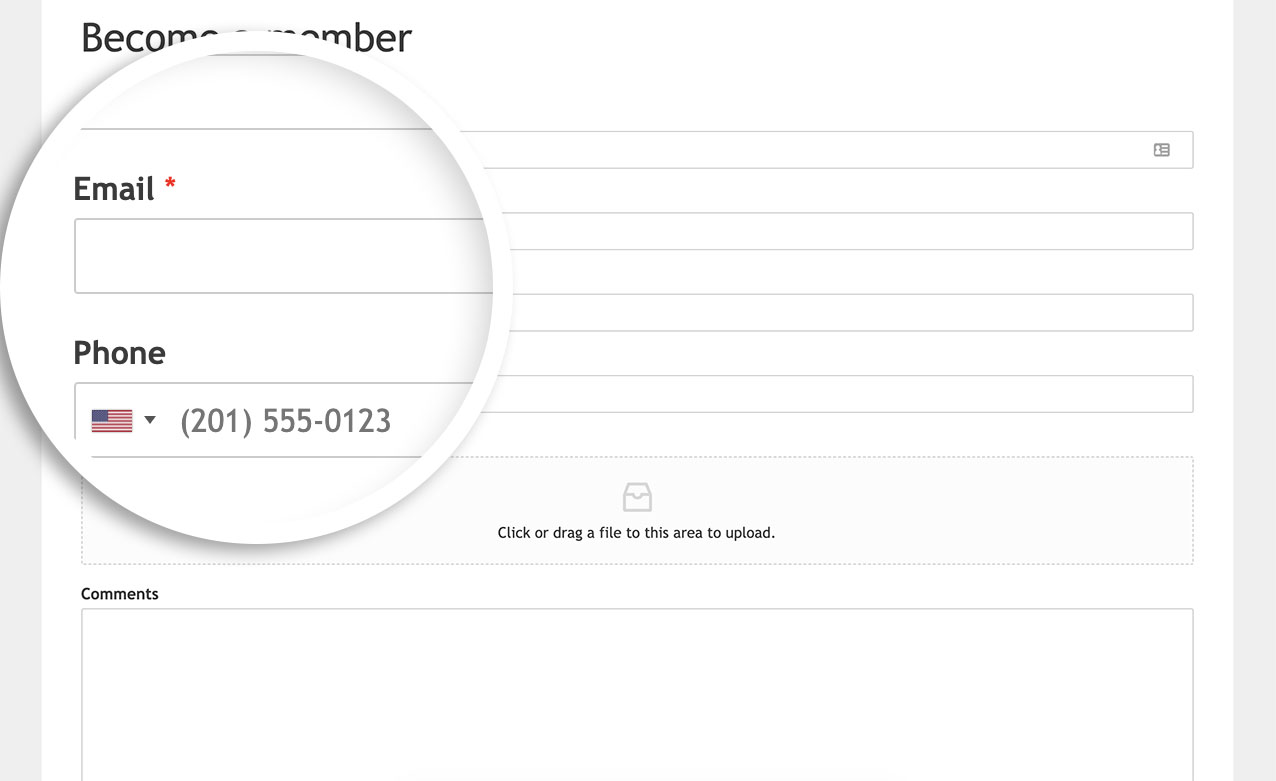
Adding Your Background Images Before the Form Labels
For this tutorial, we’ve already created images for each of these labels and uploaded them into the WordPress Media Library.
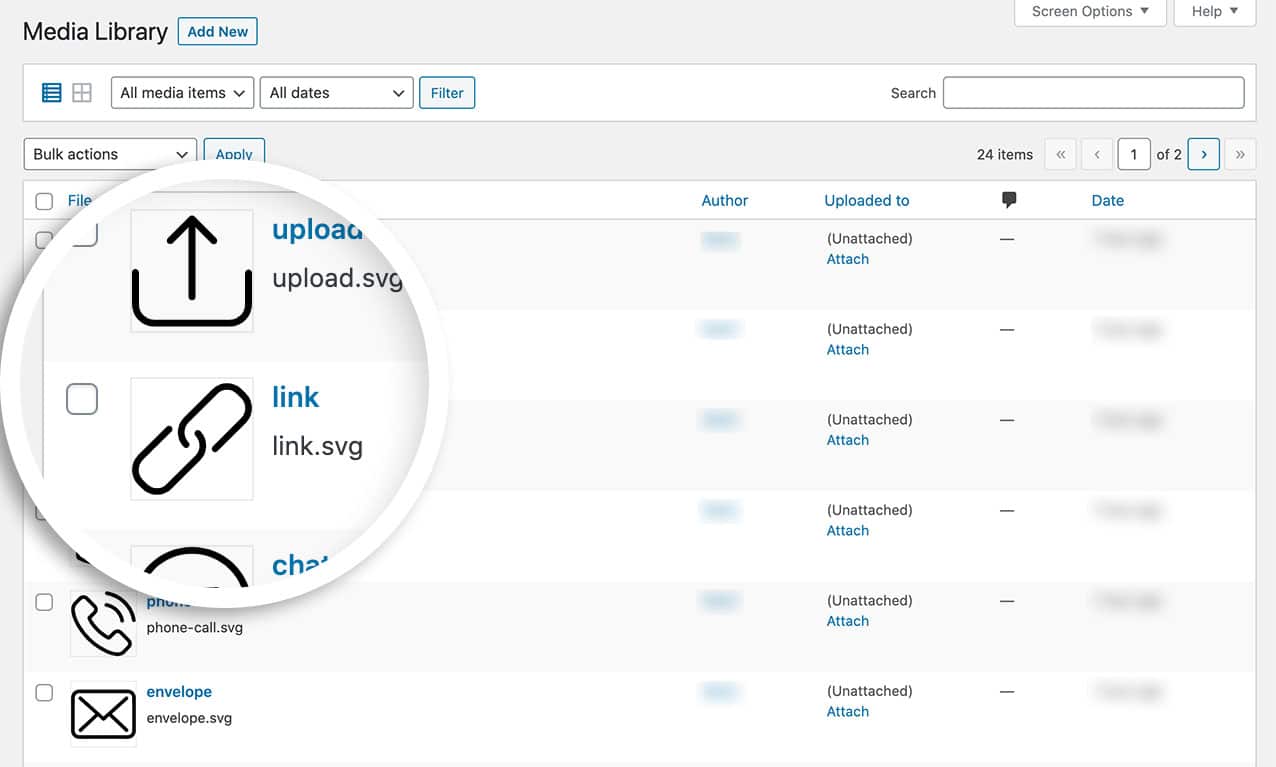
If you’d like some help on uploading SVG image into WordPress, please review this tutorial.
Adding the CSS
Now, it’s time to add the CSS that will pull this all together. If you need help adding CSS to your site, please review this tutorial.
label[for="wpforms-1723-field_1"]::before,
label[for="wpforms-1723-field_2"]::before,
label[for="wpforms-1723-field_3"]::before,
label[for="wpforms-1723-field_4"]::before,
label[for="wpforms-1723-field_6"]::before,
label[for="wpforms-1723-field_5"]::before{
    background-repeat: no-repeat;
    background-size: 100%;
    width: 18px;
    height: 20px;
    content: " ";
    display: inline-block;
    background-position: 0px 2px;
    margin-right: 10px;
}

label[for="wpforms-1723-field_1"]::before {
    background-image: url(http://yoursiteurl.com/url-path-to-your-image/avatar.svg);
}
label[for="wpforms-1723-field_2"]::before {
    background-image: url(http://yoursiteurl.com/url-path-to-your-image/envelope.svg);
}
label[for="wpforms-1723-field_3"]::before {
    background-image: url(http://yoursiteurl.com/url-path-to-your-image/phone-call.svg);
}
label[for="wpforms-1723-field_4"]::before {
    background-image: url(http://yoursiteurl.com/url-path-to-your-image/link.svg);
}
label[for="wpforms-1723-field_6"]::before {
    background-image: url(http://yoursiteurl.com/url-path-to-your-image/upload.svg);
}
label[for="wpforms-1723-field_5"]::before {
    background-image: url(http://yoursiteurl.com/url-path-to-your-image/chat.svg);
}
In the snippet above, we’re targeting the form with ID 1723. You’ll need to update this ID to match the form you’d like to add the images. We’re using the CSS ::before element to target the area before each field’s label.
The field_1 selector targets the field ID. So, you’ll need to update these values to match the field IDs you want to target.
Note: Each form label above in the CSS targets the field IDs. If you need help finding your form or field IDs, please see this tutorial.
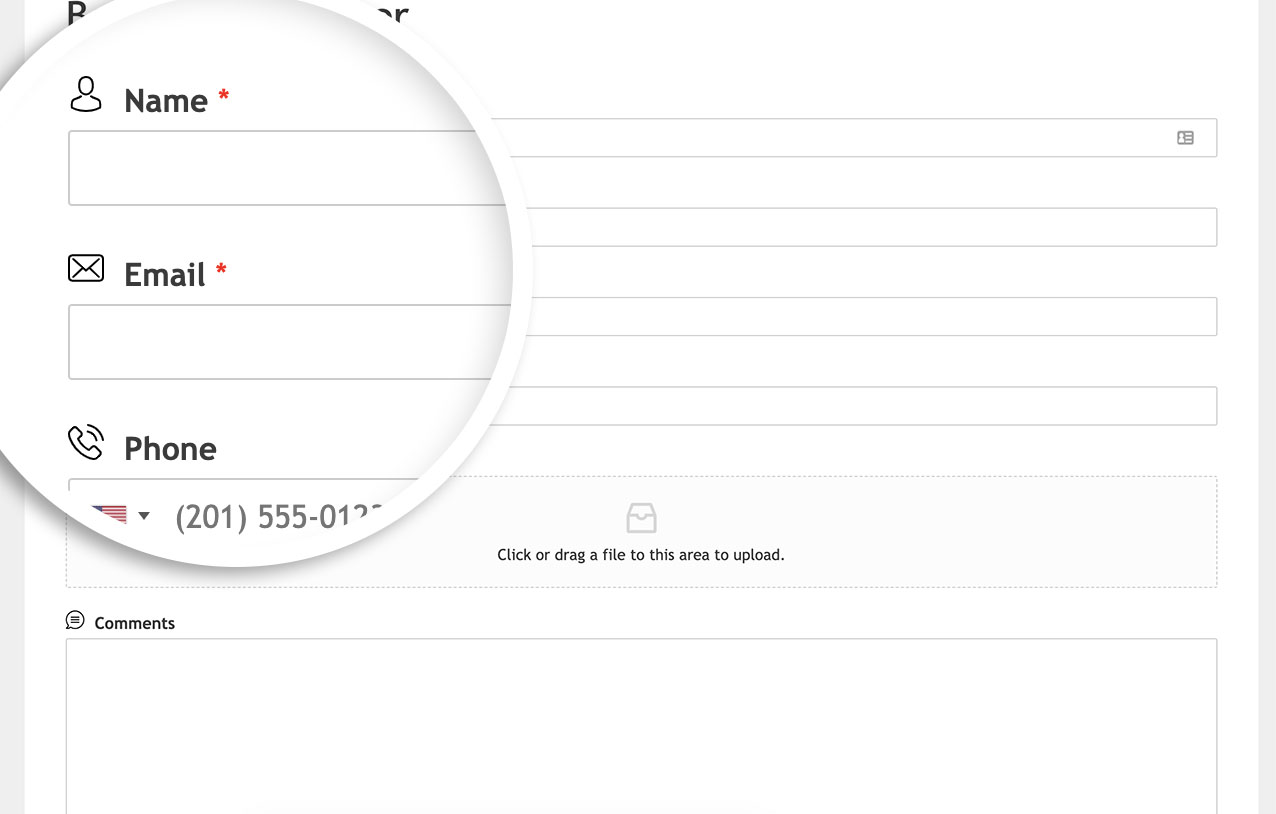
Replace the background-image URLs with the link to the images you uploaded to your WordPress site. Once the CSS is added, you can now see these images on your form.
Using a Font Based Image
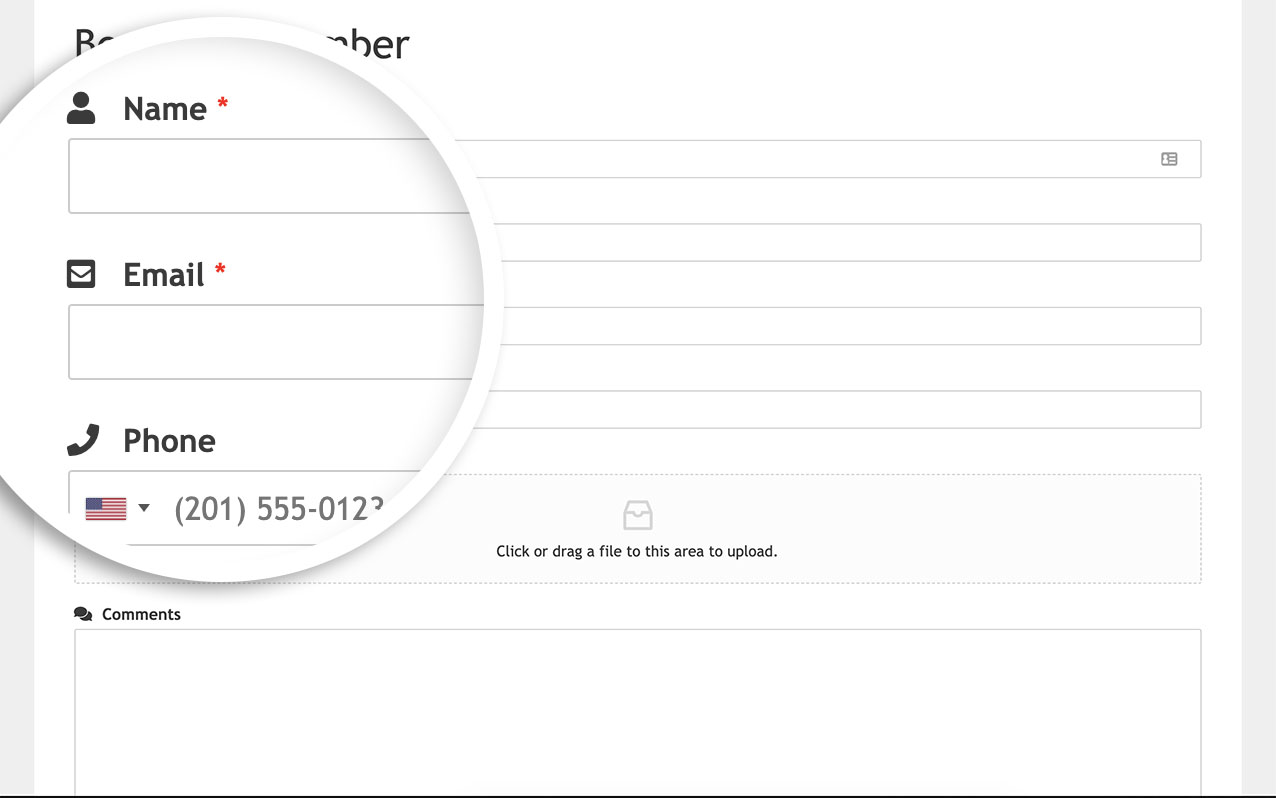
Uploading images to your site is not the only way to display images before or after field labels. You can easily add a font-based icon to these labels as well.
For this tutorial, we’ve already set up the font family we want to use for these icons.
If you’d like some help in setting up this step, please see this tutorial.
In this tutorial, we used the WordPress plugin for the Font Awesome plugin.
label[for="wpforms-1723-field_1"]::before, label[for="wpforms-1723-field_2"]::before, label[for="wpforms-1723-field_3"]::before, label[for="wpforms-1723-field_4"]::before, label[for="wpforms-1723-field_6"]::before,
label[for="wpforms-1723-field_5"]::before{
    background-repeat: no-repeat;
    background-size: 100%;
    width: 18px;
    height: 20px;
    display: inline-block;
    background-position: 0px 2px;
    margin-right: 10px;
      font-family:"Font Awesome 5 Free";
}

label[for="wpforms-1723-field_1"]::before {
    content: "\f007";
}
label[for="wpforms-1723-field_2"]::before {
    content: "\f199";
}
label[for="wpforms-1723-field_3"]::before {
    content: "\f095";
}
label[for="wpforms-1723-field_4"]::before {
    content: "\f35d";
}
label[for="wpforms-1723-field_6"]::before {
    content: "\f382";
}
label[for="wpforms-1723-field_5"]::before {
    content: "\f086";
}
Adding the Images after the Label
If you’d like to have the icons appear after the label, the CSS would be slightly different.
label[for="wpforms-1723-field_1"]::after, label[for="wpforms-1723-field_2"]::after, label[for="wpforms-1723-field_3"]::after, label[for="wpforms-1723-field_4"]::after, label[for="wpforms-1723-field_6"]::after,
label[for="wpforms-1723-field_5"]::after{
    background-repeat: no-repeat;
    background-size: 100%;
    width: 18px;
    height: 20px;
    display: inline-block;
    background-position: 0px 2px;
    margin-right: 10px;
      font-family:"Font Awesome 5 Free";
      margin: 0 0 0 5px;
}

label[for="wpforms-1723-field_1"]::after {
    content: "\f007";
}
label[for="wpforms-1723-field_2"]::after {
    content: "\f199";
}
label[for="wpforms-1723-field_3"]::after {
    content: "\f095";
}
label[for="wpforms-1723-field_4"]::after {
    content: "\f35d";
}
label[for="wpforms-1723-field_6"]::after {
    content: "\f382";
}
label[for="wpforms-1723-field_5"]::after {
    content: "\f086";
}
The only difference to this CSS is that you’re using the ::after instead of the ::before and we’ve added some margin to the left of the label for a little spacing.
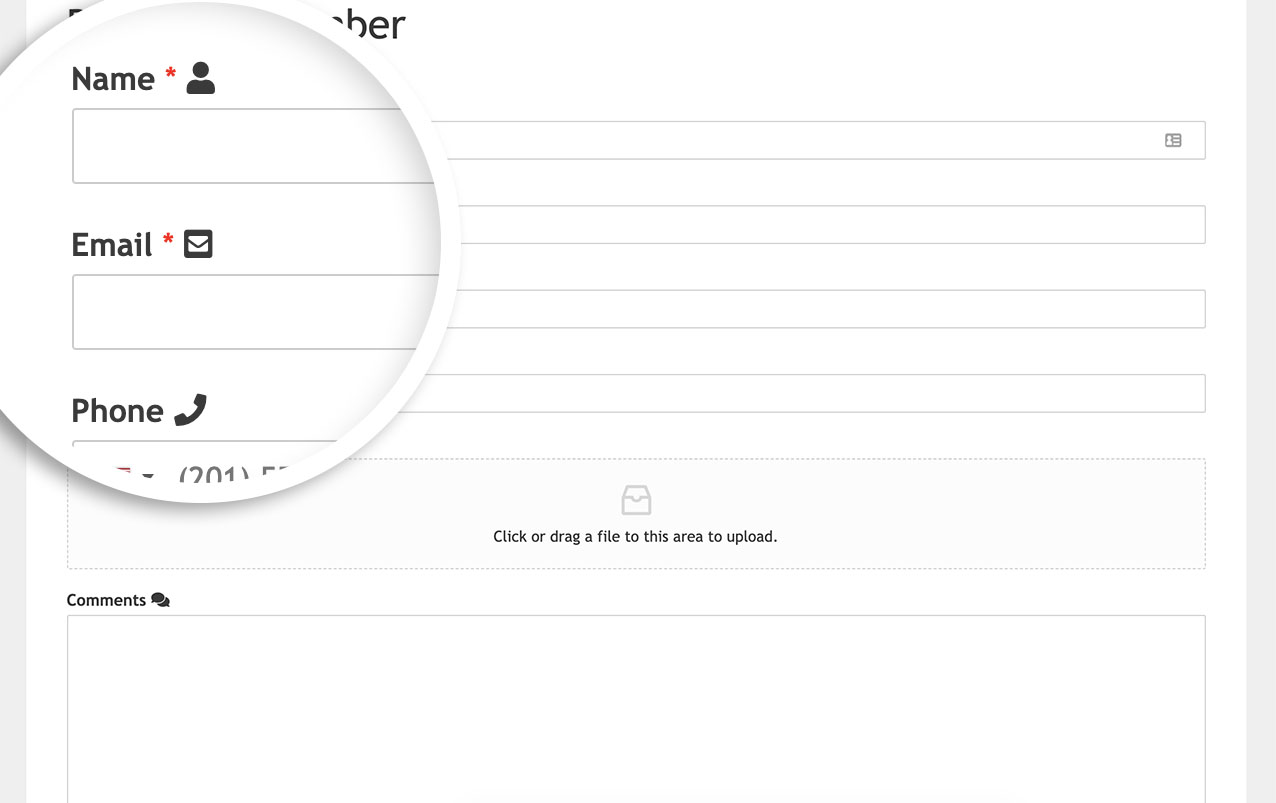
That’s it! You’ve now learned how to place images before or after your form labels.
Next, would you like to add a table of contents to your long forms? Take a look at the tutorial on How to Add a Table of Contents for Long Forms.
