AI Summary
Introduction
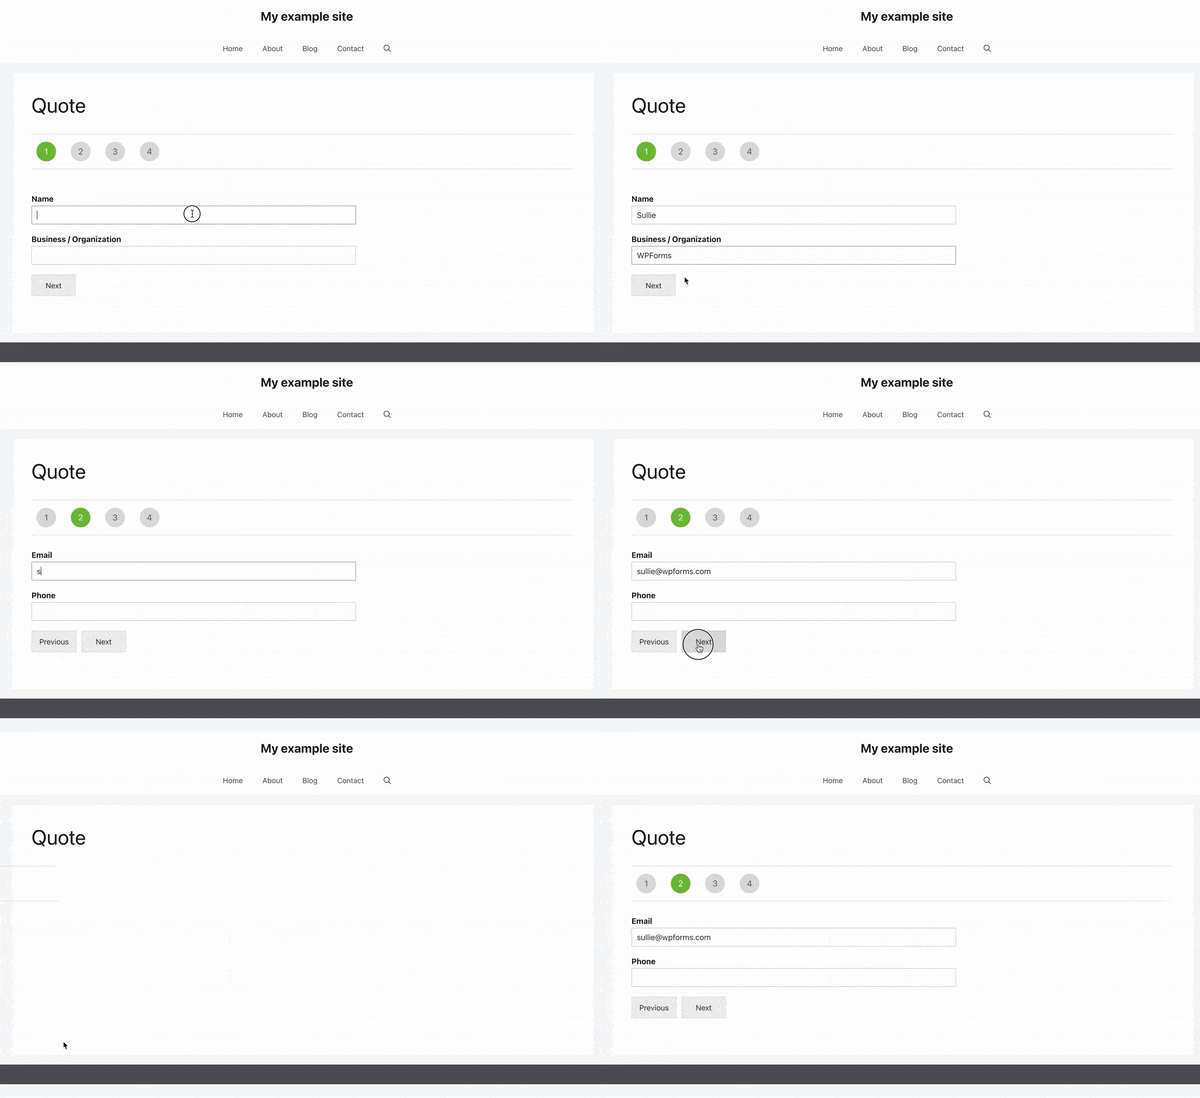
Would you like to add some animation effects to your page breaks inside your forms? By default, there is no animation when you go from one page to another on a multi page form. However, using JavaScript and some CSS you can add a little animation as you go from the next page to the previous page and back again.
Creating your form
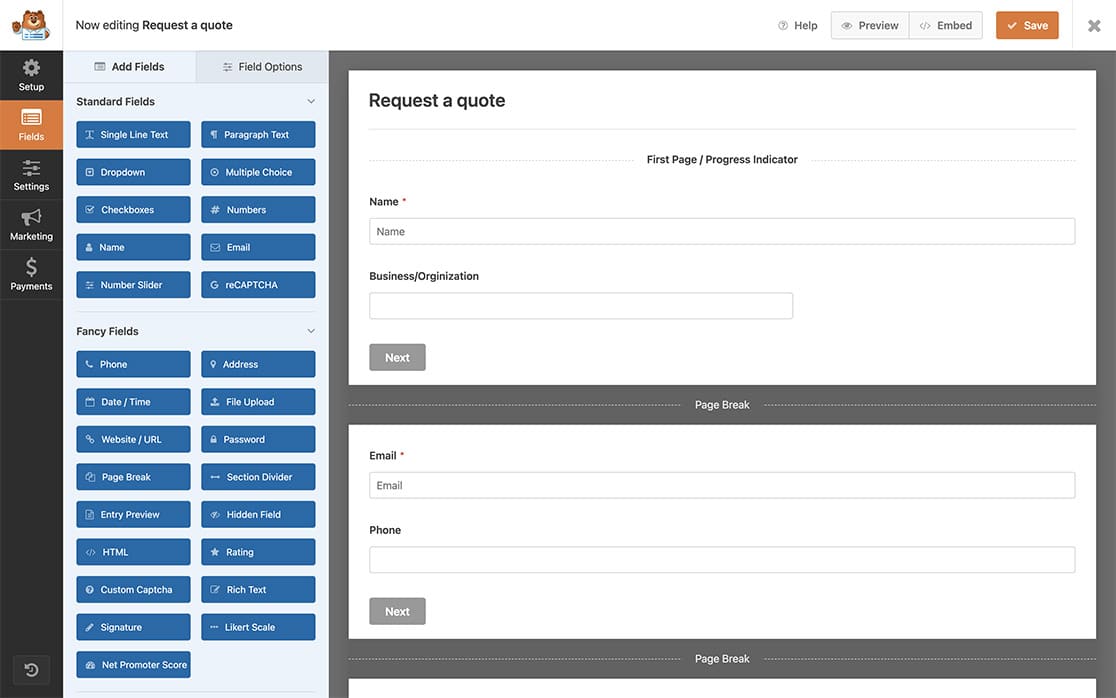
First, you’ll need to create your multi page form. If you need help in creating this type of form, please review this documentation.

Adding the JavaScript snippet
Now it’s time to add the snippet.
If you need help in how and where to add snippets to your site, please check out this tutorial.
/**
 * Add CSS class to trigger CSS animation on Next and Previous button clicks
 *
 * @link https://wpforms.com/developers/how-to-add-animation-effects-to-page-break-transitions/
 */

function wpf_dev_animation_page_break( ) {
?>
<script type="text/javascript">


	jQuery( "button.wpforms-page-button" ).click(function() {

	    //Add the CSS class anim-trans to the form with the ID of 406
            jQuery( "#wpforms-form-406" ).addClass( "anim-trans" );

	setTimeout(function()
    {
        //Remove the class after 2 seconds (2000 miliseconds)
        jQuery( "#wpforms-form-406" ).removeClass( "anim-trans" );

    }, 2000);
});

</script>
<?php
}
add_action( 'wpforms_wp_footer_end', 'wpf_dev_animation_page_break', 30 );
This snippet will only run on the form ID 406, when the Next or Previous page button is clicked, the script will add a CSS class name of anim-trans to the form container that will allow the CSS transitions to happen. After 2 seconds or 2000 milisecons, the class name is removed so the animation will happen on each click.
You’ll need to update the -406 to match your own form ID. If you need assistance in where to find your form ID, please review this tutorial.
Adding the animation effects
Now that the script has been added that will add the CSS class, we can add the CSS that will create the animation.
If you need help in adding CSS to your site, please take a look at this tutorial.
.transition {
  position:absolute;
  height:100%;
  width:30%;
  background:#d6d6d6;
  transform: skewX(-5deg) translateX(-50px);
  transition:2s all ease-in-out;
  -webkit-transition:2s all ease-in-out;
}

#wpforms-form-406 {
  position:relative;
  z-index:10;
  overflow: hidden;
}

button.wpforms-page-button {
  outline:none;
  border:none;
  text-decoration:none;
  text-transform:uppercase;
  background:#202020;
  color:#eaeaea;
  box-sizing:border-box;
  margin-top:20px;
  padding:10px 40px;
}

.anim-trans {
  animation: anim 2s ease-in-out;
  }

@keyframes anim{
   0% { }
  20%  { z-index:11;\transform: skewX(5deg) translateX(-100%); }
}
For a complete list of information concerning CSS keyframes, please see this documentation.
Remember to update the CSS above in reference to the form ID #wpforms-form-406 to match your own form ID.

And that’s it! You’ve successfully added animation effects to your multi page form. Would you like to also add some CSS styling to the form field focus? Take a look at our article on How to Add CSS to the Form Field Focus.
Related
Action Reference: wpforms_wp_footer_end
