AI Summary
Do you have a long-form that you would like to add a table of contents to? You can easily add HTML links to the top of your form as well as the section headings on your form that allow users to jump quickly and effortlessly in between sections of your form.
In this tutorial, we’ll show you the HTML you need to enable table of contents in your WordPress forms.
Creating Your Form
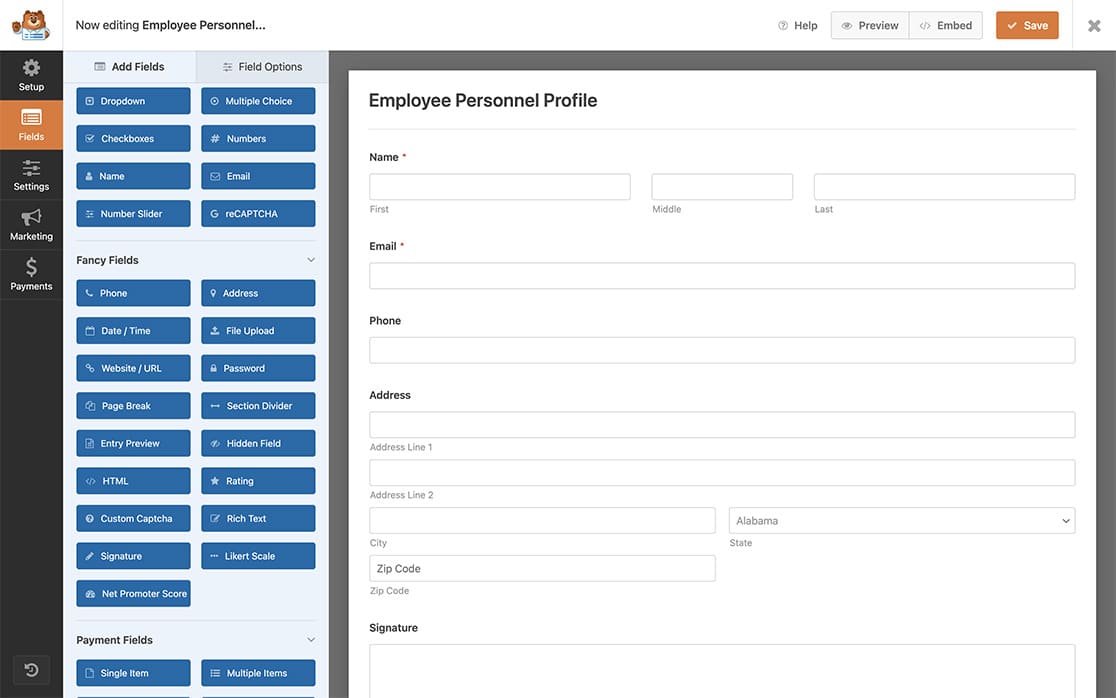
In our example, we’ll create an employee personnel form to collect information such as personal, dependents, emergency contacts, and interests.
So, to begin, create a new form or edit an existing one to access the form builder. In the form builder, go ahead and add the relevant fields. The various information categories, as mentioned previously, will be divided by using the HTML form field.

Adding the HTML Links to the Headings
Now that the form is set up, it’s time to add our links to the section headings.
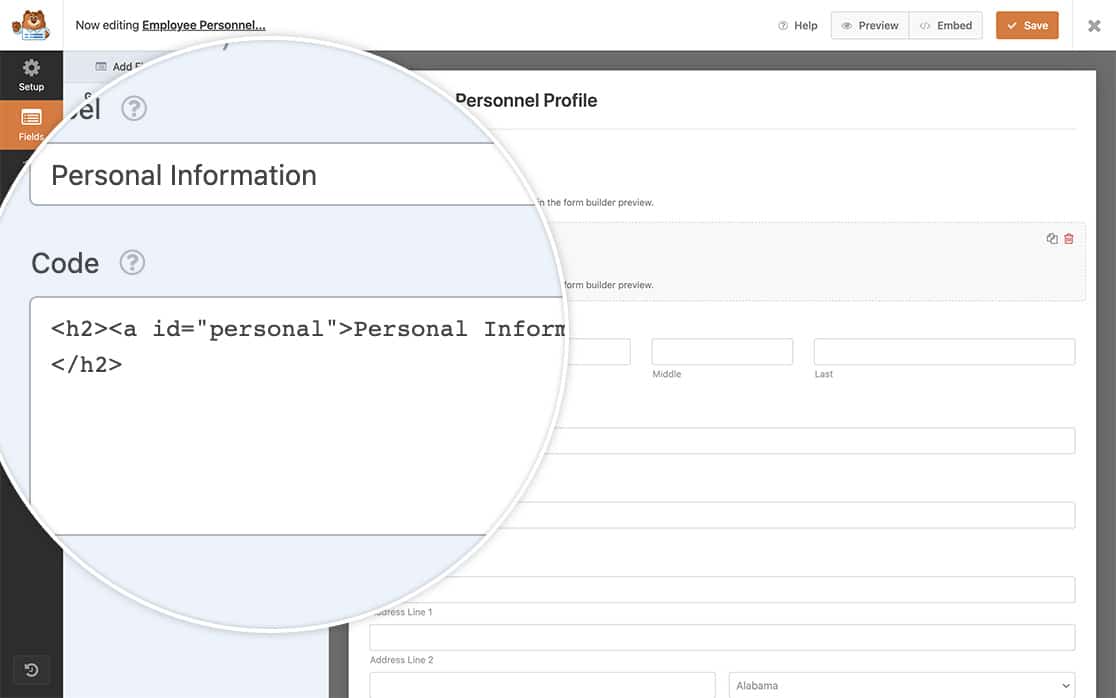
For example, let’s add a link to the Personal Information section.
<h2><a id="personal">Personal Information</a></h2>
With this HTML, we’re adding an HTML heading of h2 to our form, and inside that heading, we’re going to add a link. The id of the link is the most important as this determines the link’s destination.

You’ll need to repeat this step for each section you have.
Note: Each link’s id should be unique. Using the same id for multiple sections on a page will confuse the browser, and the selector will not work.
Creating the Table of Contents
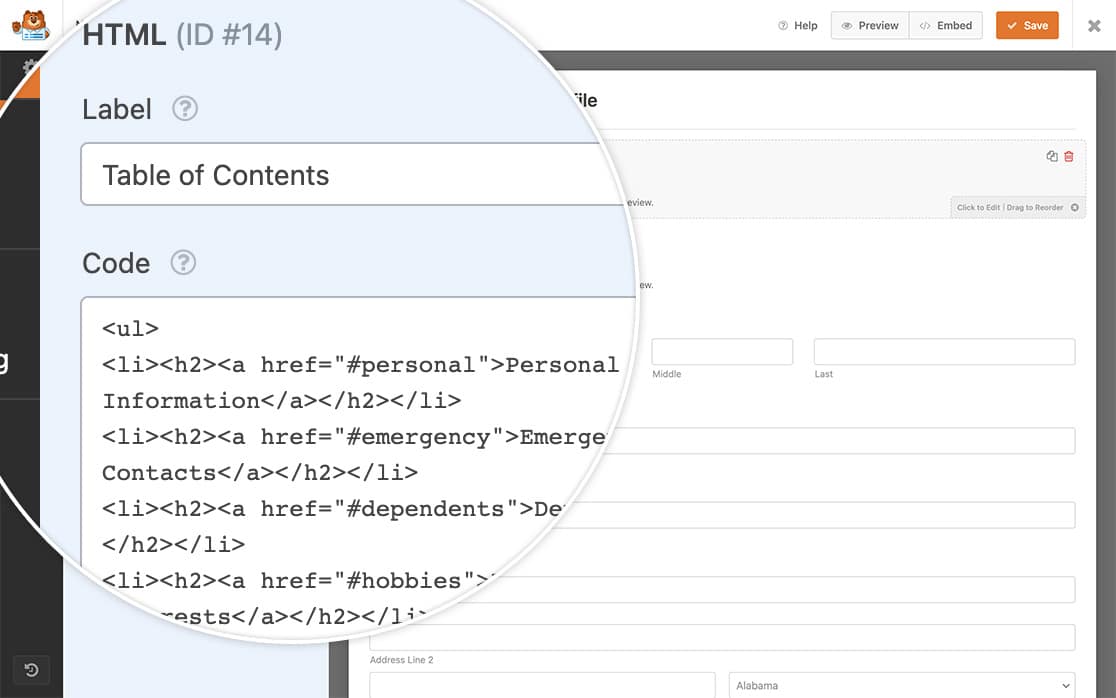
With our final HTML step, we’ll add an HTML field to the very top of the form that will hold an HTML unordered list with links that point to each section of our form.
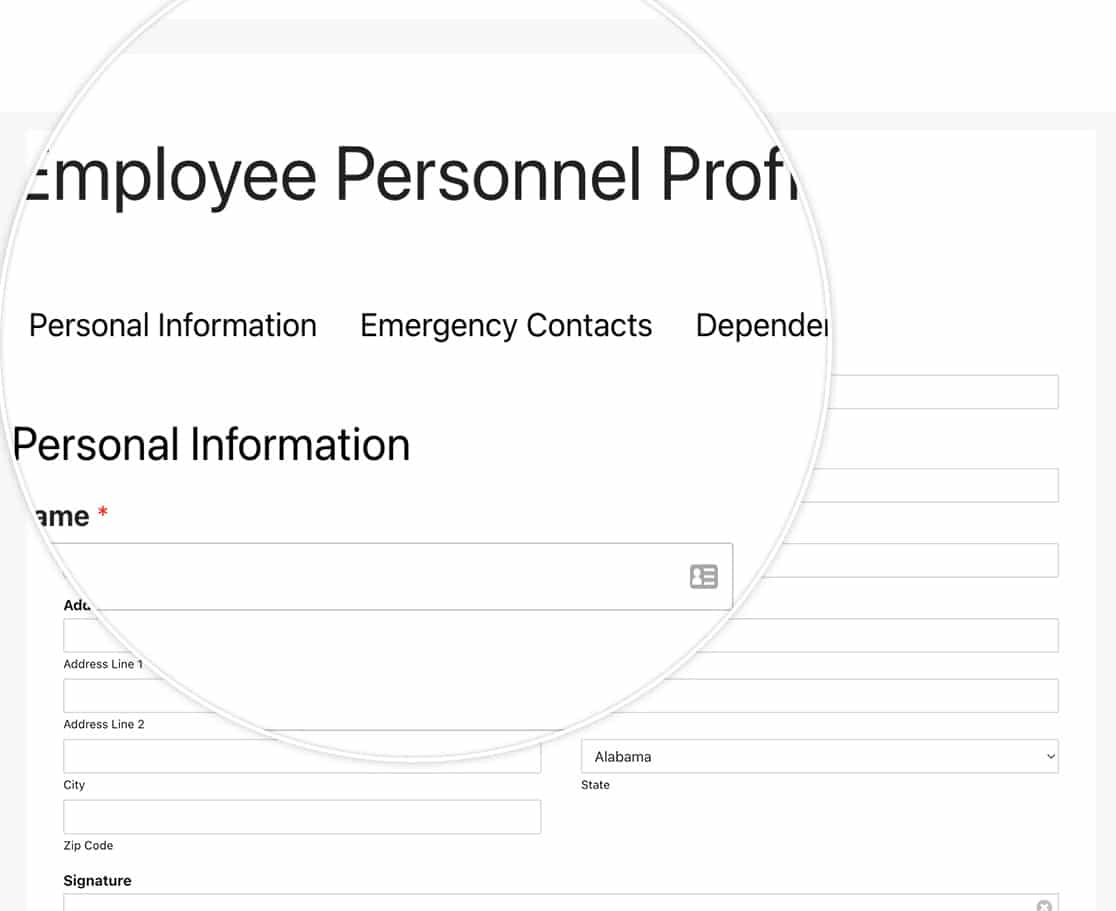
When these links are clicked, the page will jump to the appropriate section of the form.
<ul>

<li><h2><a href="#personal">Personal Information</a></h2></li>

<li><h2><a href="#dependents">Dependents</a></h2></li>

<li><h2><a href="#emergency">Emergency Contacts</a></h2></li>

<li><h2><a href="#hobbies">Hobbies & Interests</a></h2></li>

</ul>

Note: The id from the previous step and the href from this step will need to match exactly with a pound (#) sign in front of the text or one will not link to the other.
Styling the Table of Contents
This step is completely optional, however, if you’d like to add some styling to these links just copy this CSS to your site. If you need any help with adding CSS to your site, please review this tutorial.
div#wpforms-1279-field_34 ul {
    text-align: center;
}

div#wpforms-1279-field_14 ul li {
    list-style: none !important;
    display: inline-block;
    margin: 5px 10px !important;
}

div#wpforms-1279-field_14 ul li h2 a {
    font-size: 18px;
}

#wpforms-form-1279 h2 a {
    font-size:26px;
    width: 100%;
    display: block;
	  color: #000000;
}

div#wpforms-1279-field_14 ul li h2 a:hover {
    color: #b95d52;
    text-decoration: underline;
}
In our example, the HTML form field ID is 14 and our form ID is 1279. This means our CSS will only be applied to this specific form and field ID.
If you need help finding where your form and field IDs are, check out this tutorial.

That’s it! You now know how to easily create a table of contents at the beginning of your long form!
Next, would you like to create an internal field you can use to filter your entries? Take a look at our tutorial on adding a filterable field to a form for internal use.
