AI Summary
Would you like to display information in your forms without letting users change it? With WPForms, you can make any field read-only so users can view values but not edit them.
In this tutorial, we’ll show you how to enable the read-only option in the form builder.
Enabling Read-Only for a Field
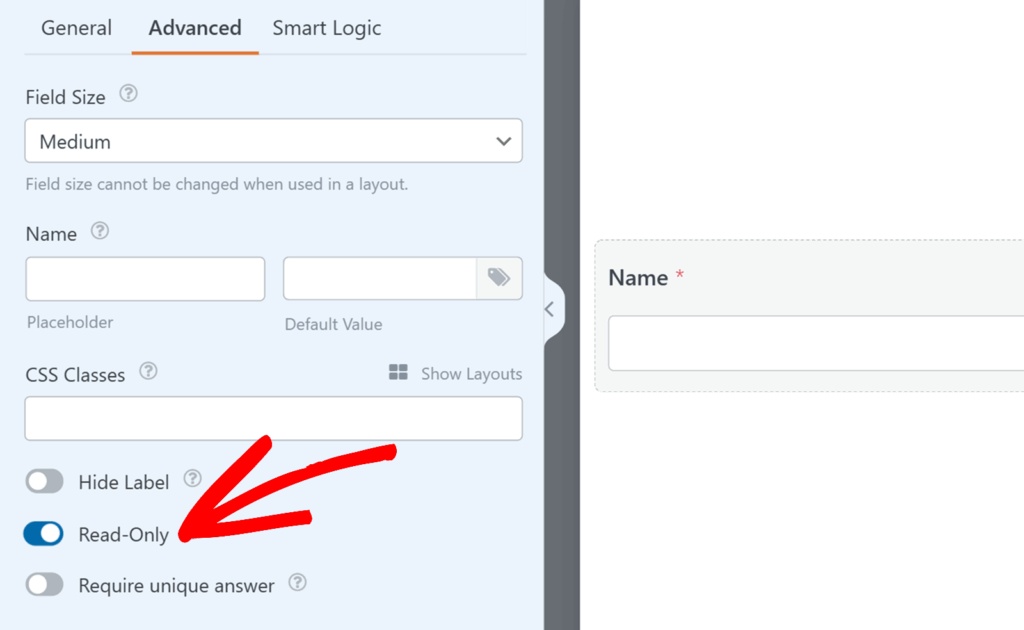
To get started, open your form in the builder and click on the field you’d like to make read-only. Then open the Advanced tab in the Field Options panel and toggle on the Read-Only setting.

Once enabled, the field will remain visible on your form, but users won’t be able to change its value.
Use Cases for Read-Only Fields
Read-only fields are helpful in many different scenarios, such as:
- Displaying pre-filled data: For example, you can insert Smart Tags like
{user_email}or{user_display_name}to show a user’s account details without allowing them to edit those values. - Showing calculated totals: If your form calculates a value (like order totals or scores), you can display it in a read-only field.
- Confirmation forms: Let users review information before submission without altering it.
- Role-based restrictions: Combine conditional logic with read-only fields so certain users can only view data while others can edit it.
How Read-Only Fields Look on the Frontend
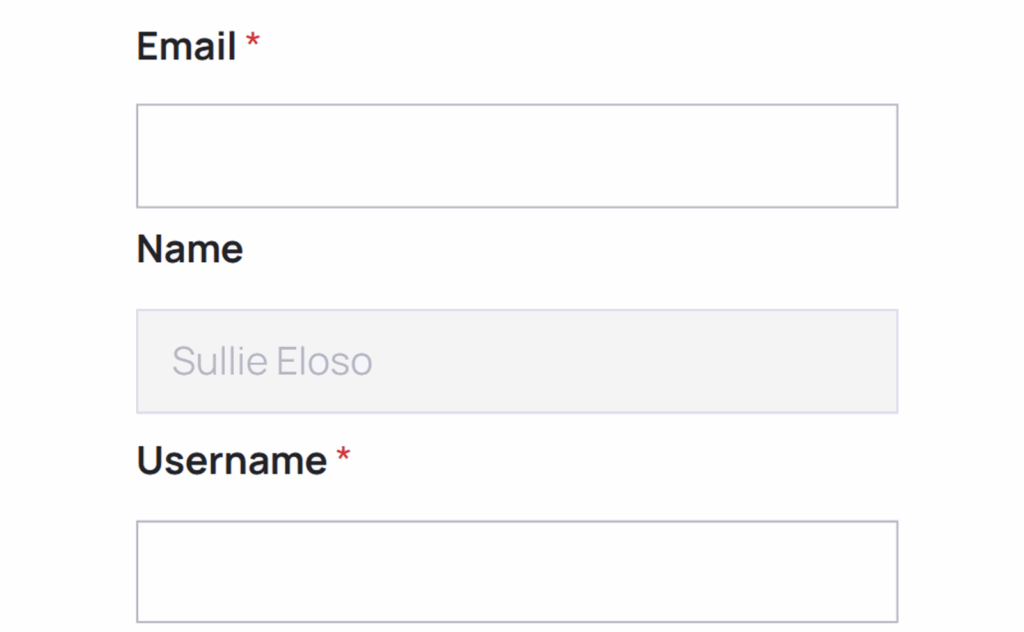
On the frontend, read-only fields appear grayed out or styled as disabled so it’s clear they cannot be changed. This styling works in both the Classic and Modern form themes, as well as page builders like Gutenberg and Divi.
Even though the field is locked, its value is still submitted with the form entry.

Note: If you’d like to manage read-only fields programmatically, WPForms provides a JavaScript API with methods for locking, unlocking, and toggling fields. For details, see our developer guide on using the JavaScript API for read-only fields.
That’s it! You now know how to set fields to read-only in WPForms.
Next, would you like to pre-populate your fields automatically? Check out our tutorial on how to add default values for form fields.
