Would you like to customize the appearance of your entries when printing them? WPForms includes basic styling to form entry preview. However, with a small PHP snippet and some CSS rules, you can easily add your own styling before printing.
In this tutorial, we’ll walk you through how to customize the WPForms entry PDF preview.
Creating the Form
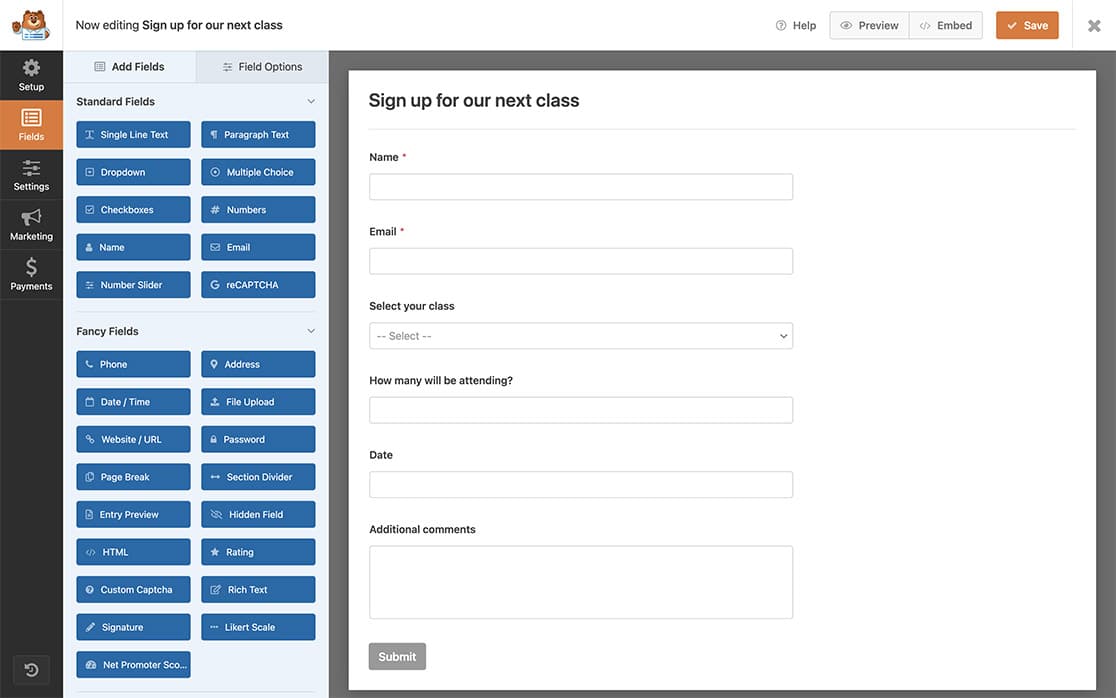
First, you’ll need to create a new form or edit an existing one to access the form builder. In the form builder, go ahead and add the necessary fields to your form.
Our form is a class registration form that will accept requests to sign up for particular classes, so we have the Name, Email, Dropdown (to select the class), Numbers (for how many people are signing up for the class), Date / Time (to select the requested date of the class) and Paragraph Text form fields.

Creating and Uploading the Stylesheet
Next, we’ll create a dedicated stylesheet and add our custom styles to this .css file.
Once you’ve created the CSS rules, it’s time to upload them using FTP or an FTP type of plugin to your site’s theme directory.
Note: If you need additional help with uploading files via FTP, check out WPBeginner’s tutorial.
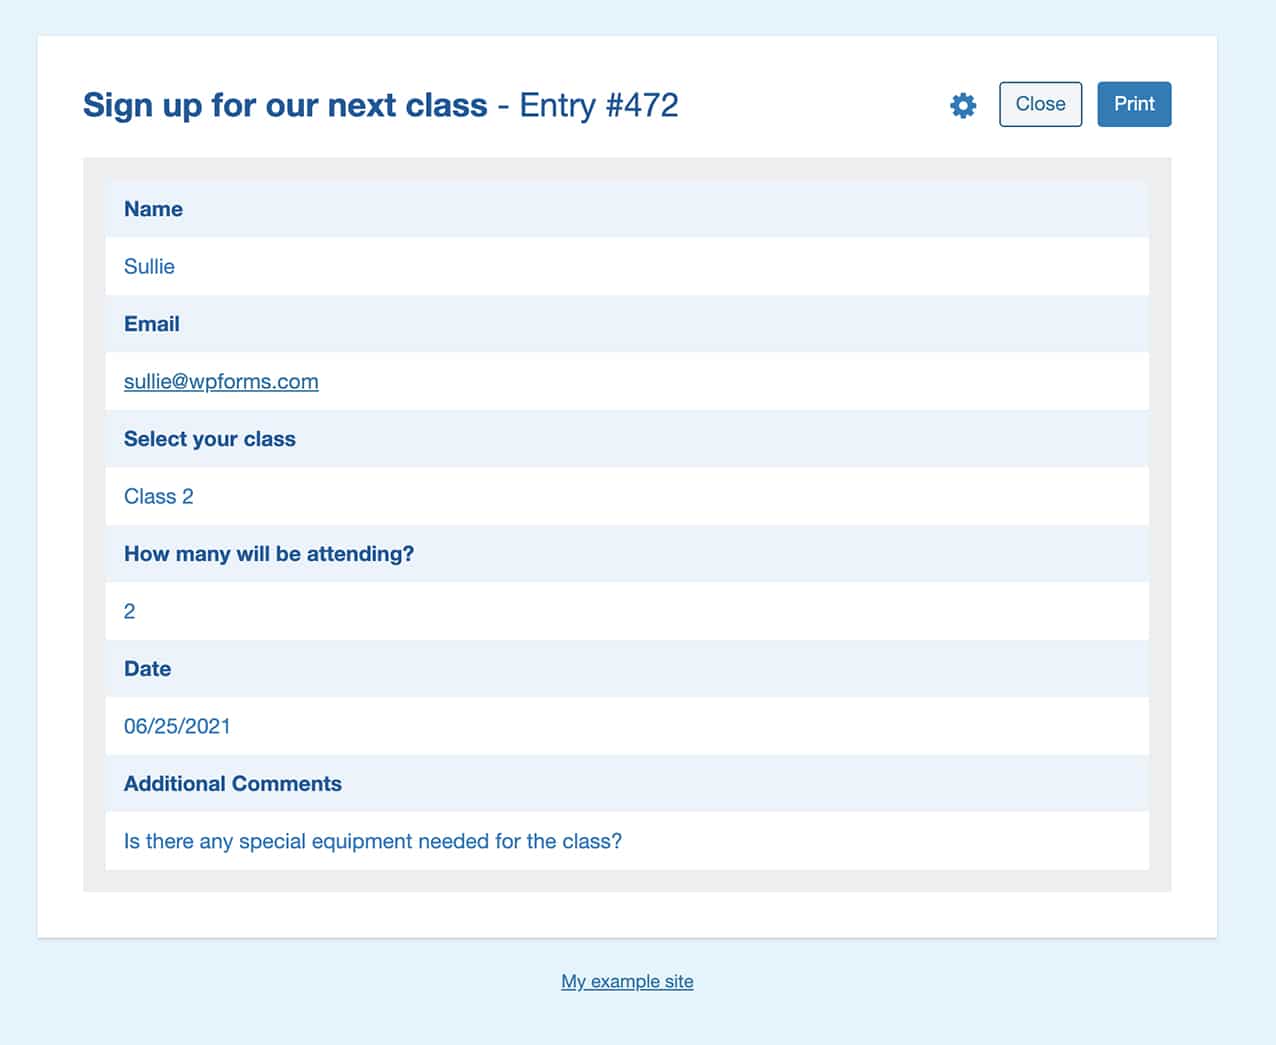
We’ll use some CSS to change the labels, what the user entered into the field, the title, the border of the entry, and the body’s background color.
body {
    background-color: #e1f5fe;
}

#print .page-title h1 {
    color: #01579b;
}

#print .fields {
    border: 15px solid #eee;
}

#print p.field-name {
    color: #01579b;
}

#print p.field-value {
    color: #0277bd;
}
Once the CSS file has been uploaded, you’ll need to copy the URL to this file as we’ll need that for the next step.
Note: If you’re not sure how to find the URL, reach out to your hosting company, and they can help you with it.
Adding the Code to Customize Printing an Entry
Now, the final step is to add the code snippet that will point to our stylesheet. If you need any help in adding code snippets, please see this tutorial.
/*
 * Change the styles when printing an entry
 *
 * @link  https://wpforms.com/developers/how-to-customize-printing-an-entry/
 */

function print_page_additional_styles() {

   // Change this link to your stylesheet
   $link = 'http://yoursite.com/print-wpforms-entry-stylesheet.css';

   //You can also echo your own custom styles by adding them inline to the top of the page
   echo '<style> body { background-color: #e1f5fe;} </style>';

   printf( '<link rel="stylesheet" href="%s">', $link );

}
add_action( 'wpforms_pro_admin_entries_printpreview_print_html_head', 'print_page_additional_styles', 10 );
Now, when you go to print your entries, you’ll see your new custom styling.

Frequently Asked Questions
Below, we’ve answered some of the top questions about customizing the WPForms entry print preview.
How can I provide more spacing in the print view?
You can add padding, margins, and widths to anything in the print view just by using this snippet.
/*
 * Customize the print view with margins, padding, and widths
 *
 * @link  https://wpforms.com/developers/how-to-customize-printing-an-entry/
 */

function wpf_customize_print_entry_styles() {
  echo '<style>
  #print.wpforms-preview-mode-compact .print-item-title{
    width: 200px;
    min-width: 400px;
  }
  #print.wpforms-preview-mode-compact .print-item-title, #print.wpforms-preview-mode-compact .print-item-value{
       padding-top: 4px;
       padding-bottom: 4px;
  }
  #print .print-body{
       margin-right: 20px;
       margin-left: 20px;
  }
  </style>';
}

add_action('wpforms_pro_admin_entries_printpreview_print_html_head', 'wpf_customize_print_entry_styles', 10);
That’s it! Now you know how to customize WPForms print preview before printing your entries.
Next, would you also like to customize the styles in the Conversational Forms addon? Take a look at our tutorial on how to enqueue a stylesheet for Conversational Forms.
