Introduction
Are you interested in adding falling autumn leaves to your confirmation message when a form is submitted? We can guide you through the process in this tutorial!
In a previous tutorial, we demonstrated how to add falling confetti and fireworks when the form was submitted. This tutorial follows a similar approach with a few additional steps.
Creating the form
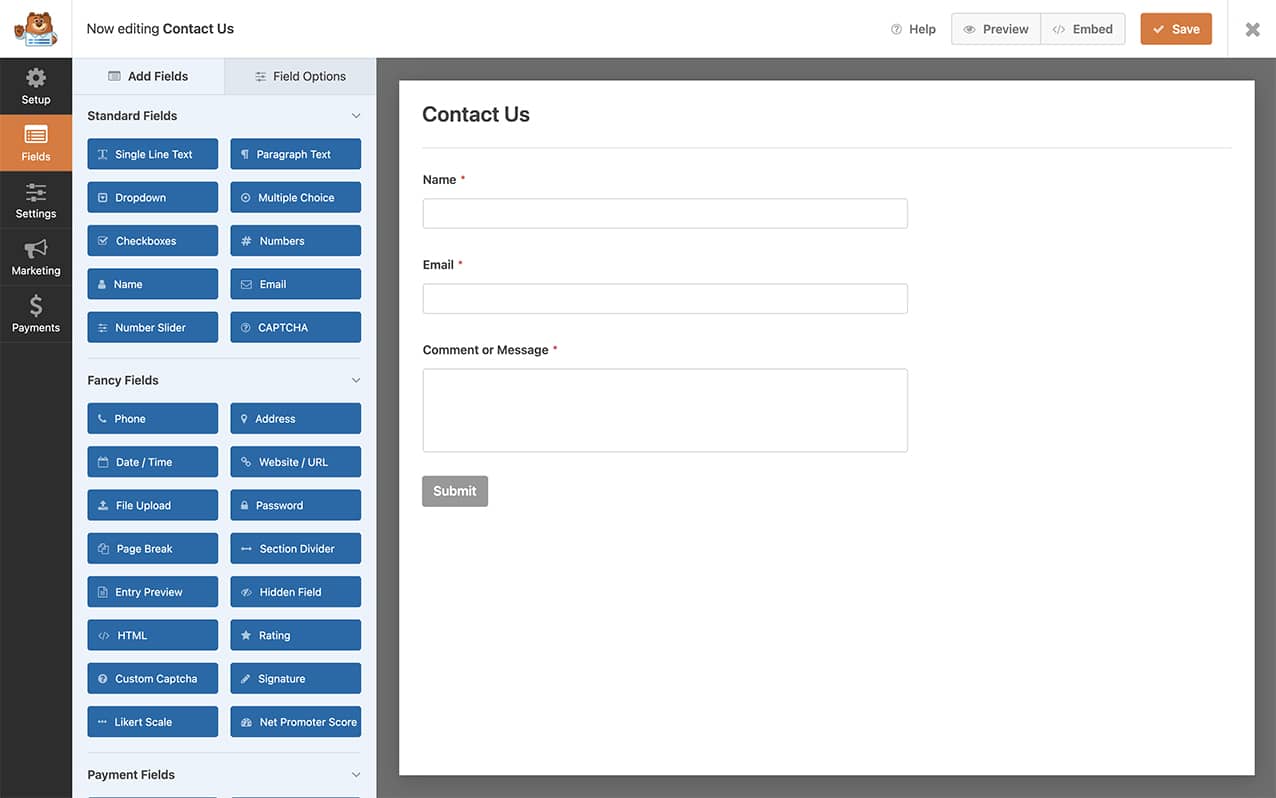
To get started, begin by creating a new form and adding your desired fields. If you require assistance with this step, please refer to this documentation.

Setting up the Confirmation settings
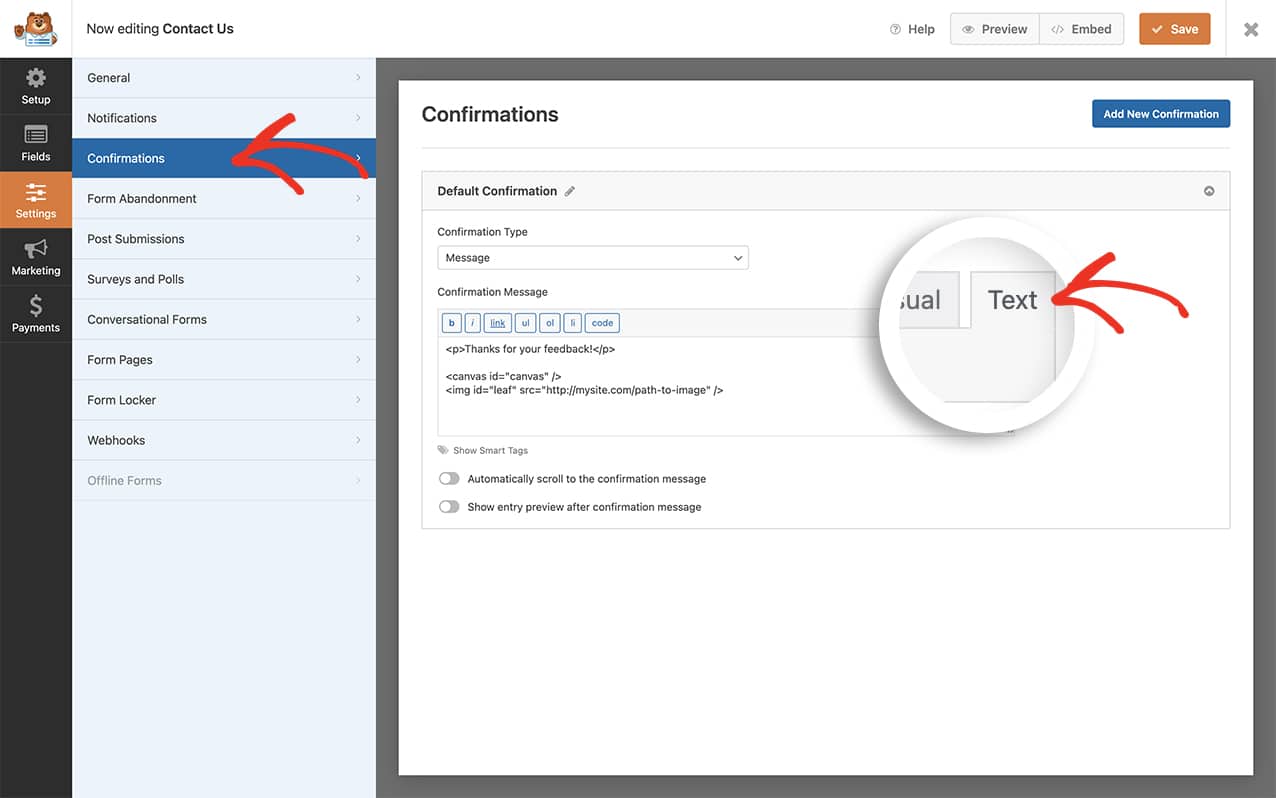
In order to get the falling autumn leaves animation, we have to make some changes to our confirmation message. To do this, click on the Settings and then select Confirmations. Once there, click on the Text tab since the next step will be to add some HTML elements under the confirmation message.

Adding HTML to your confirmation message
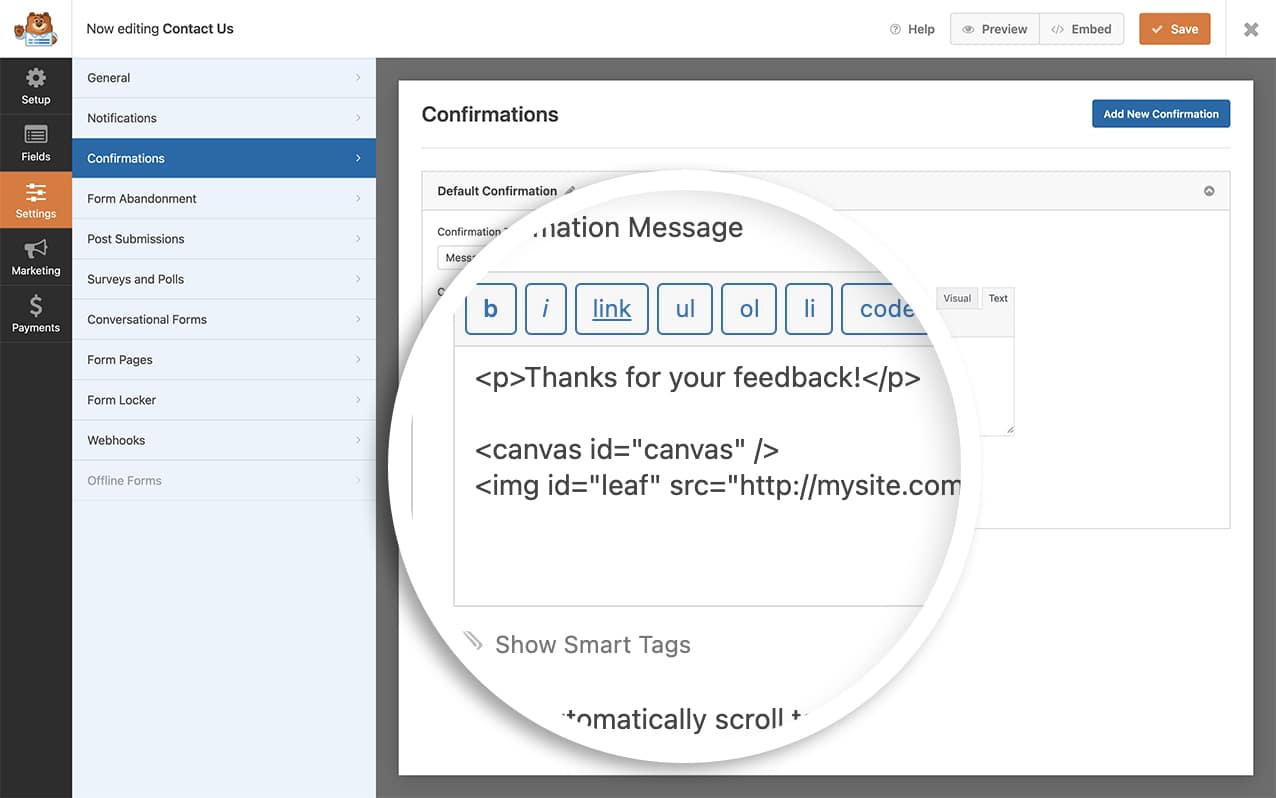
Now that you’re prepared to include HTML in your confirmation message, simply copy and paste the following code into your message box:
<p>Thanks for your feedback!</p>

<canvas id="canvas" />
<img id="leaf" src="http://mysite.com/path-to-image" />

For our tutorial, we’re using a single leaf that will just continuously drop in random areas of our canvas area. ![]()
You’ll need to change the source to the image to match where you’ve uploaded your leaf.
Adding the falling autumn leaves snippet
Now it’s time to add the code that will start to bring this all together. If you need help in adding code snippets to your site, please check out this tutorial.
/**
 * Add falling autumn leaves to the canvas element on the confirmation message
 *
 * @link  https://wpforms.com/developers/how-to-add-falling-autumn-leaves-to-your-confirmation-message/
 *
 */

function wpf_falling_autumn_leaves_animation() {
    ?>

	<script type="text/javascript">
	let canvas = document.querySelector('canvas');
	let ctx = canvas.getContext('2d');

	canvas.width = document.body.clientWidth;
	canvas.height = document.body.clientHeight;

	let width = canvas.width;
	let height = canvas.height;
	let centerX = canvas.width / 2;
	let centerY = canvas.height / 2;
	let leaf = document.querySelector('#leaf');
	let leafs = [];
	let count = 200;

	for (let i = 0; i < count; i++) {
	  let angle = 15 + Math.random() * 30
	  let dir = [-1,1][Math.floor(Math.random() * 2)];

	  leafs.push({
		x: Math.random() * width,
		y: Math.random() * height,
		w: 30,
		h: 30 * (leaf.height / leaf.width),
		v: 20 / angle,
		a: angle,
		d: dir,
		anim: true
	  });
	}

	function update(dt) {
	  for (let i = 0; i < leafs.length; i++) {
		if (leafs[i].anim) {
		  leafs[i].y += leafs[i].v;

		  if (leafs[i].y > height) {
			leafs[i].y = -120;
			leafs[i].x = Math.random() * width;
		  }
		}
	  }
	}

	function draw(dt) {
	  requestAnimationFrame(draw);
	  update(dt);

	  ctx.clearRect(0, 0, width, height);

	  for (let i = 0; i < leafs.length; i++) {
		ctx.save();

		if (leafs[i].anim) {
		  ctx.translate(leafs[i].x, leafs[i].y);

		  ctx.rotate(
			leafs[i].d * Math.sin(dt * 0.002 * i * 0.01) * (leafs[i].a) * Math.PI / 180
		  );
		}

		ctx.globalAlpha = Math.max(0, leafs[i].y * 0.1);
		ctx.drawImage(leaf, -leafs[i].w / 2, 70, leafs[i].w, leafs[i].h);

		ctx.restore();
	  }
	}

	draw();
	</script>
<?php
}
add_action( 'wpforms_wp_footer_end', 'wpf_falling_autumn_leaves_animation', 1);
The critical setting to note in the above snippet is let count = 200;. This setting determines the quantity of falling autumn leaves displayed on the screen. If you increase this number, more leaves will appear, while decreasing it will result in fewer leaves.
Adding your CSS
For this tutorial, we’re going to add a single CSS rule to our canvas.
Further CSS may be needed depending on your site. If you need help or have further questions, you can always join our Facebook community to ask questions or for assistance.
canvas {
    display: block;
    position: absolute !important;
    top: 0;
	left: 0;
}
If you need any help on where or how to add your CSS, please see this tutorial.
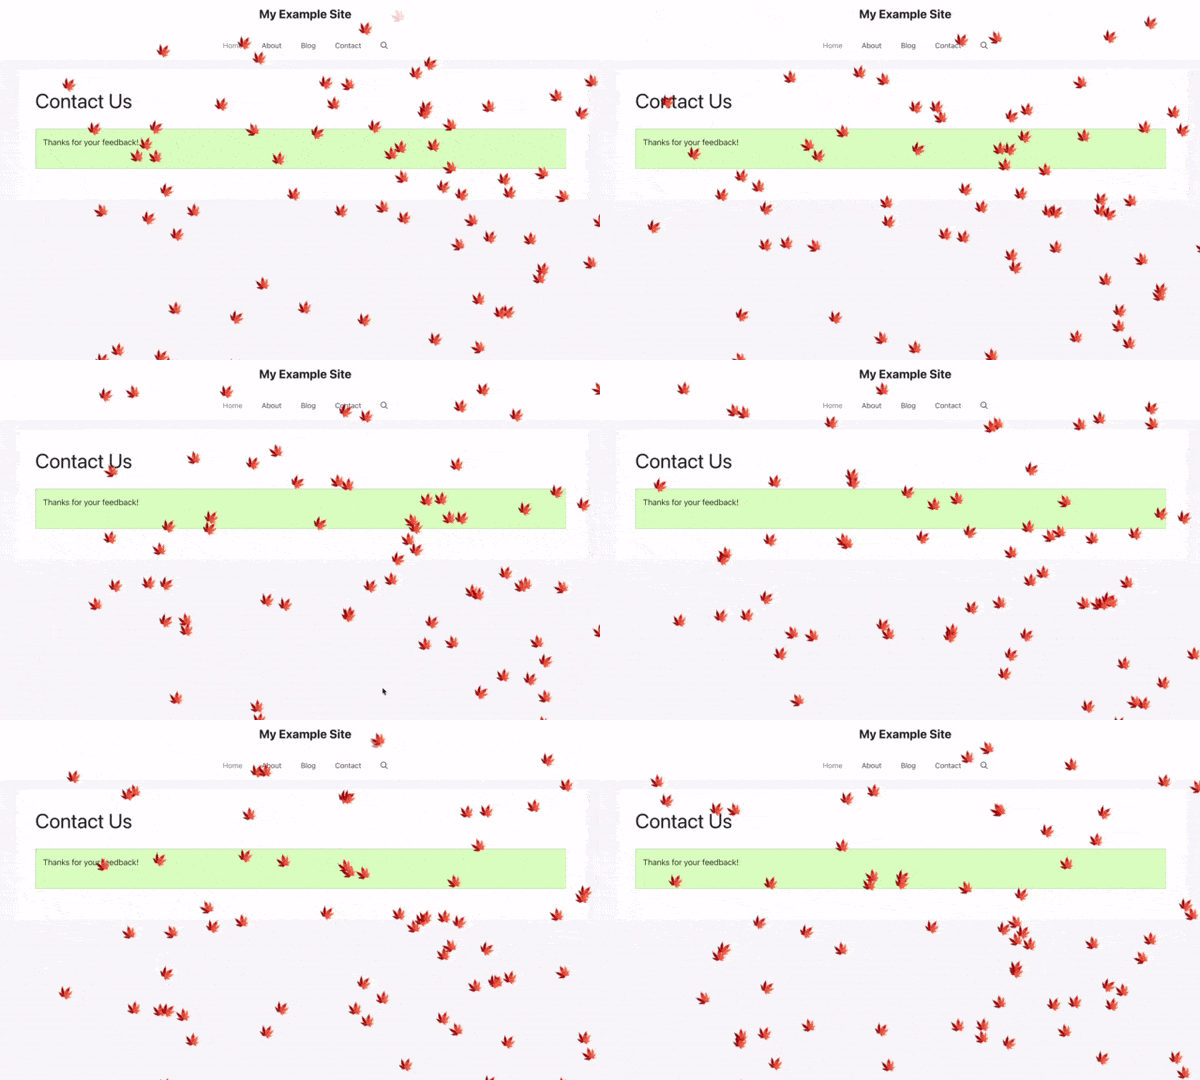
Once those steps are all completed and a user completes the form, they’ll see falling autumn leaves just over the confirmation message.

And that’s it! If you haven’t already seen our tutorial on adding confetti to your confirmation message, be sure to check out the tutorial on How to Add Confetti Animation to Confirmation Message.
Related
Action Reference: wpforms_wp_footer_end
