Do you want to be able to send targeted emails to Mailchimp segments?
Being able to send your email campaigns to subscribers based on their behavior makes your email marketing efforts more effective.
In this article, we’ll show you how to create segmented Mailchimp mailing lists so you can send the right information to the right subscribers every time.
In This Article
How To Send Targeted Emails To Mailchimp Segments
Now, let’s take a look at how to segment your existing Mailchimp lists for sending out targeted email campaigns to specific subscribers.
Step 1: Create a Mailchimp Signup Form
The first thing you’ll need to do is install and activate the WPForms plugin. For more details, check out how to install a WordPress plugin.
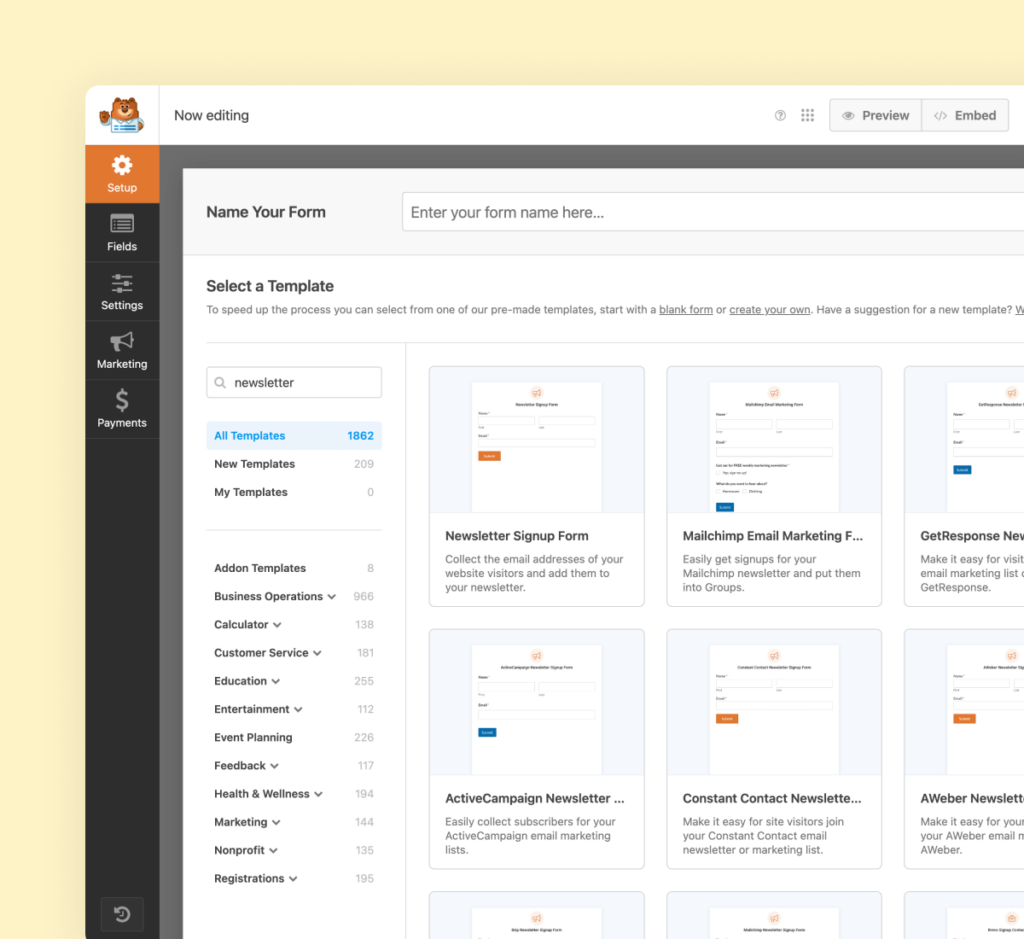
From there, you’ll need to integrate your form with Mailchimp using the Mailchimp Addon, as well as create a newsletter signup form.
For a step-by-step tutorial, you can read how to create a Mailchimp signup form in WordPress.
Lastly, you’ll need to make sure you have at least one list created in your Mailchimp account. For instructions, read up on how to create a Mailchimp list.
Step 2: Add Segments in Mailchimp
The next step is to create a segment in your Mailchimp account. To do this, go to Audience » Segments.
Next, click on Create Segment to proceed and add a new list of subscribers to your list for sending emails to.
You will now see the section where you can define your conditions for the contacts in your list.
Use the dropdown at the top of this section to specify if subscribers have to meet all of the conditions or just 1 of them.
You can define up to 5 conditions for your segment, which is quite remarkable. Click on + Add to create another condition.
All Mailchimp users can use the following conditions:
- Personal Details About Your Contacts
- Address
- Birthday
- Contact Rating
- Email Address
- Email client
- Email marketing engagement
- Email marketing status
- First Name
- Info Changed
- Language
- Last Name
- Location
- Phone Number
- VIP Status
- How Your Contacts Were Acquired
- Date Added
- Signup Source
- What Your Contacts Have Done
- Automation activity
- Campaign activity
- Conversions activity
- Landing Page activity
- Postcard activity
If you have any API 3.0 eCommerce data in your account, you can segment subscribers based on purchasing behavior.
For example, you can define conditions based on whether they have purchased from you in the past, if they are a repeat customer, etc
Lastly, if you have a Mailchimp Standard plan or higher or the Mailchimp Pro Addon, you can also use demographic segments such as gender and age.
Step 3: Use Pre-Built Mailchimp Segments
Mailchimp also includes some pre-built marketing segments that can help you kick things off, instead of starting from scratch.
You can automatically create campaigns targeting some of these segments in your Audience Dashboard.
Hover over any paper airplane icon in your dashboard to create a campaign for the corresponding segment.
Some of the pre-built segments you’ll find here include signup source, location, marketing engagement, and more.
There are also some pre-built segments in the campaign builder. To access them, click on Edit Recipients in the To field.
Then select a pre-built segment from the Segment or Tag dropdown. The options available to you include:
- New Subscribers
- Active Subscribers
- Inactive Subscribers
Click Save to add your chosen segment as this campaign’s recipient. You’re all set now to preview and save your new segment.
Step 4: Preview and Save Your New Segment
In this example, we’ll create a segment with 2 conditions. A subscriber must have signed up after the specified date and via API.
Once you’ve set your conditions, click on Preview Segment to view all the recipients added to your list.
This will show you a list of the subscribers who will be added to your new segment. When you’re happy with your segment, click on Save Segment.
In the modal popup, give your segment a name. Finally, click the Save button to finish creating your new segment.
You’ll now be able to send campaigns to the subscribers it includes by selecting it from the Segment or Tag dropdown in the To field in the campaign builder.
Mailchimp Groups Versus Segments
Mailchimp is one of the most popular email marketing services. But when it comes to Mailchimp groups and segments, there’s a lot of confusion.
That’s why we’re going to clear that up for you, before showing you how to segment your Mailchimp lists.
This is a great way to better understand your subscribers and their behavior so you can improve your email marketing campaigns.
Mailchimp Groups
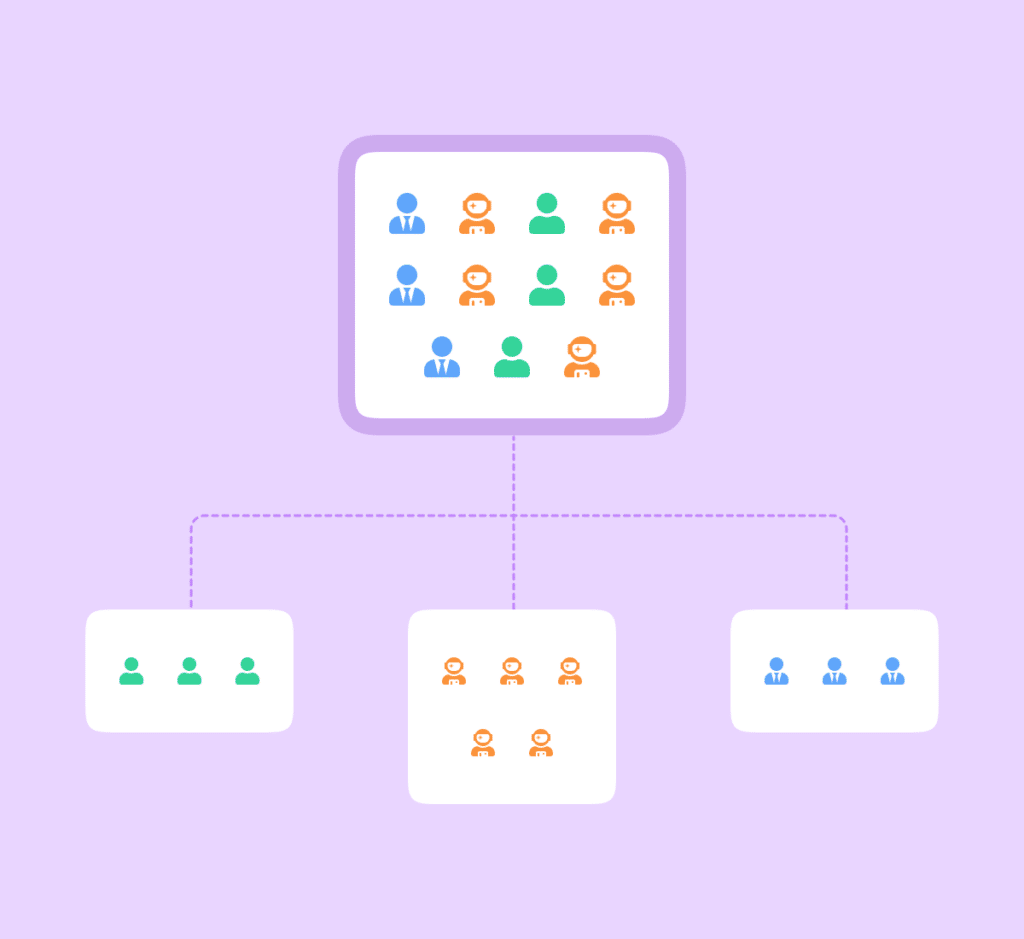
A group in Mailchimp is an easy way of assigning subscribers to a simple category within a Mailchimp list.
For instance, here we divided users into 3 groups based on their interests: Donating, Volunteering, and Events.
Other examples of groups include age groups, gender, or nearby cities, which you can add to your Mailchimp groups.
See our tutorial showing you how to give subscribers a way to select a Mailchimp group for details on how to set up groups.
Mailchimp Segments
Mailchimp segments are a way to divide your subscribers into very specific categories based on multiple conditions, many of them related to how your users behave.
For instance, you might want to target those who have subscribed after a certain date or number of days to continue your conversations with them.
Or, target those who signed up for your list using a certain method, live in a certain location, or have spent more than $100 in your eCommerce store.
You can take it even further and filter your segments using some of the five conditions available, which we discussed earlier.
For example, you may want to create a segment that is meant only for subscribers who are female, aged 25–35, and have spent more than $100 in your online shop.
The only way for a subscriber to be assigned to a segment in your Mailchimp mailing list is to satisfy all of the conditions you define.
Ultimately, it is easiest to think of groups as a way to find out who your audience is, and segments are a way to find out how your audience behaves so you can personalize your email campaigns.
FAQs about Mailchimp Segments
Mailchimp segments are a popular topic of interest among our readers. Here are answers to some common questions about it:
What is the difference between groups, tags, and segments in Mailchimp?
- Groups: These act as categories within your audience that allow subscribers to choose their interests. Think of it like sorting emails into folders based on topics.
- Tags: These are labels you assign to subscribers to mark them based on interactions or traits, like “frequent buyer” or “newsletter fan.” It’s akin to putting a sticky note on a document to remind you of something important about it.
- Segments: These are subsets of your audience created based on specific criteria, such as behavior or demographics, like people who clicked a link in your last email. Imagine drawing a circle around a group of people at a party who are all wearing red.
How many segments can I create in Mailchimp?
In Mailchimp, the number of segments you can create isn’t strictly limited. However, the practical limit is based on the complexity of your criteria and the size of your audience. Essentially, you can create as many as you need to target different parts of your audience effectively.
What is the difference between segments and tags?
The main difference lies in their use for personalization. Tags are manual labels you assign for broad categorization, while segments are automatically created based on specific criteria like engagement or purchase history.
It’s the difference between manually sorting your clothes by color (tags) and having a system that automatically sorts them by fabric type, color, and usage frequency (segments).
Why use segments in Mailchimp?
Segments let you tailor your messages to match the interests or behaviors of your audience. By targeting your communications, you’re more likely to engage your subscribers effectively. It’s similar to how a teacher adjusts their lessons to suit different learning styles in a classroom for better understanding and engagement.
How do I manage segments in Mailchimp?
Managing segments involves a few steps: creation, based on specific criteria; maintenance, by regularly updating criteria as needed; and utilization, by sending targeted campaigns to these segments.
Think of it as gardening: you plant seeds (create segments), water and prune them (update), and enjoy the flowers (send targeted campaigns). Regular attention ensures your segments remain relevant and effective.
Next, Do More With Mailchimp
You have now learned how to segment Mailchimp mailing lists with WPForms. Every time someone subscribes to your newsletter form after the defined date, they will automatically be added to your mailing list segment.
Thinking about using a different email marketing service? You may also want to check out our guide to setting up ActiveCampaign on WordPress forms. Plus. you might also like some other Mailchimp-related posts:
- WPForms vs Mailchimp Form Builder: Which One Should You Use?
- How to Set Up a Mailchimp RSS to Email Newsletter in WordPress
- 5 Mailchimp Alternatives That Are More Powerful (+Better Support)
- And finally, our list of awesome Mailchimp integrations
Ready to build your form? Get started today with the easiest WordPress form builder plugin. WPForms Pro includes lots of free templates and offers a 14-day money-back guarantee.
If this article helped you out, please follow us on Facebook and Twitter for more free WordPress tutorials and guides.
Thanks for the recap .. so far so good
Glad our article was helpful to you, espaciomadrid! 🙂
I don’t think this is possible…but can you tell me…
I have a separate list for people that follow an event I do in the summer. And I post in the summer about this event. I know that some of the people on my event list are also on my main email list. My main email list is set to email whenever a new post comes out. My event list I send info to about the event…but I would like to have it also send out updates of when a post specific to the event is out. (I always put them in a specific category.) I don’t want the event list people that are also on the main list to get the same email twice, meaning, the email that an event post was posted. I was thinking I could use segments somehow to filter the people that are on both lists. Perhaps in my main list, I could segment the people that are also on the event list….I suppose I’d have to make the event list a segment of the main list if I did that. But the part I really cannot figure out is how to filter the post categories.
Is there a way for Mailchimp to filter posts coming from my blog from a specific category and NOT repeat those posts to the people in the event list?? I feel like it’s not possible…that filtering categories of posts in Mailchimp isn’t possible…but I’d like to confirm so I can stop driving myself crazy trying to find out if I can or not. OR if it is possible…can you tell me how??
I hope this makes sense…it’s very convoluted, I know! 🙂
Hi Tina,
Your question makes total sense, however the best place to get the answer will be MailChimp’s support.
Based on their help page, it looks like you should be able to avoid this by using a single mailing list with segments/groups (rather than separate lists).
But if you need additional clarification, their team should be able to assist further! 🙂
Do you still have dynamic segments? I think no
Hi Alex!
In WPForms MailChimp addon we only have a built-in option to choose groups that the contacts will be saved to.
And in case it helps, we have a detailed tutorial on how to use our MailChimp addon.
I hope this helps.
Have a good one 🙂
How do will I create a new segment while creating the campaign in milchimp package? In code using Laravel 8.
Hey Madhulika, to achieve what you are looking for, you will need some custom implementation and we suggest using codeable or WPBuff.
I hope this helps!