WordPress Form Plugin With Mailchimp
Boost Email Marketing With Mailchimp
Grow your email list by creating stunning Mailchimp newsletter signup forms in WordPress with the WPForms Mailchimp addon.
Grow Your Subscribers With the Mailchimp Addon
Mailchimp works seamlessly with WPForms. You need to set up the newsletter subscription forms once, and WPForms will take care of growing your email list.

Audience Growth on Autopilot
With WPForms, you can create high-converting newsletter forms to grow your email list automatically.
You can map form fields with Mailchimp lists using Smart Tags that add notes to subscribers’ profiles in Mailchimp.
The Mailchimp addon also lets you mark subscribers as VIPs and allows returning users to resubscribe through your form.
Hyper-Segmented Email Lists
With WPForms and the Mailchimp addon, you can create impactful contact forms that can auto-segment new subscribers into different Mailchimp lists based on form selection and tags.
You can also set up custom rules to process form entries only when particular conditions are met. This allows you to build more targeted subscriber lists.
Aside from newsletter subscription forms, you can also use the Mailchimp addon with your other forms, such as a basic contact form, request a quote form, and any other form.


Create Optimized Forms in Minutes
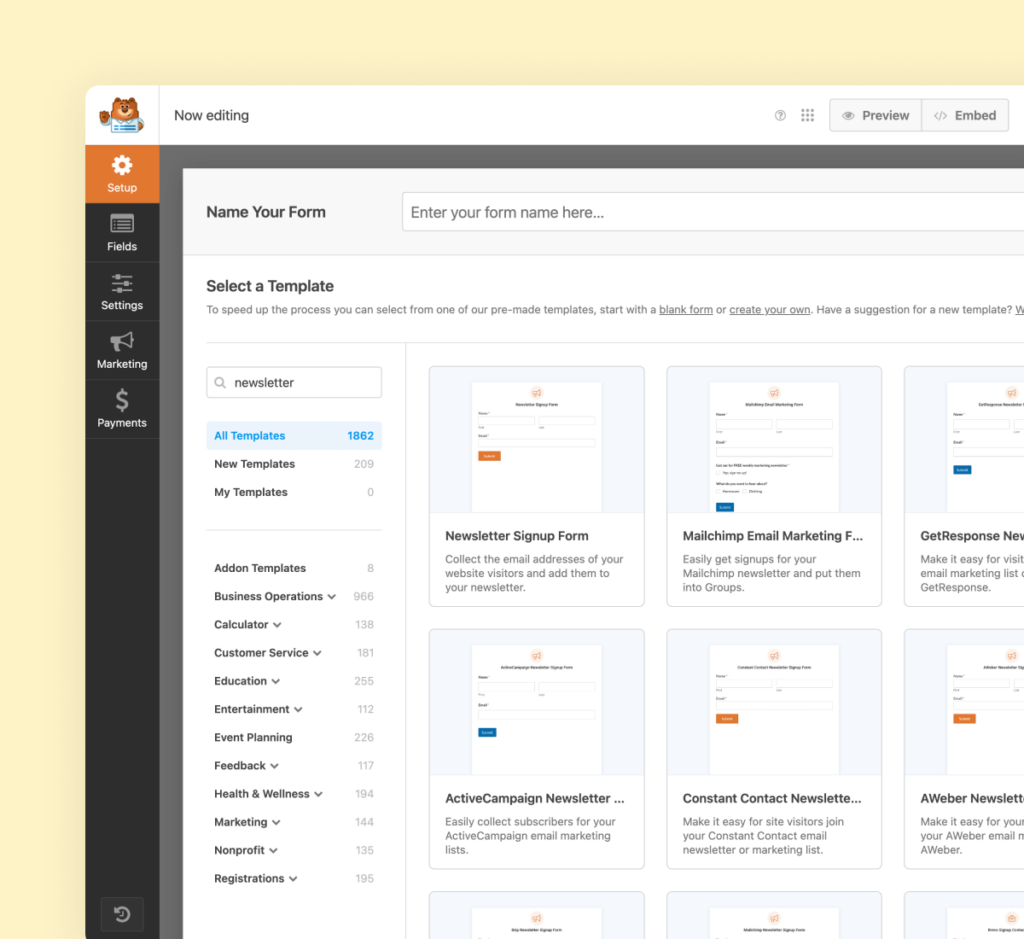
With 2,000+ templates, you can build a newsletter subscription form or any other form in minutes.
All WPForms form templates are fully customizable. You can add or remove fields, alter the notification emails, and customize the confirmation message using the form builder.
You can let users subscribe, unsubscribe, archive, or request permanent deletion using the form on your website.
Elevate Your Forms with 2,000+
Ready-Made Templates
- Review Form
- Waiver Form
- Screening Form
- Issue Form
- Disciplinary Form
- Petition Form
- Monitoring Form
- Vendor Form
- Expense Form
- Agreement Form
- Training Form
- Completion Form
- Request Form
- Medical Form
- Evaluation Form
- RMA Form
Mailchimp – Frequently Asked Questions
Do you have a question about the Mailchimp addon? See the list below for our most frequently asked questions. If your question is not listed here, please contact us.
How do I connect Mailchimp with WordPress?
To connect the Mailchimp email marketing service with WordPress, you need to install the WPForms plugin along with the Mailchimp addon for WPForms on your website. Once installed, you just need to connect Mailchimp with WPForms using the API keys and create a new form to start collecting emails to grow your subscriber list.
Is the Mailchimp addon free?
The Mailchimp addon comes with the Pro version of WPForms, along with dozens of other useful addons to supercharge forms on your website.
Do I need coding experience to use the WPForms Mailchimp addon?
Not at all! You don’t need any coding skills to create a Mailchimp newsletter subscription form using WPForms. You can easily create a fully functioning form on your site with WPForm’s intuitive drag-and-drop builder.
Will the Mailchimp addon slow down my site?
Absolutely not. WPForms and the addons are carefully built with performance in mind. We have developed everything with best practices and modern standards to ensure things run efficiently.
Even More Powerful Features
Ready for more? Check out some of our other features to take your forms to the next level!
Surveys and Polls
Easily create survey forms and analyze the data with interactive reports.
- Create unlimited surveys and polls on your site.
- View real-time reports with customizable visualizations.
- Export survey results as PDFs or JPGs.
Form Locker
Lock your forms with permissions and access control rules.
- Restrict form access based on user roles.
- Set entry limits and scheduling.
- Password-protect forms for added security.
Stripe Pro
Easily collect payments, donations, and online orders with our Stripe Pro addon.
- Integrate Stripe for secure credit card payments.
- Set up recurring payments and subscriptions.
- Customize payment forms for various needs.


