AI Summary
Would you like to make your form’s confirmation message match your brand’s look and feel? By default, WPForms displays successful submissions in a green box, but you can easily modify this styling or remove it completely with some simple CSS code.
This guide will show you how to customize your confirmation message styling to create a more cohesive form experience.
Understanding Default Styling
WPForms automatically wraps successful form submission messages in a green box with specific padding and borders. While this works well for many sites, you may want to:
- Remove the styling completely for a cleaner look
- Change the colors to match your brand
- Modify specific elements like padding or borders
- Apply custom styling to specific forms only
Customizing the Confirmation Message
Let’s explore different ways to modify your confirmation message styling. If you need help adding custom CSS to your site, please review our guide on adding add custom code to WordPress.
Removing Background Styling for All Forms
To completely remove the default green styling from all form confirmation messages, add this CSS:
.wpforms-confirmation-container-full {
    color: inherit !important;
    margin: 0 !important;
    background: none !important;
    border: none !important;
    padding: 0 !important;
}
With the CSS shown above, it removes the background color and border from the confirmation message.

Customizing for Specific Forms
To modify a single form’s confirmation message, use this CSS (replace 1000 with your form’s ID):
div#wpforms-confirmation-1000 {
    color: inherit !important;
    margin: 0 !important;
    background: none !important;
    border: none !important;
    padding: 0 !important;
}
If you need help finding your form’s ID, please check out our tutorial on how to find form IDs.
Changing Background Colors
To change the confirmation message background color for all forms:
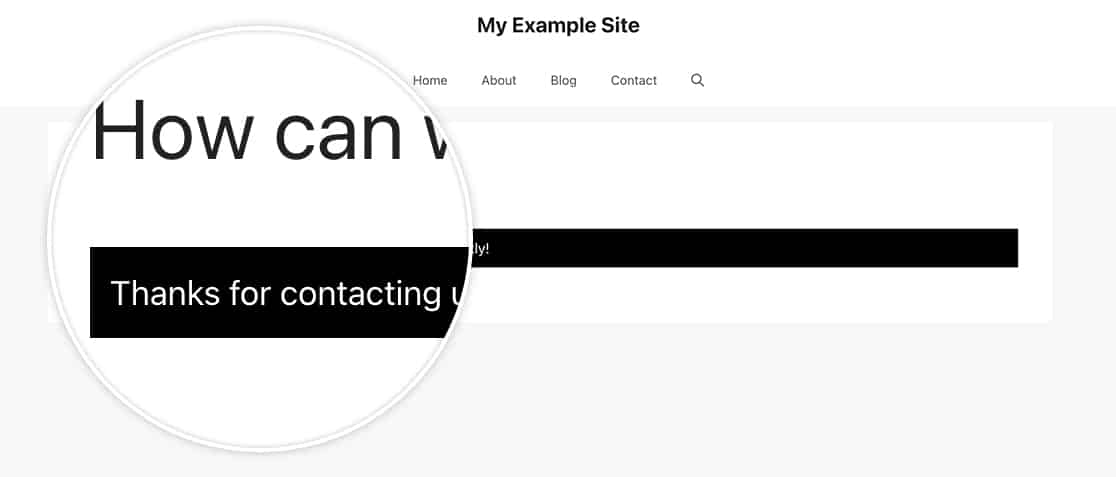
div.wpforms-confirmation-container-full {
    background: #333333 !important;
    color: #ffffff !important;
    border: none !important;
}
This example creates a dark background with white text. Adjust the color codes (#333333 and #ffffff) to match your desired colors.

And now you’ve successfully adjusted the styling on the confirmation message! Next, would you like to learn how to customize other form elements? Check out our guide on creating custom smart tags to add dynamic content to your forms.
