Do you want to make a WordPress registration form?
A registration form allows your visitors to quickly sign up and create an account on your site.
In this post, we’ll show you how to create a registration form using our new and improved user registration addon to simplify the whole signup process for your visitors.
Create Your User Registration Form Now
How to Make a Form Using WPForm’s Registration Form Template
Below are the steps for making your registration form using WPForms:
In This Article
- 1. Install WPForms and the User Registration Addon
- 2. Create a Form Using Registration Form Template
- 3. Customize User Registration Settings
- 4. Configure User Activation & Login Settings
- 5. Configure Registration Notification Settings
- 6. Setup Custom User Meta (Optional)
- 7. Create a Login Form
- 8. Create a Password Reset Form
- 9. Save and Embed Your Forms
Let’s jump right into it.
1. Install WPForms and the User Registration Addon
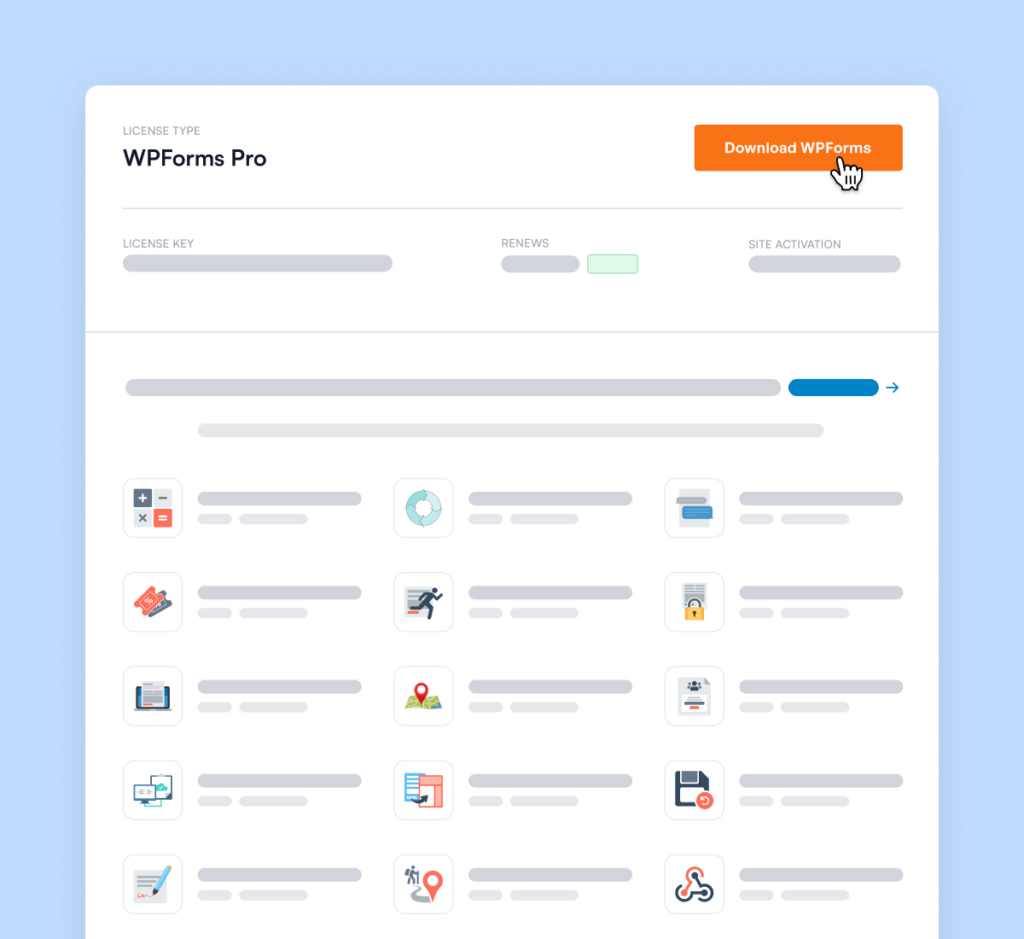
First things first, you need to purchase WPForms Pro license in order to get the user registration addon. After your purchase, install and activate the plugin on your WordPress site.
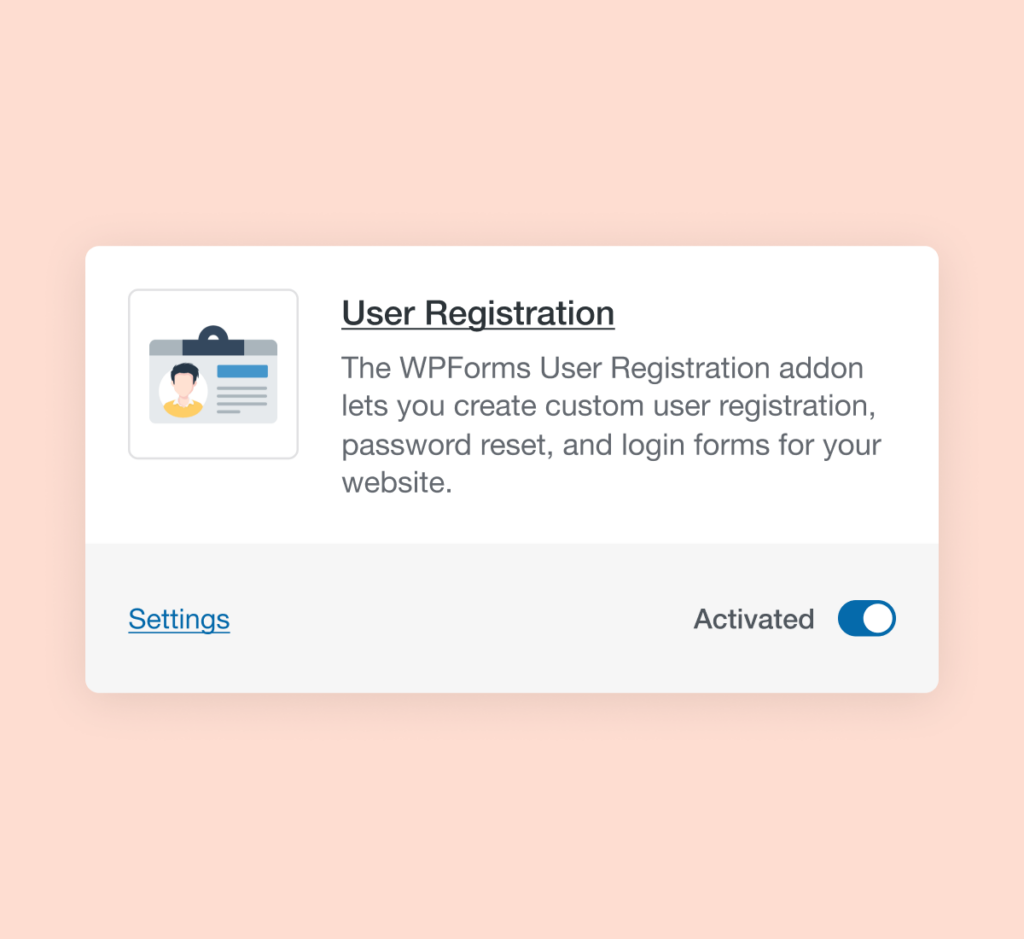
Now, you’ll have to install the User Registration addon to unlock registration form templates and registration settings.
To do this, open your WordPress site’s dashboard and go to WPForms » Addons.
Next, type in “user registration” in the search field. This will make the User Registration Addon appear on your screen. Click on the Install Addon button to add this addon to your WPForms installation.
2. Create a Form Using Registration Form Template
With the User Registration addon now activated, we can use the registration form template to make a new form.
On the left-hand menu of your WordPress dashboard, find and click on WPForms » Add New. Give your new form a name by typing in a title in the Name Your Form field.
Now, scroll down to the Select a Template section and click on Addon Templates category.
Here, you’ll find the new templates that come with User Registration and other addons. Hover your cursor over User Registration Form and click on Use Template.
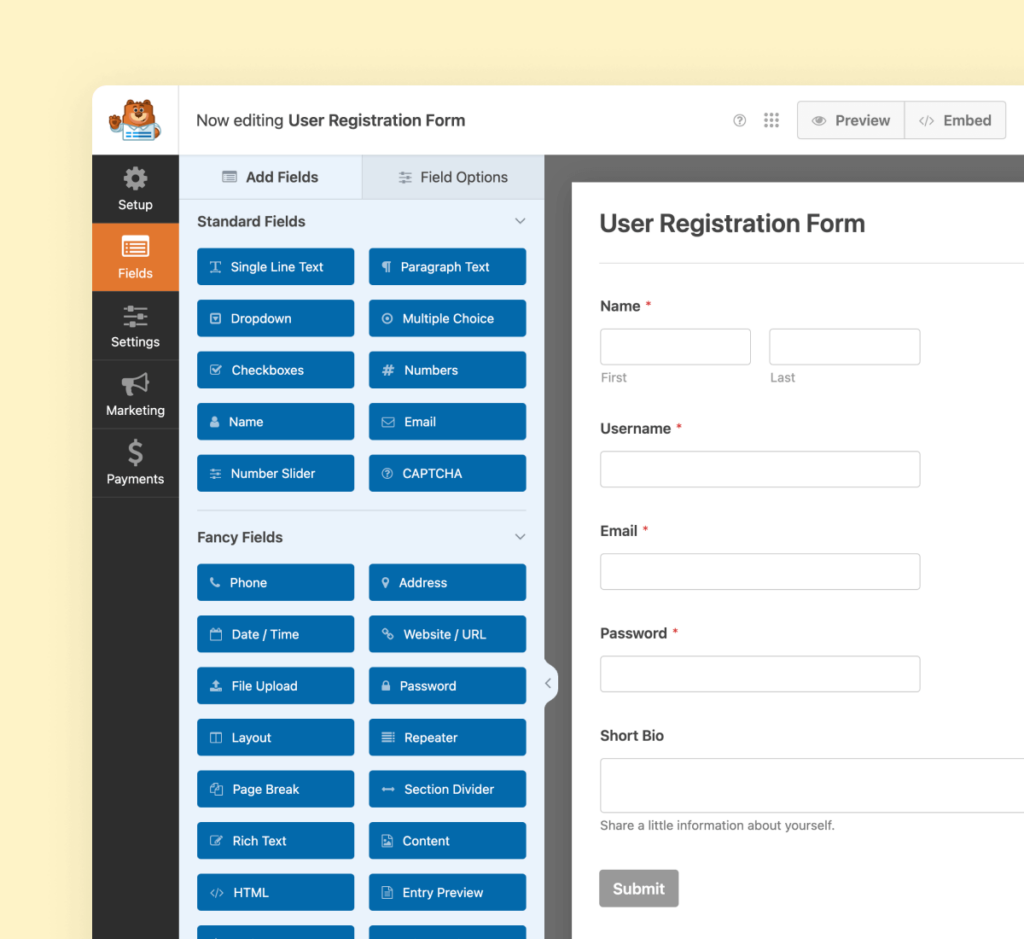
This will lead you to the form builder. You’ll find all the essential registration form fields already added in this template. But you can edit these fields, add new ones, or remove existing ones to customize your form the way you like.
But remember that the email field is necessary to include because you can’t make a WordPress account without providing a valid email address.
Once you’ve set up all the desired fields, it’s time to configure User Registration settings in the next step.
3. Customize User Registration Settings
The User Registration settings are already configured for you when you’re using WPForm’s User Registration template. But there are still additional settings here that allow you to customize your visitors’ registration process.
To configure these settings, head over to Settings » User Registration.
One of the settings here is Field Mapping, which allows you to connect data entered by visitors into your form fields to corresponding fields in their WordPress user account.
You can also choose to auto-generate a strong password during signup for your users here. Simply click on the Password dropdown and select Auto generate.
Another very useful setting here is User Roles. You can choose from a variety of user role options including:
- Author
- Subscriber
- Administrator.
So, if you’re creating a registration form for your subscribers, simply click on the User Roles dropdown and select Subscriber.
4. Configure User Activation & Login Settings
The User Registration addon gives you the freedom to choose how a new user should activate their account. To access these settings, click on the Enable user activation button.
Here, you can select User Email as the account activation method. This is an effective way of making sure that the user is a real person with authentic credentials, and reduces the risk of spam accounts.
You can also choose Manual Approval as the account activation method if you want to manually check and review each user account before approving. Though, this can become quite difficult to manage if you have lots of new subscribers signing up every day.
If you chose User Email as the activation method, then you can also customize the email subject line and message that will be sent to your user when they’re signing up.
One of the best things about our new and improved User Registration addon is that it now lets you use Smart Tags to personalize your registration notifications to users.
So, you can insert a user’s name, username, and other details within your message to customize it. In the example below, we’ve used the {user_first_name}
smart tag, which will automatically insert that user’s first name in the message:
Note: Make sure that your message includes the {url_user_activation}
smart tag because this inserts the link that users will need to click for account activation.
Now, you need to select a confirmation page that users will be automatically redirected to after activating their account. Click on the User Activation Confirmation Page dropdown and select an appropriate page from the dropdown menu.
Our updated User Registration addon also lets you manually resend the activation link to a user if they didn’t receive it the first time. For this, open your WordPress dashboard and click on Users menu on the left-hand panel.
Now, press the Resend activation email button under the user in concern.
If you don’t wish to set up user activation, you can enable the auto login feature which automatically logs a user in after account creation. Simply click on the Enable auto log in button to activate this feature.
If you want to hide your WordPress registration form from users that are already logged in, you can enable the Hide form if user is logged in option.
You can then also customize the message that will appear when a logged-in user tries to access the registration form.
5. Configure Registration Notification Settings
The User Registration addon gives you complete control over emails that your site should send when a new user is created. You can choose if:
- the admin should receive an email when a new user is created
- the user should receive an email with their account details
- the user should receive an email when their account has been activated
Like before, you can edit and customize the messages to be sent by clicking on the Edit Template button. Make use of smart tags to include as much information as you’d like your messages to contain.
6. Setup Custom User Meta (Optional)
If your site has custom user meta data, you can map the registration form field data to your WordPress site’s custom meta fields.
To do this, simply enter the meta key for your desired custom field and select the corresponding form field from the dropdown menu.
Make sure to Save the form after you’ve made all the changes.
7. Create a Login Form
Once you’ve made a registration form for your WordPress site, your users are then going to need a login form where they can actually log in with their registered account. WPForm’s User Registration addon also provides a User Login template to assist you to build a login form.
Select the User Login Form template from the Addon Template category.
We recommend keeping this form as simple as possible with only the necessary fields of Username or Email and Password.
Our updated User Registration addon 2.0 also allows users to force their browsers to remember their login details for quicker future logins. This feature is added by default if you’re using the User Login Form template!
You can also choose whether you’d like to hide this form from logged-in users by navigating to the User Registration settings and toggling on or off the Hide form if users are logged in button. The message to be displayed to logged-in users is also customizable as before.
Don’t forget to Save the form when you’re done.
8. Create a Password Reset Form
It’s very important to give your users the option to reset their password if they’ve forgotten it. This is why we’ve also included a Password Reset Form template in our latest User Registration addon update!
You’ll find this template in the Addon Templates category. This form shouldn’t require anything more than your registered email address and the new password from the user.
The User Registration setting for this form allows you to customize the password reset email, which uses a smart tag to include the reset link.
Like other forms, you can choose to hide this form from logged in users and customize a message affirming the same.
Make sure to Save the form when you’re ready.
9. Save and Embed Your Forms
We’re nearly there! Quickly review all the settings and fields in all the three forms you’ve built. You can find all your saved forms by visiting your WordPress dashboard and clicking WPForms » All Forms. Then, click on the form you want to add.
Then, click on Embed and choose from an existing page to add the form to or create a new page.
Click on Create New Page to embed your form in a new WordPress page.
You’ll then be redirected to the WordPress editor page with your form already embedded within if you chose to add a new page.
If you want to add the form to an existing page, click on the + button in your WordPress block editor and type in WPForms in the search field. Then, click on the WPForms widget to include it on your page.
Click on the WPForms widget and select one of the forms you just created.
Finally, click on Publish to create your new page with the form embedded.
Repeat this process for the other two forms as well.
WPForms performs WordPress data collection so that all form submissions are automatically stored in your site’s database as well if you want to view these later.
And that’s it! You’ve successfully made your WordPress registration form using our User Registration addon templates.
Why Should You Create a WordPress Registration Form From a Template?
WPForms gives you the ability to create your custom registration form from scratch or use our pre-made template. We have an extensive library of 2,000+ form templates to make it super easy for you to build a form for all kinds of purposes.
We’ve designed our registration form template so you can create a new form without having to make any changes yourself (though you can customize the fields, layouts, and design if you’d like to).
So, if you’re looking for a ready-made, beginner-friendly solution to creating registration forms on your WordPress site, WPForms has got you covered!
Next, Restrict Forms to Logged-in Users
Do you want to restrict your forms to only logged-in users? This is very easy to do with WPForms as we’ve explained in this tutorial on how to restrict WordPress forms to logged-in users.
If you’re an online store, you’ll probably need some eCommerce plugins to grow your site faster. Here’s a list of the best WordPress eCommere plugins that can boost your sales and conversions.
Create Your User Registration Form Now
Ready to build your form? Get started today with the easiest WordPress form builder plugin. WPForms Pro includes lots of free templates and offers a 14-day money-back guarantee.
If this article helped you out, please follow us on Facebook and Twitter for more free WordPress tutorials and guides.