Do you want to automatically create an Asana task from a WordPress form?
You can collect every form submission and organize it on Asana, so you don’t need to spend hours copying entires into tasks manually.
Create Your Asana WordPress Form Now
How to Automatically Create an Asana Task From a WordPress Form
In This Article
1. Install WPForms
First, you need to install WPForms on your WordPress site. You can follow this guide on how to install a plugin if you’re not sure how.
Once WPForms is up and running, you also need to install the Zapier addon. This addon lets you connect WPForms with over 7,000 other apps to create all kinds of integrations and automations.
To install the Zapier addon, go to WPForms » Addons in your WordPress admin menu. Then scroll down to the Zapier addon and click on Install Addon.
Great! Now you’re ready to start building your Asana form.
2. Create Your WordPress Form
You can create Asana tasks from any type of WordPress form. However, for the sake of example, we’ll show you how to keep track of presale form submissions in Asana.
Head over to WPForms » Add New. Here you can name your form and select from 2,000+ WordPress form templates.
For our example, we’re using the Request a Quote Form template.
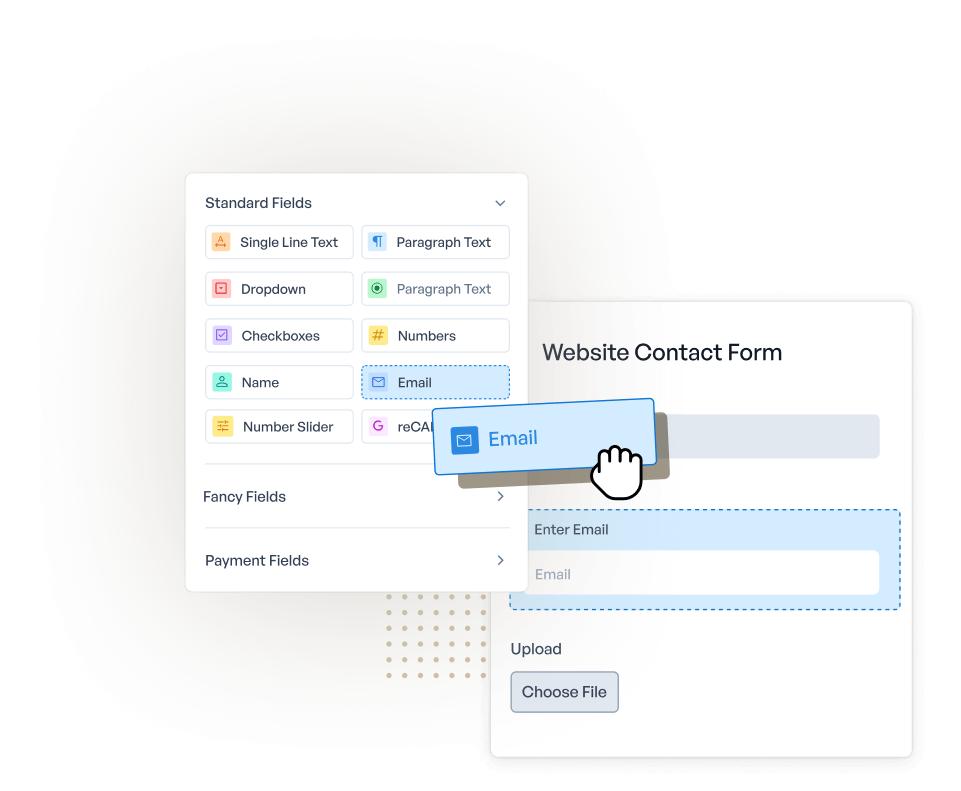
After you select a template, you can use the drag-and-drop form builder to customize the fields and options for your form.
See our tutorial on how to create a request a quote form for more details and examples on how to customize the form.
Once your form is created, you need to complete one more step.
3. Submit a Test Entry
In order to connect WPForms to Zapier, your form needs to have at least one entry. So, before you leave the form builder, click on the Preview button at the top of the screen.
This will open your form so you can submit a test entry. Fill it out and hit the Submit button.
Now you can log in to your Zapier account and connect your form to Asana.
4. Connect Your Form to Zapier
Let’s connect your form to Asana.
The first thing you need to do is to log in to your Zapier account. Then click Create Zap to get started.
Zapier will first ask you to select your trigger app. Search for and choose WPForms.
Then you’ll need to select the trigger action. The only option available for WPForms is New Form Entry, so choose that from the dropdown, then click Continue.
Now Zapier will try to connect to your WPForms account. Click the Sign in button to get started.
This will open a popup window where Zapier will ask for your website’s URL and your Zapier API key.
You can find your Zapier API key by going to your WordPress dashboard and navigating to WPForms » Settings » Integrations. Scroll down to the Zapier section and expand it to see your API key.
Copy the key and paste it into the popup window and enter your URL. Then click Yes, continue.
Now you’ll be able to choose which form you want to connect to Zapier. Select the one you created in Step 2.
Finally, Zapier will test your connection to WPForms to make sure that everything is set up properly. Click Test trigger to begin.
If you’ve set up your Zap correctly so far, you’ll see a success message and the test entry you submitted in Step 3.
You’re almost done! Next we’ll connect Zapier to Asana so you can send entries to your projects automatically.
5. Connect Zapier to Asana
Now that you’ve connected Zapier to WPForms plugin, the next step is to connect your form to Asana.
You’ll need to choose Asana as the action app.
Next, you’ll be prompted to select an Asana action. As we’re looking to create a task in Asana when a form is being submitted on your site, you need to select Create Task.
Then you’ll need to connect your Asana account with Zapier. Click on the Sign in button.
Another popup window will open where you’ll enter your Asana username and password. Then click Continue.
Next you’ll need to set up a template for the Asana tasks that will be created from your form entries. The only required field is to select an existing organization or workspace from your Asana account.
However, you can also sent submissions to a specific project and/or section, map fields from your form to your Asana tasks, add tags, set a priority level, and more.
Once you’ve filled out all the fields you want to use here, click Continue again.
Now Zapier will your Asana connection like it did for WPForms. Click Test action.
If you’ve set up everything right, then you’ll see a success message.
You’ll also be able to see the task created from your test entry in Asana.
All that’s left to do is click Publish to make the connection live and embed your form on your website so that visitors can fill it out.
We hope this guide helped you to automatically create Asana tasks from WordPress forms. Check out our full list of Asana integrations for more ideas!
Create Your Asana WordPress Form Now
Next, Create WordPress Form Notifications
Zapier helps you to do all kinds of neat tricks with WPForms. Here are some more things you can do:
- If you track time, check out how to create a Toggl project from a form entry.
- Send a Slack auto invite from a WordPress form to keep your team informed.
Ready to build your form? Get started today with the easiest WordPress form builder plugin. WPForms Pro includes lots of free templates and offers a 14-day money-back guarantee.
If this article helped you out, please follow us on Facebook and Twitter for more free WordPress tutorials and guides.