Insightly WordPress form

How to Make an Insightly WordPress Form (The Easy Way)

Do you want to make a custom Insightly WordPress form? Building your own form will allow you to collect contact details on your website and automatically send them to your Insightly CRM.

In this article, we’ll show you the easy way to make a custom Insightly WordPress form.

Create Your Insightly WordPress Form Now

What Is Insightly?

Insightly is a cloud-based customer relationship management (CRM) tool. It combines sales tracking and marketing automation tools in 1 platform.

Insightly lets you create and customize forms to save data.

So why not embed these basic Insightly WordPress forms on your site?

Well, you can, but they’re not very user-friendly.

With Insightly’s basic forms, you’ll need to copy all of the code for the form and paste it into the code editor in WordPress. Each time you change your form, you’ll need to go back and repeat the whole process.

That’s why we’re going to use WPForms for this tutorial. WPForms makes it easy to make any kind of form, and it’s easy and fast to change your forms too.

WPForms also allows you to add more features to Insightly forms. You can:

So now we understand a little more about Insightly WordPress forms, let’s go ahead and make a custom form.

How to Make an Insightly WordPress Form

If you already know how to make Zoho CRM forms in WordPress, you’ll find this easy to follow. This table of contents will guide you through the tutorial:

  1. Install the WPForms Plugin
  2. Make Your Insightly WordPress Form
  3. Add Your Insightly Form to WordPress
  4. Connect WPForms to Zapier
  5. Connect Insightly to Zapier
  6. Test Your WordPress Insightly Integration

Ready? Let’s start by installing WPForms.

Step 1: Install the WPForms Plugin

To start, install the WPForms plugin on your WordPress website.

If you need help getting WPForms installed, check out this article on how to install a plugin in WordPress.

Don’t forget to activate the plugin before you continue.

Great! Step 1 is complete. Now let’s build the form.

Step 2: Make Your Insightly WordPress Form

WPForms has tons of WordPress form templates you can use.

We’ll go ahead and start with the Simple Contact Form template.

Just click on the template to open it.

Create Insightly WordPress form

Now we can add extra fields for our Insightly contact record.

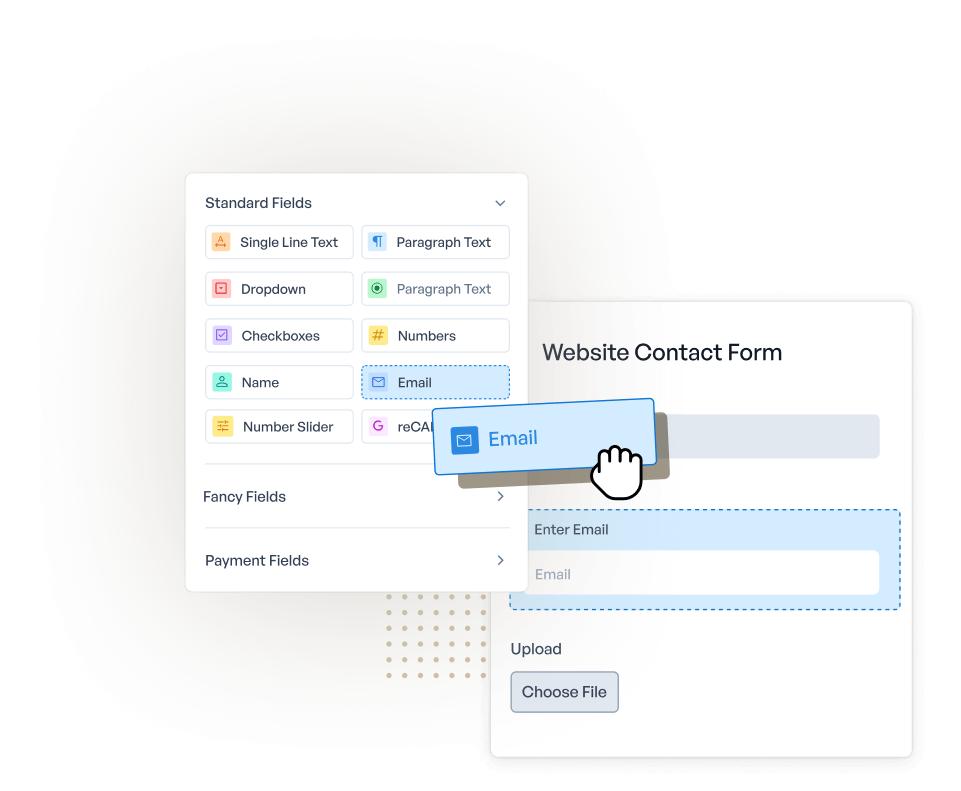
To do this, just click a field on the left-hand pane and drag it to the right-hand pane to add it to your form.

Remember! Insightly uses 2 separate fields for the contact’s Name. You can set this up in WPForms by clicking on the name field and changing the format to First Last, like this:

Customize name field for Insightly WordPress form

Here are the other Insightly fields that Zapier can use:

  • Salutation (prefix)
  • Job title and organization
  • Email address (various types, but you can only use 1)
  • Phone fields for work, mobile, home, and ‘other’
  • Fax number
  • Twitter ID, LinkedIn URL
  • Tags
  • Background information
  • Mailing address and ‘other’ address.

Phew. That’s a lot of fields.

You don’t need to include all of these on your form. But if you do, we recommend that you use page breaks to create a multi-part form.

Just drag the page break where you want it to appear on the form:

Create Multi-Part Insightly WordPress form

We’ll show you how this looks in Step 3.

You can also make your form more compact by making short fields smaller.

Click on the field, scroll down, and set the field size to Small:

WPForms small form field

When your form is set up the way you want it, don’t forget to click Save before moving on to the next step.

Step 3: Add Your Insightly Form to WordPress

Now we’re going to add the custom Insightly form to our website.

WPForms makes this part really easy. You can place your form:

  • In a post
  • On a page
  • In the sidebar.

Do you want to improve conversions? You could use the Form Pages addon to place your form on a distraction-free landing page.

In this example, we’ll keep it simple and create a new page for the form in WordPress.

In the WordPress dashboard, click Pages, then Add New.

Give your page a title, and then click the plus icon to add a new block. Search for WPForms and click the widget.

Select WPForms block in the block editor

Now just select the form you need from the dropdown.

Select Insightly WordPress form in the block editor

That’s it! Don’t forget to Publish or Update your page.

Embed and Publish the Insightly WordPress form

Here’s how our published form looks. Did you notice the progress bar at the top? We made this into a multi-step form, so the progress bar shows our visitor how much they’ve completed so far.

Insightly WordPress form with progress bar

Before we move on, we need to send a test entry through the form. Without this, Zapier won’t be able to connect to WPForms in the next step.

Go ahead and fill out the form, then submit it.

Now we’re ready to connect WPForms to Zapier.

Step 4: Connect WPForms to Zapier

Zapier connects different services together. In this example, our Insightly WordPress form will trigger the zap.

So, first, click Make a Zap.

Make a Zap in Zapier

Search for WPForms and click the icon.

Search for WPForms in Zapier

Now you’ll need your API key. Head back to the WordPress dashboard and click WPForms, then Integrations.

Scroll all the way down and click Zapier to reveal your key.

Get Zapier key

Paste the key in to the connection window in Zapier. Then click Yes, Continue.

Zapier WPForms connection

Zapier will take you back to the Make a Zap screen.

Click Continue again.

Add WPForms in Zapier

Next, Zapier will ask you to select the form you want to use for the trigger.

Select the form you made in Step 2.

Select Insightly WordPress form

Now it’s time to connect Zapier and Insightly so we can send the form data to the CRM.

Step 5: Connect Insightly to Zapier

This step is very similar to Step 4. This time, under Choose App and Event, we’re going to search for Insightly and click the icon.

Zapier will ask you for your Insightly API key.

To find this, click your user icon at the top-right corner in Insightly. Then click User Settings.

Scroll down and copy your Insightly API key:

Insightly API key

Paste the API key into the connection window in Zapier.

Next, we need to select the action that we want to trigger when we get a new form entry.

For this form, we want to create a new contact, so go ahead and select that.

Create new contact in Insightly WordPress form

Now for the important part. We need to map each field from our Insightly WordPress form to the form fields in Insightly.

Zapier will show you the test entry you submitted to guide you here.

Create Insightly contact from WPForms in Zapier

Once everything is done, you can click Continue in Zapier to move on to the final step.

Step 6: Test Your WordPress Insightly Integration

When all your fields are mapped, Zapier will ask you to test your integration.

If everything worked, you’ll see a success message.

Go ahead and check that your record was created in Insightly. Here’s ours:

Insightly WordPress form contact created

That’s it! Don’t forget to turn on your Zap in Zapier before you quit.

Now all you need to do is drive traffic to your form. Check out this article on how to get more leads for some tips.

Create Your Insightly WordPress Form Now

Final Thoughts

Great job! Now you know how to create a custom Insightly WordPress form. You can also use all of the extra features in WPForms to track your leads.

If you’d like to save Insightly form entries in WordPress too, check out this tutorial on how to save form entries in your WordPress database. We also have a guide to creating a WordPress Salesforce integration using the WPForms Salesforce addon.

Ready to build your form? Get started today with the easiest WordPress form builder plugin. WPForms Pro includes lots of free templates and offers a 14-day money-back guarantee.

If this article helped you out, please follow us on Facebook and Twitter for more free WordPress tutorials and guides.

Disclosure: Our content is reader-supported. This means if you click on some of our links, then we may earn a commission. See how WPForms is funded, why it matters, and how you can support us.

Claire Broadley

Claire is the Content Manager for the WPForms team. She has 13+ years' experience writing about WordPress and web hosting. Learn More

The Best WordPress Drag and Drop Form Builder Plugin

Easy, Fast, and Secure. Join over 6 million website owners who trust WPForms.

Please enable JavaScript in your browser to complete this form.

Add a Comment

We're glad you have chosen to leave a comment. Please keep in mind that all comments are moderated according to our privacy policy, and all links are nofollow. Do NOT use keywords in the name field. Let's have a personal and meaningful conversation.

This form is protected by reCAPTCHA and the Google Privacy Policy and Terms of Service apply.