Resumo de IA
Deseja alterar a aparência do campo de Caixas de seleção do seu formulário? O WPForms oferece muitas opções para personalizar a aparência e o funcionamento deste campo em seus formulários publicados.
Este artigo compartilhará todas as maneiras de personalizar seus campos de Caixas de seleção do WPForms.
- Editando o Rótulo e a Descrição do Campo
- Editando, Adicionando e Removendo Opções
- Gerando Opções com IA do WPForms
- Exigindo o Campo
- Randomizando Escolhas
- Exibindo Caixas de Seleção em um Layout de Múltiplas Colunas
- Limitando Seleções de Escolha para Caixas de Seleção
- Usando Escolhas Dinâmicas de Caixas de Seleção
- Ocultando o Rótulo do Campo
- Habilitando a Exibição de Isenção de Responsabilidade ou Termos de Serviço
- Perguntas Frequentes
Observação: O campo Caixas de Seleção permite que os usuários selecionem várias opções por vez. Se você precisar que os usuários selecionem apenas uma opção, onde a seleção de uma opção desmarcaria automaticamente a outra, recomendamos o uso do campo Múltipla Escolha.
Antes de conferir as opções abaixo, certifique-se de que o WPForms esteja instalado e ativado em seu site WordPress. Em seguida, crie um novo formulário ou edite um existente para abrir o construtor de formulários.
Aqui, procure por Caixas de Seleção na seção Campos Padrão.
Para adicionar um campo de Caixas de Seleção ao seu formulário, clique nele ou arraste e solte-o na área de visualização do construtor de formulários. Em seguida, clique nele para abrir as opções do campo.
Observação: Quer saber sobre todas as personalizações de campo possíveis no WPForms? Veja nosso guia completo de opções de campo para mais dicas.
Editando o Rótulo e a Descrição do Campo
As primeiras opções de campo a serem consideradas são o Rótulo e a Descrição.
Alterando o Rótulo do Campo
Por padrão, o rótulo do campo será “Caixas de Seleção”. No entanto, você pode facilmente alterar este texto para o que quiser, inserindo seu próprio rótulo personalizado no painel Opções de Campo.

Adicionando uma Descrição
Descrições de campo são úteis para fornecer informações aos seus usuários, como instruções para fazer suas seleções em seu campo de Caixas de Seleção.
Para adicionar uma descrição, basta digitá-la no campo relevante no painel Opções de Campo.

Observação: Quer saber sobre outras maneiras de incorporar texto em seus formulários? Confira nosso tutorial sobre como adicionar texto extra no WPForms.
Editando, Adicionando e Removendo Opções
Uma das principais características do campo Caixas de Seleção é que ele permite que os usuários selecionem várias opções. Veja como personalizar as opções que você apresenta em seus formulários.
Editando Opções de Caixas de Seleção
Para editar o rótulo de uma caixa de seleção, basta digitar o texto desejado no campo fornecido.

Você pode pré-selecionar qualquer opção clicando na caixa de seleção à esquerda do seu rótulo.

Observação: Para mais detalhes sobre a pré-seleção de caixas de seleção, consulte nosso tutorial sobre como definir valores padrão para campos no WPForms.
Se você quiser reordenar suas opções de Caixas de Seleção, basta arrastar e soltar os itens na ordem em que deseja que eles apareçam.
Adicionando e Removendo Opções de Caixas de Seleção
Para adicionar mais opções ao seu campo de Caixas de Seleção, clique no botão azul mais (+) ao lado de qualquer opção existente.

A nova opção será adicionada imediatamente abaixo daquela cujo botão de mais (+) você clicou.
Observação: Quer aprender como configurar uma caixa de seleção “Outro” que exibe um campo de texto quando selecionada? Confira nosso tutorial sobre como fazer isso com lógica condicional.
Você pode adicionar várias opções de uma vez clicando em Adicionar em Massa.

Insira cada nova opção que você gostaria de incluir em sua própria linha, em seguida, clique em Adicionar Novas Opções.

Suas novas opções serão adicionadas ao final da lista de itens existente.
Observação: Precisa de mais ajuda para adicionar opções ao seu campo de Caixas de Seleção? Veja nosso tutorial sobre adicionar opções em massa a campos de seleção.
Se você quiser remover uma opção do seu campo de Caixas de Seleção, clique no botão vermelho menos (-) ao lado dela no painel Opções do Campo.

Observação: Gostaria que seu campo de Caixas de Seleção tivesse uma aparência de botão? Nossa documentação do desenvolvedor fornece um guia sobre como transformar este campo com CSS.
Usando Escolhas de Imagem
Se desejar, você pode adicionar imagens a cada uma das opções do seu campo de Caixas de Seleção. Para fazer isso, ative a opção Usar imagens nas opções.

Isso exibirá um botão Carregar Imagem para cada opção em seu campo de Caixas de Seleção. Clique no botão para selecionar uma imagem para essa opção da Biblioteca de Mídia do seu site ou do seu computador.

Observação: As imagens das opções não são cortadas ou redimensionadas ao serem adicionadas ao seu formulário. Para um melhor visual, use imagens de 250px quadradas ou menores, e certifique-se de que todas as suas imagens tenham o mesmo tamanho.
Depois de escolher um arquivo de imagem, uma prévia dele aparecerá no painel Opções do Campo.

Observação: Quer mais detalhes sobre como usar imagens nas opções do WPForms? Veja nosso guia completo sobre este recurso para saber mais.
Usando Ícones nas Opções
O campo Caixas de Seleção também permite adicionar ícones às suas opções. Para ativar este recurso, ative a opção Usar ícones nas opções.
Depois de ativar as opções de ícone, você verá ícones padrão adicionados a cada opção em seu campo de Caixas de Seleção. Quando estiver pronto, clique em um dos ícones padrão para substituí-lo pelo seu ícone preferido.
Em seguida, o Seletor de Ícones aparecerá, onde você pode navegar e pesquisar mais de 2.000 ícones. Assim que encontrar um ícone de que goste, clique nele para adicioná-lo ao seu formulário.
Após selecionar um ícone do Seletor de Ícones, ele aparecerá no construtor de formulários.
Observação: Quer saber mais sobre ícones nas opções? Certifique-se de conferir nosso guia passo a passo para usar ícones nas opções para mais detalhes.
Gerando Opções com IA do WPForms
Você também pode adicionar opções ao seu campo de Caixas de Seleção usando a IA do WPForms. Este recurso permite gerar rapidamente opções relevantes com base no seu prompt. Para usar a IA do WPForms, basta clicar no botão Gerar Opções abaixo da seção Opções.

Observação: Para saber mais sobre como gerar opções com o WPForms AI, confira nosso tutorial sobre como usar Opções de IA.
Exigindo o Campo
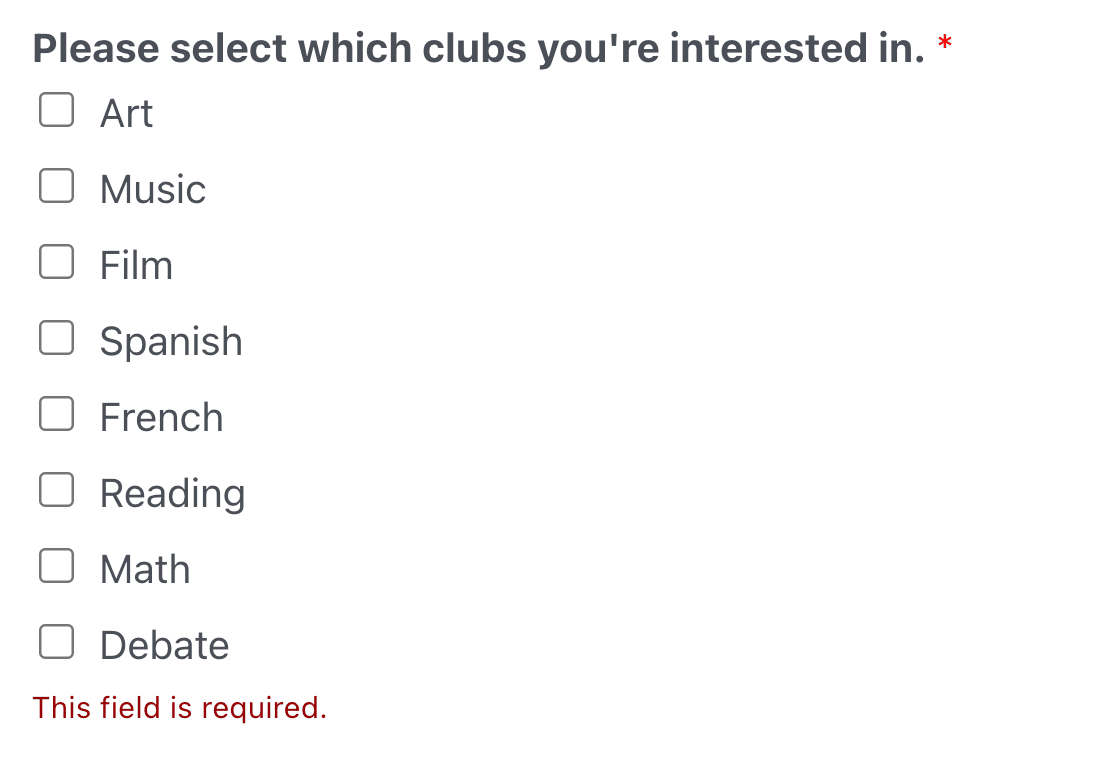
Se você quiser garantir que os usuários preencham seu campo de Caixas de Seleção antes de enviar o formulário, você precisará marcá-lo como obrigatório.
Basta ativar a configuração Obrigatório na parte inferior das opções gerais do campo.

No frontend, os usuários verão uma mensagem dizendo “Este campo é obrigatório” se tentarem enviar seu formulário sem fazer uma seleção no seu campo de Caixas de Seleção.
Observação: Quer personalizar o texto que os usuários verão se pularem um campo obrigatório em seus formulários? Confira nosso tutorial sobre como alterar mensagens de validação.
Randomizando Escolhas
Fazer com que suas opções de Caixas de Seleção apareçam em uma ordem aleatória a cada carregamento do formulário pode evitar viés de ordem em suas entradas.
Para randomizar suas opções de Caixas de Seleção, clique na aba Avançado no painel Opções do Campo.

Em seguida, ative a configuração Aleatorizar Opções.

Observação: Para mais detalhes, veja nosso tutorial completo sobre como aleatorizar opções para campos de Caixas de Seleção e Múltipla Escolha.
Exibindo Caixas de Seleção em um Layout de Múltiplas Colunas
Se o seu campo de Caixas de Seleção incluir muitas opções, pode ser útil organizá-las em um layout de várias colunas para que ocupem menos espaço.
Usando o menu suspenso Layout das Opções, você pode organizar suas caixas de seleção em 1, 2 ou 3 colunas.

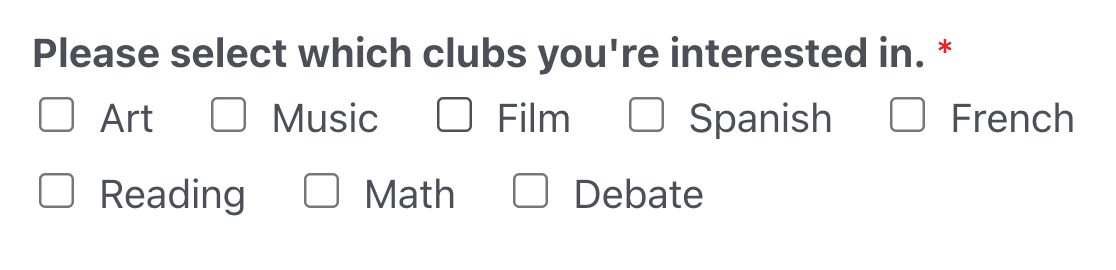
Ou você pode escolher a opção Em linha para exibir todas as opções em uma única linha. Se você tiver mais opções do que cabem em uma única linha, elas quebrarão para uma nova linha, assim.
Observação: Veja nosso tutorial sobre criação de layouts de várias colunas para campos de Caixas de Seleção para mais detalhes.
Limitando Seleções de Escolha para Caixas de Seleção
Por padrão, o campo Caixas de Seleção permite que os usuários selecionem quantas opções desejarem. Se você quiser limitar o número de opções que seus usuários podem selecionar, pode inserir um número no campo Limite de Opções nas opções avançadas do campo.

Observação: Confira nosso tutorial sobre limitar seleções de Caixas de Seleção para mais informações sobre esta opção de campo.
Usando Escolhas Dinâmicas de Caixas de Seleção
Campos de Caixas de Seleção podem usar dados do seu site, como taxonomias ou títulos de posts, para popular dinamicamente suas opções.
Para ativar esta opção, selecione Tipo de Post ou Taxonomia no menu suspenso Opções Dinâmicas.

Observação: Procurando mais orientações sobre como configurar suas opções dinâmicas? Veja nosso tutorial passo a passo sobre como usar valores dinâmicos no WPForms para todos os detalhes.
Ocultando o Rótulo do Campo
Finalmente, se você quiser ocultar o rótulo do seu campo de Caixas de Seleção no frontend, ative a configuração Ocultar Rótulo na aba Avançado do painel Opções do Campo.

Observação: Mesmo que você oculte o rótulo de um campo no frontend, recomendamos que você ainda inclua um rótulo para ele em suas opções gerais de campo. Isso ajudará você a identificar o campo em as entradas do seu formulário.
Habilitando a Exibição de Isenção de Responsabilidade ou Termos de Serviço
Como muitos formulários pedem aos usuários para verificar se leram os Termos de Serviço ou se reconhecem um aviso, o WPForms permite que você adicione facilmente uma caixa de seleção para que os usuários cliquem para fazer isso.
Para ativar este recurso, mude a opção Ativar Exibição de Aviso / Termos de Serviço para a posição "ligado".

Use o campo Descrição nas opções gerais do campo para listar seus termos ou compartilhar seu aviso. Em seguida adicione uma única opção rotulada como "Eu concordo com os termos e condições" ou "Eu reconheço o aviso abaixo."
No frontend, o texto da descrição do campo aparecerá em uma caixa branca abaixo da única caixa de seleção.

Observação: Para mais detalhes sobre como configurar uma caixa de seleção de Termos de Serviço ou Aviso, veja nosso tutorial completo sobre este recurso.
Perguntas Frequentes
Estas são respostas para algumas das principais perguntas que recebemos sobre o campo Caixas de Seleção.
Como posso exibir dados dinâmicos nos rótulos das minhas Caixas de seleção?
Você pode incluir dados dinâmicos nos rótulos das caixas de seleção usando Smart Tags. Isso requer um trecho de PHP para habilitar o processamento de Smart Tags diretamente nos rótulos das caixas de seleção. Para instruções passo a passo sobre como implementar isso, consulte nossa documentação do desenvolvedor.
Como posso definir um número mínimo de escolhas para um campo de Caixas de seleção no WPForms?
Para impor um número mínimo de seleções em um campo de caixa de seleção, você pode usar um trecho de JavaScript. Isso permite especificar um número mínimo de escolhas que os usuários devem selecionar antes de enviar o formulário, o que é particularmente útil para pesquisas ou formulários onde um nível mínimo de engajamento é necessário.
Para instruções passo a passo sobre como implementar este recurso, consulte nossa documentação do desenvolvedor.
É isso! Agora você conhece todas as opções disponíveis para o campo Caixas de seleção no WPForms.
Em seguida, você gostaria de mostrar ou ocultar outros campos em seu formulário com base nas seleções dos usuários em seu campo Caixas de seleção? Certifique-se de ler sobre o uso de lógica condicional inteligente no WPForms.