Resumo de IA
Você gostaria de adicionar opções de imagem aos seus formulários? O WPForms facilita a adição de imagens aos seus campos de Múltipla Escolha, Caixas de Seleção, Múltiplos Itens e Itens de Caixa de Seleção para que seus usuários possam ver a opção ou item que você listou.
Este tutorial mostrará como adicionar escolhas de imagem a campos existentes ou novos no WPForms.
Configurando Escolhas de Imagem
Antes de começar, você precisará garantir que o WPForms esteja instalado e ativado em seu site WordPress e que você tenha verificado sua licença. Em seguida, você pode criar um novo formulário ou editar um existente para acessar o construtor de formulários.
Assim que o construtor de formulários estiver aberto, você poderá adicionar opções de imagem a qualquer um dos seguintes tipos de campo:
- Múltipla Escolha
- Caixas de seleção
- Itens Múltiplos
- Itens de Caixa de Seleção
Além disso, você pode adicionar imagens a campos novos e existentes desses tipos de campo.
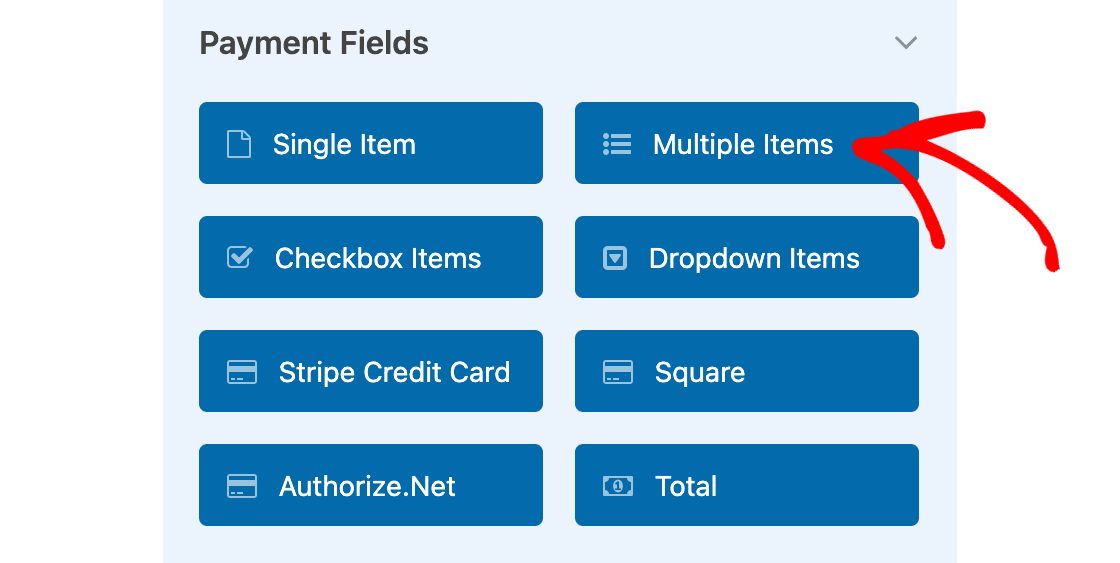
Para nosso exemplo, queremos mostrar imagens para opções de itens em um formulário de pedido. Para fazer isso, primeiro adicionaremos um campo Múltiplos Itens ao nosso formulário.
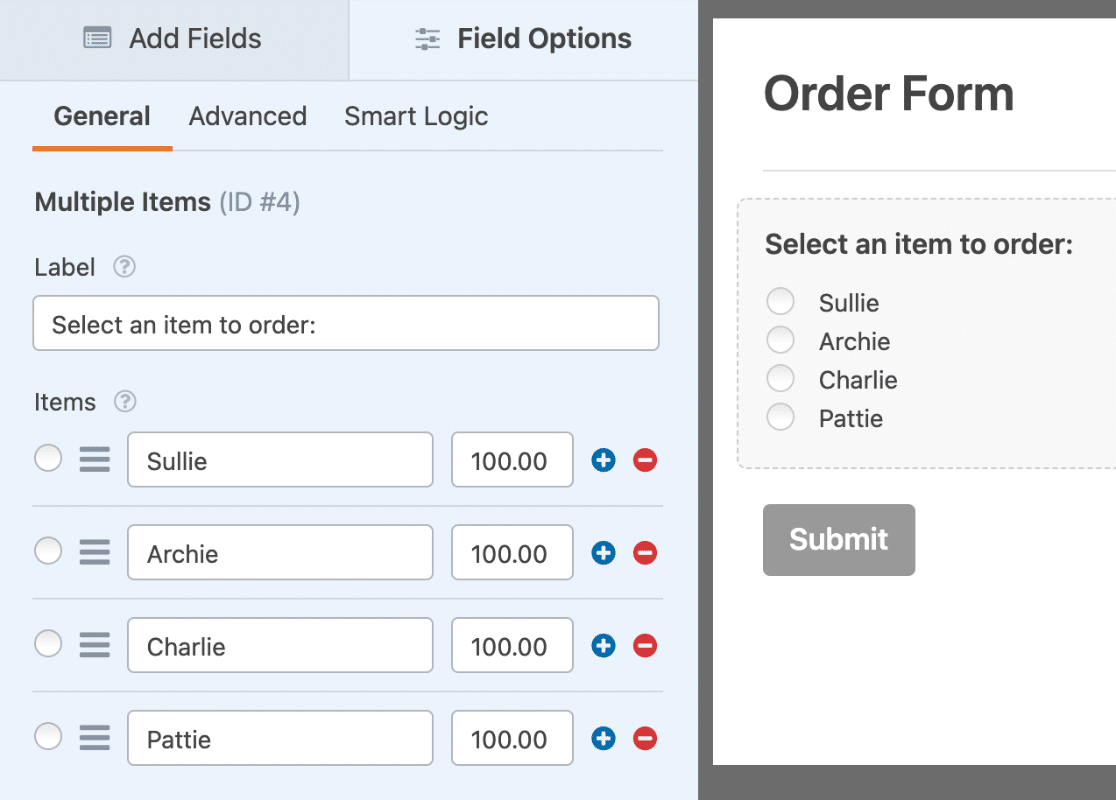
Agora que adicionamos nosso campo, o próximo passo é alterar o rótulo do campo e adicionar texto para as opções disponíveis. Como estamos usando um campo de Múltiplos Itens, também precisamos adicionar preços para cada item.
Assim que essa configuração básica estiver pronta, selecionaremos a opção Usar opções de imagem.
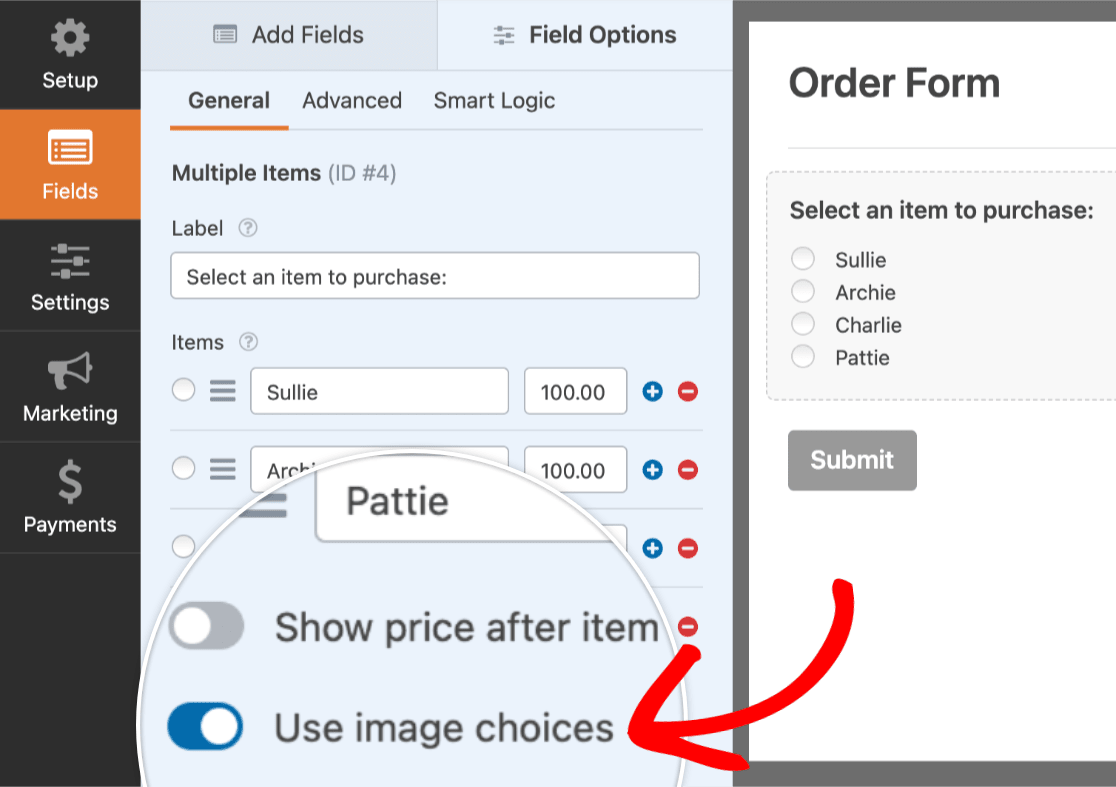
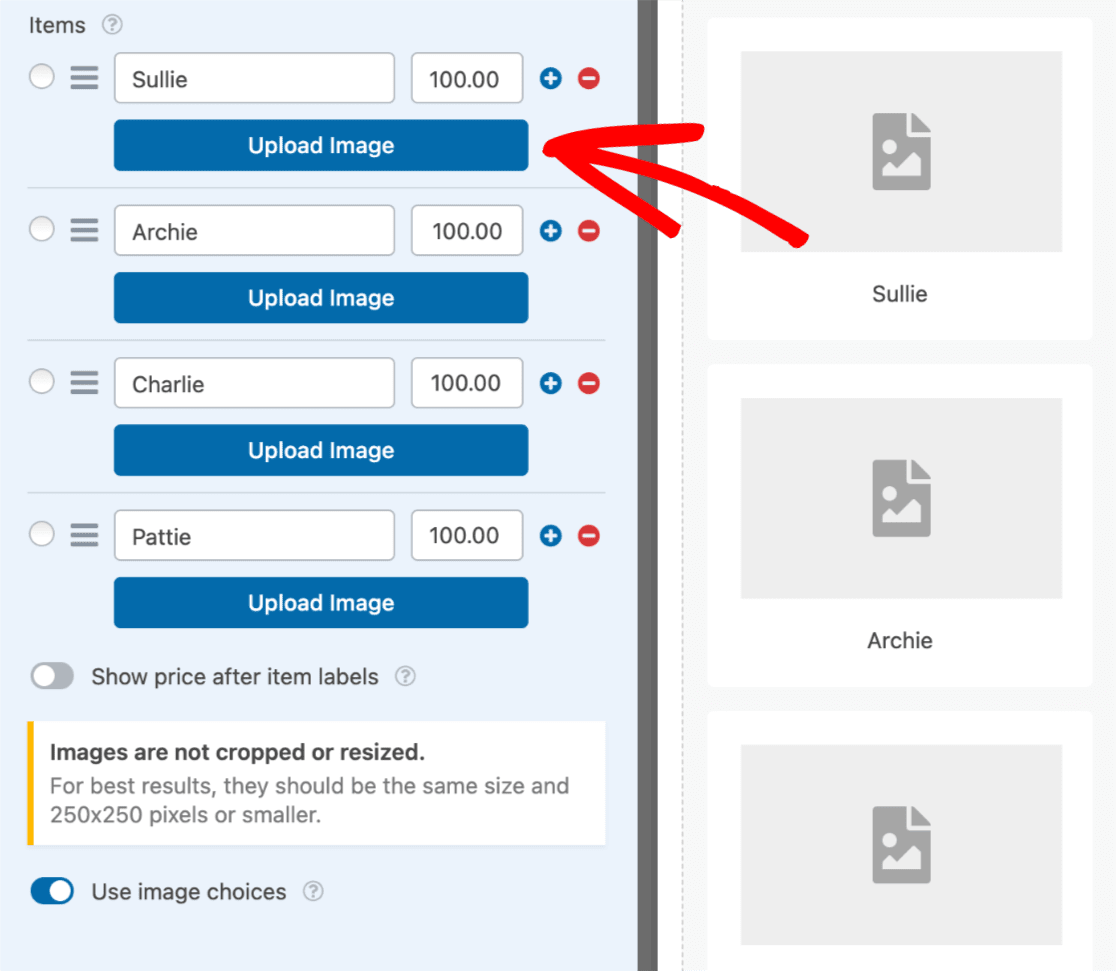
Assim que esta opção for ativada, um botão Carregar Imagem será adicionado a cada opção. Além disso, uma imagem de espaço reservado será exibida para cada opção na área de visualização.
Adicionando Imagens
Para adicionar uma imagem a uma opção, clique no botão Carregar Imagem.
Isso abrirá a Biblioteca de Mídia do WordPress. A partir daqui, você pode selecionar um arquivo que já foi adicionado ao seu site ou carregar uma nova imagem. Depois de escolher a imagem que deseja usar, clique no botão Usar Imagem.
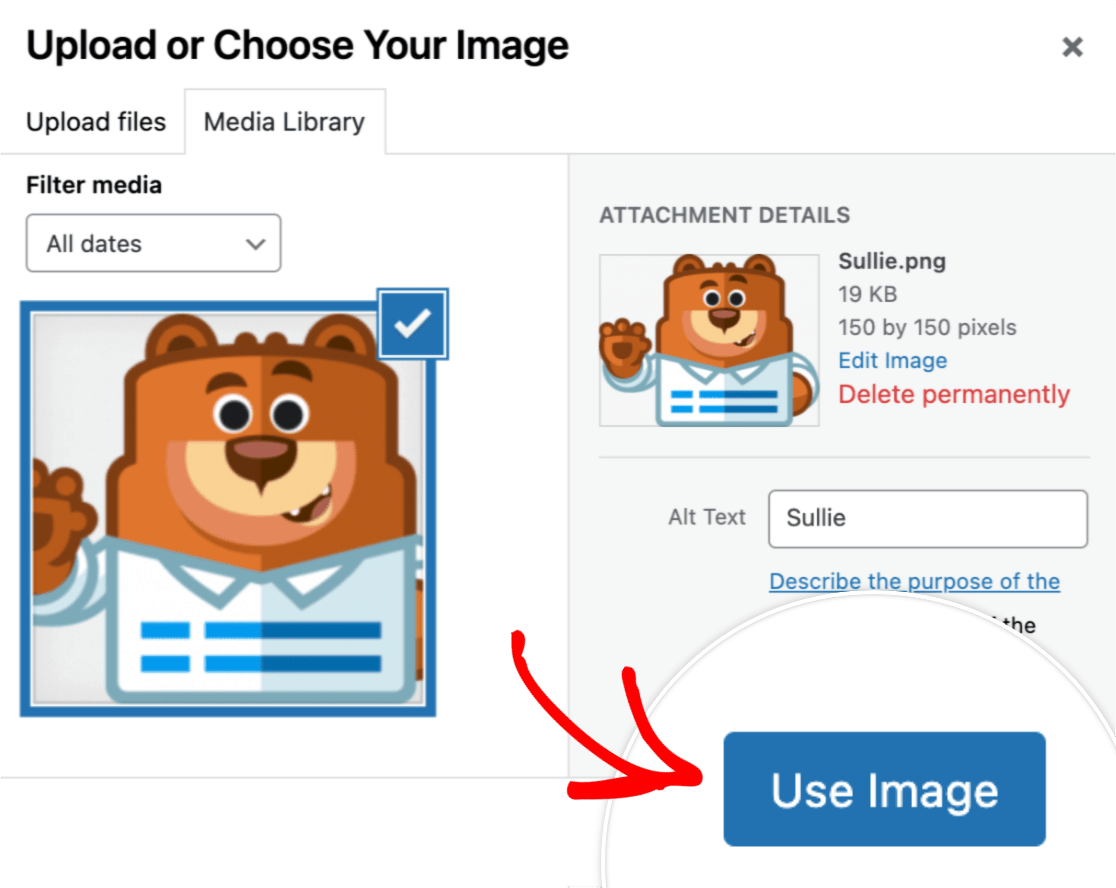
Para este exemplo, já editamos todas as imagens para terem 150 por 150 pixels. Isso ajudará nossas opções de imagem a parecerem mais uniformes e profissionais.
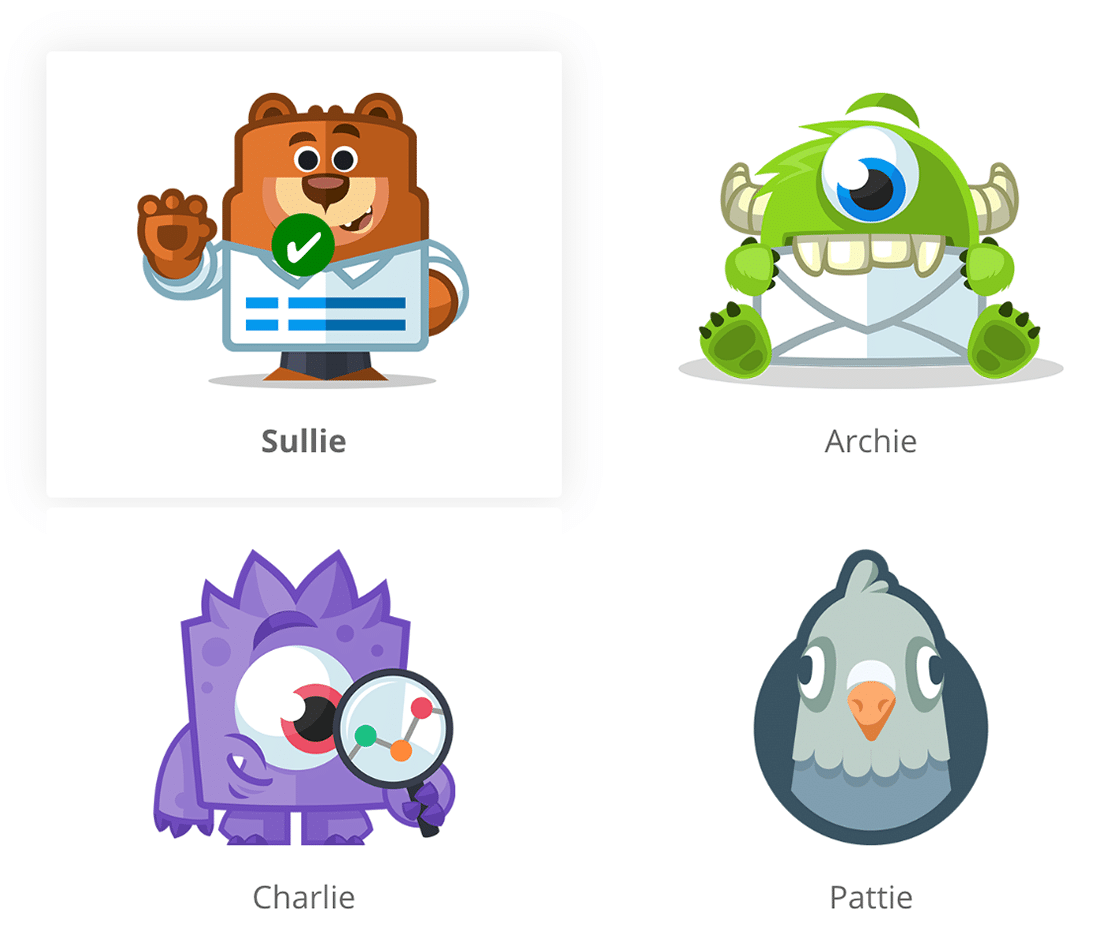
Veja como nossas opções de imagem aparecerão para nossos usuários:
Personalizando Opções de Imagem
O WPForms também inclui várias opções integradas para personalizar suas opções de imagem. Para visualizar essas opções, abra a aba Avançado dentro das Opções de Campo.
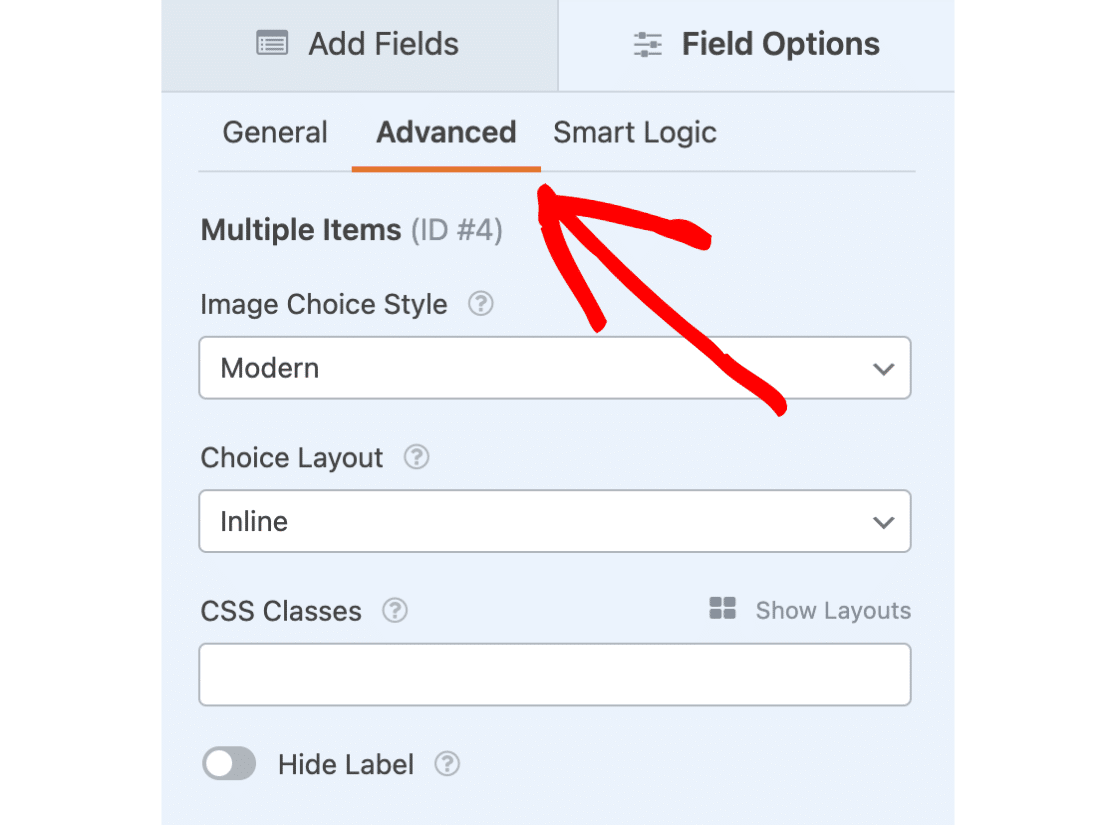
Além de quaisquer outras opções de personalização disponíveis para o campo que você está usando, duas opções são adicionadas quando a opção Usar opções de imagem é selecionada: Estilo da Opção de Imagem e Layout da Opção.
Estilo da Opção de Imagem
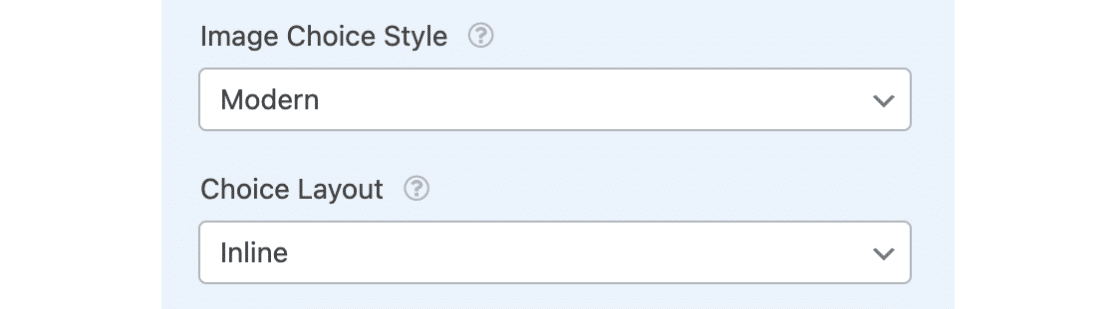
Existem três opções disponíveis para estilização de opções de imagem: Moderno, Clássico e Nenhum.
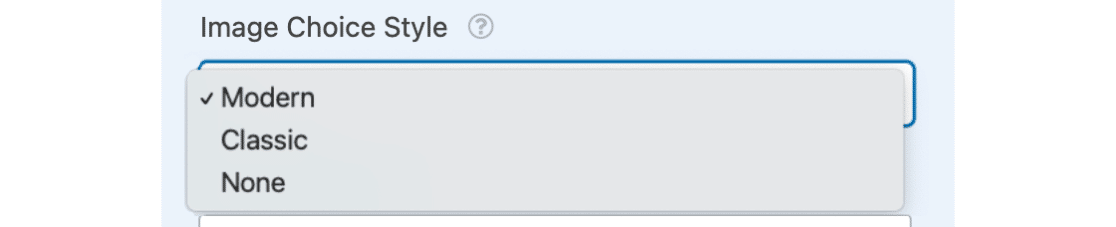
Vamos analisar cada uma dessas opções abaixo:
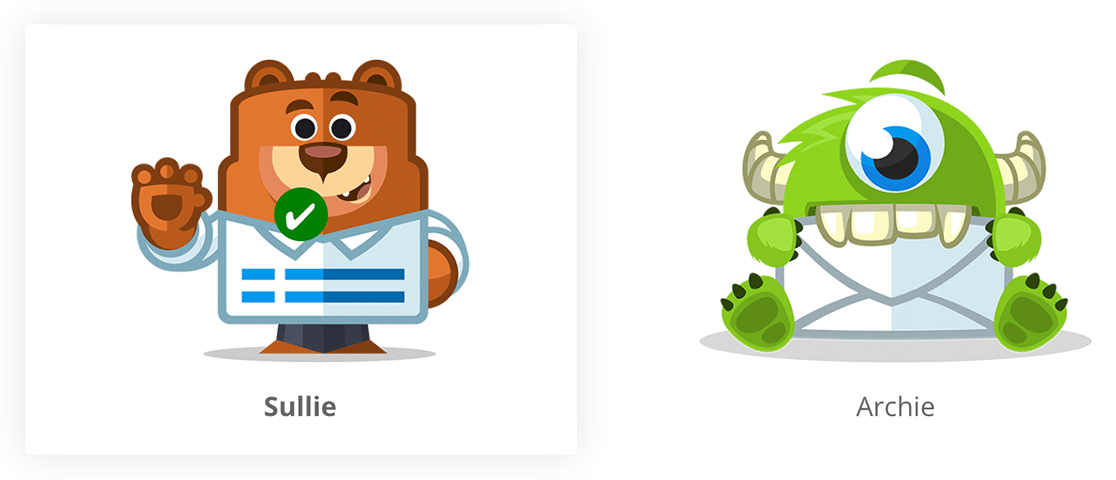
Estilo Moderno
A opção Moderno exibirá qualquer opção selecionada dentro de uma caixa sombreada, e também adicionará um ícone de marca de seleção verde e branco ao centro da opção selecionada.
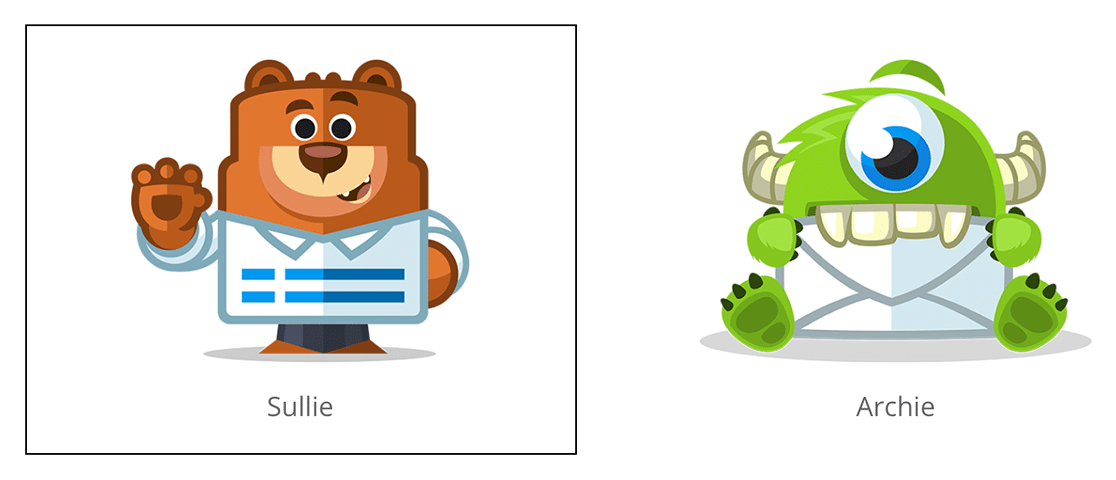
Estilo Cl ilde{A}¡ssico
A opção Clássica simplesmente adicionará uma borda grossa cinza escura em torno de quaisquer opções selecionadas.
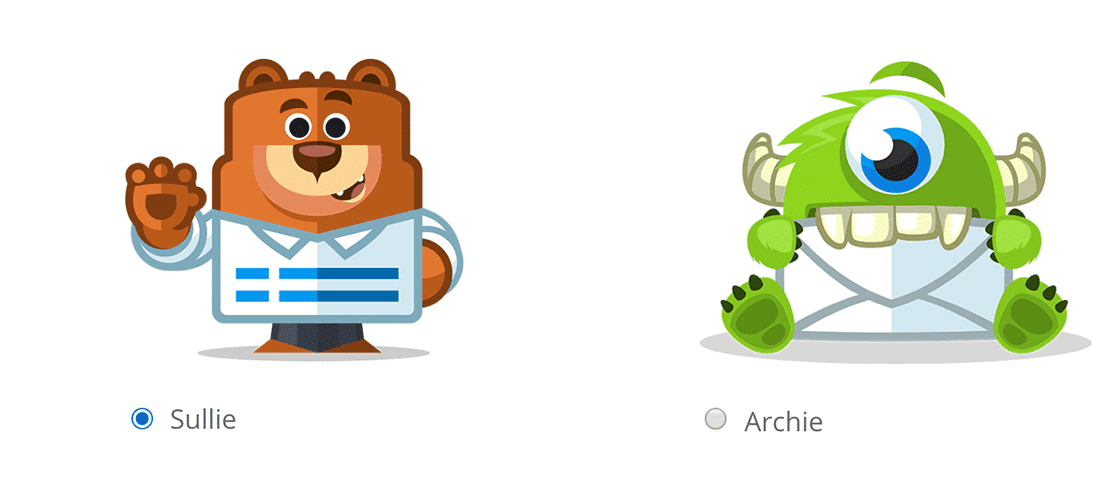
Nenhum
Se você preferir não adicionar nenhum estilo especial, selecione a opção Nenhuma. Esta opção exibirá caixas de seleção ou botões de rádio regulares ao lado do texto para cada opção.
Layout da Escolha
Para qualquer campo onde escolhas de imagem são permitidas, você terá várias opções de layout. Isso determinará quantas colunas são usadas para exibir as escolhas dentro deste campo.
As opções de Layout da Escolha incluem Uma Coluna, Duas Colunas, Três Colunas e Em Linha.

Por padrão, a opção Em Linha será selecionada quando a opção Adicionar escolhas de imagem estiver habilitada. Isso colocará automaticamente o máximo de escolhas possível em cada linha.
É isso! Agora você pode adicionar imagens a quaisquer campos de Múltipla Escolha, Caixas de Seleção, Múltiplos Itens e Itens de Caixa de Seleção em seus formulários. Se você usou um campo de Múltiplos Itens e planeja aceitar pagamentos, não se esqueça de configurar uma integração com Stripe, PayPal, Authorize.Net ou Square.
Em seguida, você gostaria de testar seus formulários antes de adicioná-los ao seu site? Certifique-se de conferir nossa lista de verificação pré-lançamento para obter todas as nossas dicas e recomendações antes de lançar um formulário.