Introduction
Would you like to separate the dial code from the flag dropdown when using the Smart Phone form field? Perhaps you’d like to style this element separately in your form. You can easily separate the dial code with a small PHP snippet and in this tutorial, we’ll show you how.
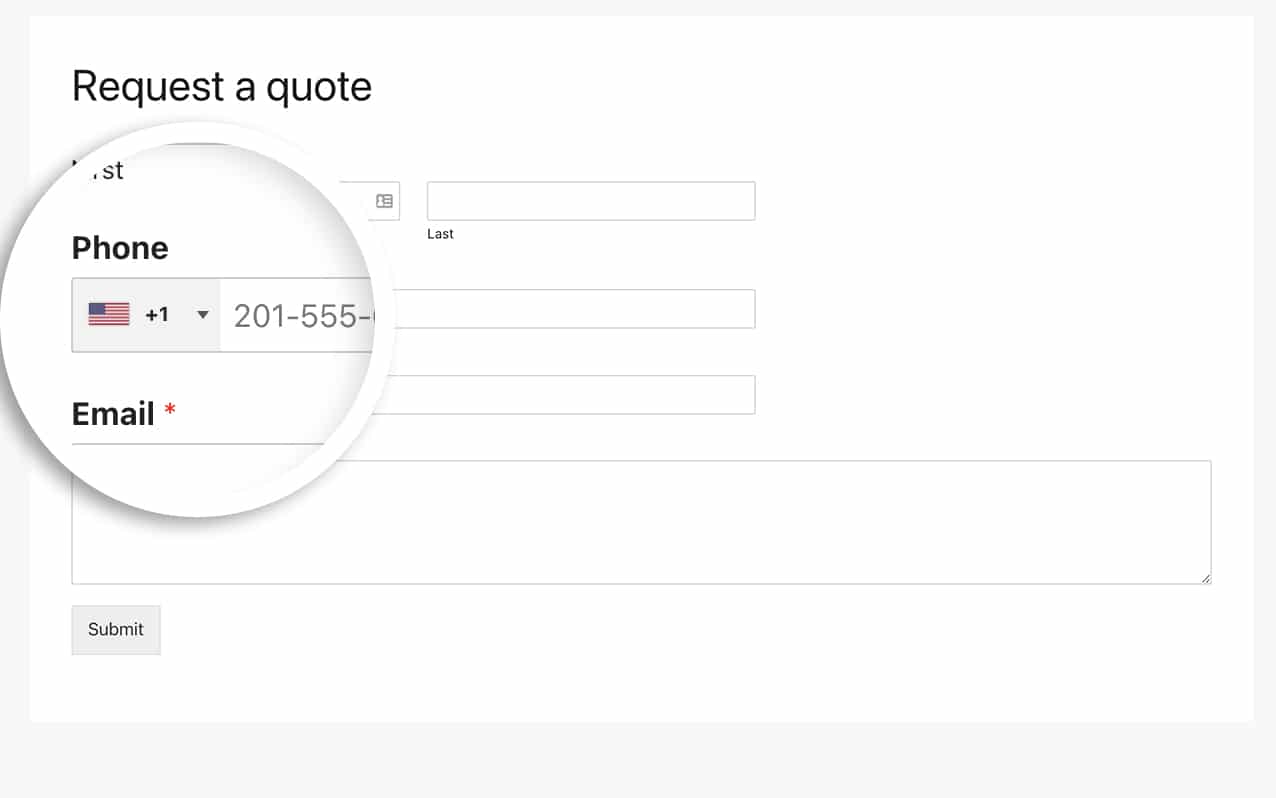
By default, the dial code is hidden inside the flag dropdown until you click on the dropdown to open it. In this tutorial, we’re going to separate that field so it will be displayed beside the flag.
Creating your form
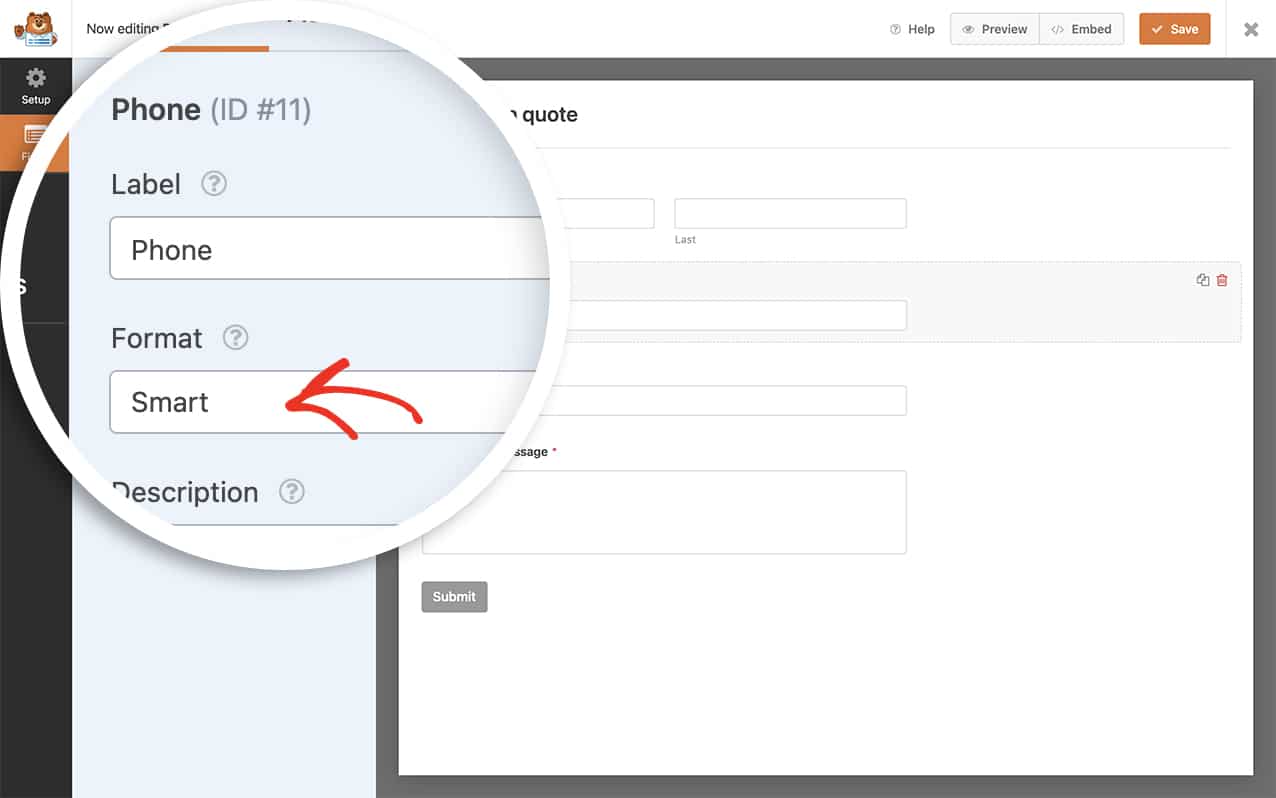
First you’ll need to create a form and add a Phone form field. From the Format dropdown, select the option for Smart.

If you need any help in creating your form, please check out this documentation.
Adding the code snippet
Next, you’ll need to copy and paste this snippet to your site.
If you need any help in how to add snippets to your site, please review this tutorial.
This will apply to all Phone form fields that use the Smart format.
/**
 * Separating the dial code from the flag dropdown on the Smart Phone form field.
 *
 * @link https://wpforms.com/developers/how-to-separate-dial-code-from-smart-phone-form-field-dropdown/
 */

function wpf_dev_smart_phone_field_separate_dial_code() {
    ?>
    <script type="text/javascript">
        jQuery( document ).on( 'wpformsReady', function() {

        // This will only run on any Smart Phone form field inside the form ID 1421
        // Make sure you update this 1421 ID # to match your own ID number
        jQuery( 'form#wpforms-form-1421 .wpforms-smart-phone-field' ).each(function(e){
                var $el = jQuery( this ),
                    iti = $el.data( 'plugin_intlTelInput' ),
                    options;
                // Options are located in different keys of minified and unminified versions of jquery.intl-tel-input.js.
                if ( iti.d ) {
                    options = Object.assign( {}, iti.d );
                } else if ( iti.options ) {
                    options = Object.assign( {}, iti.options );
                }
                if ( ! options ) {
                    return;
                }
                $el.intlTelInput( 'destroy' );
                options.separateDialCode = true;
                $el.intlTelInput( options );
                // Restore hidden input name after intlTelInput is reinitialized.
                $el.siblings( 'input[type="hidden"]' ).attr( 'name', 'wpforms[fields][' + options.hiddenInput + ']' );
            });
        } );
    </script>
    <?php
}
add_action( 'wpforms_wp_footer', 'wpf_dev_smart_phone_field_separate_dial_code', 30 );
You’ll need to update form#wpforms-form-1421 .wpforms-smart-phone-field' in the snippet to match the form ID you have on your site. If you need help in finding your form ID, please check out this tutorial.
Styling the dial code
You can optionally add some CSS to style the dropdown a little differently if you’d like. Just copy the CSS to your site.
If you need any help on how to add CSS to your site, check out this tutorial.
form#wpforms-form-1421 .iti__selected-flag {
    font-size: 14px;
    font-weight: bold;
}

form#wpforms-form-1421 .iti--separate-dial-code input[type=tel] {
    padding-left: 80px !important;
}
You’ll need to update form#wpforms-form-1421 in the CSS to match the form ID you have on your site. If you need help in finding your form ID, please check out this tutorial.

And that’s it! You can now separate and style the dial code from the flag dropdown. Would you like to add some additional validation for the Phone field? Check out our tutorial on How to Provide Additional Phone Field Validation.
Related
Action Reference: wpforms_wp_footer_end
