Resumo de IA
Quer enviar automaticamente informações de leads de seus formulários WordPress para sua conta Zoho CRM? Com o addon Zoho CRM para WPForms, você pode conectar seus formulários para otimizar a coleta de dados e economizar tempo.
Este guia mostrará como instalar, conectar e configurar o addon Zoho CRM para WPForms.
Requisitos:
- Você precisará do nível de licença Elite para acessar o addon Zoho CRM
- Certifique-se de ter instalado a versão mais recente do WPForms para atender à versão mínima exigida para o addon Zoho CRM
Antes de começar, certifique-se de instalar e ativar o WPForms em seu site WordPress. Você também precisará criar uma conta Zoho se ainda não tiver uma.
Instalando e Ativando o Zoho CRM Addon
Assim que o plugin principal WPForms estiver instalado e sua licença for verificada, você poderá instalar e ativar rapidamente o addon Zoho CRM.
Conectando WPForms à Sua Conta Zoho
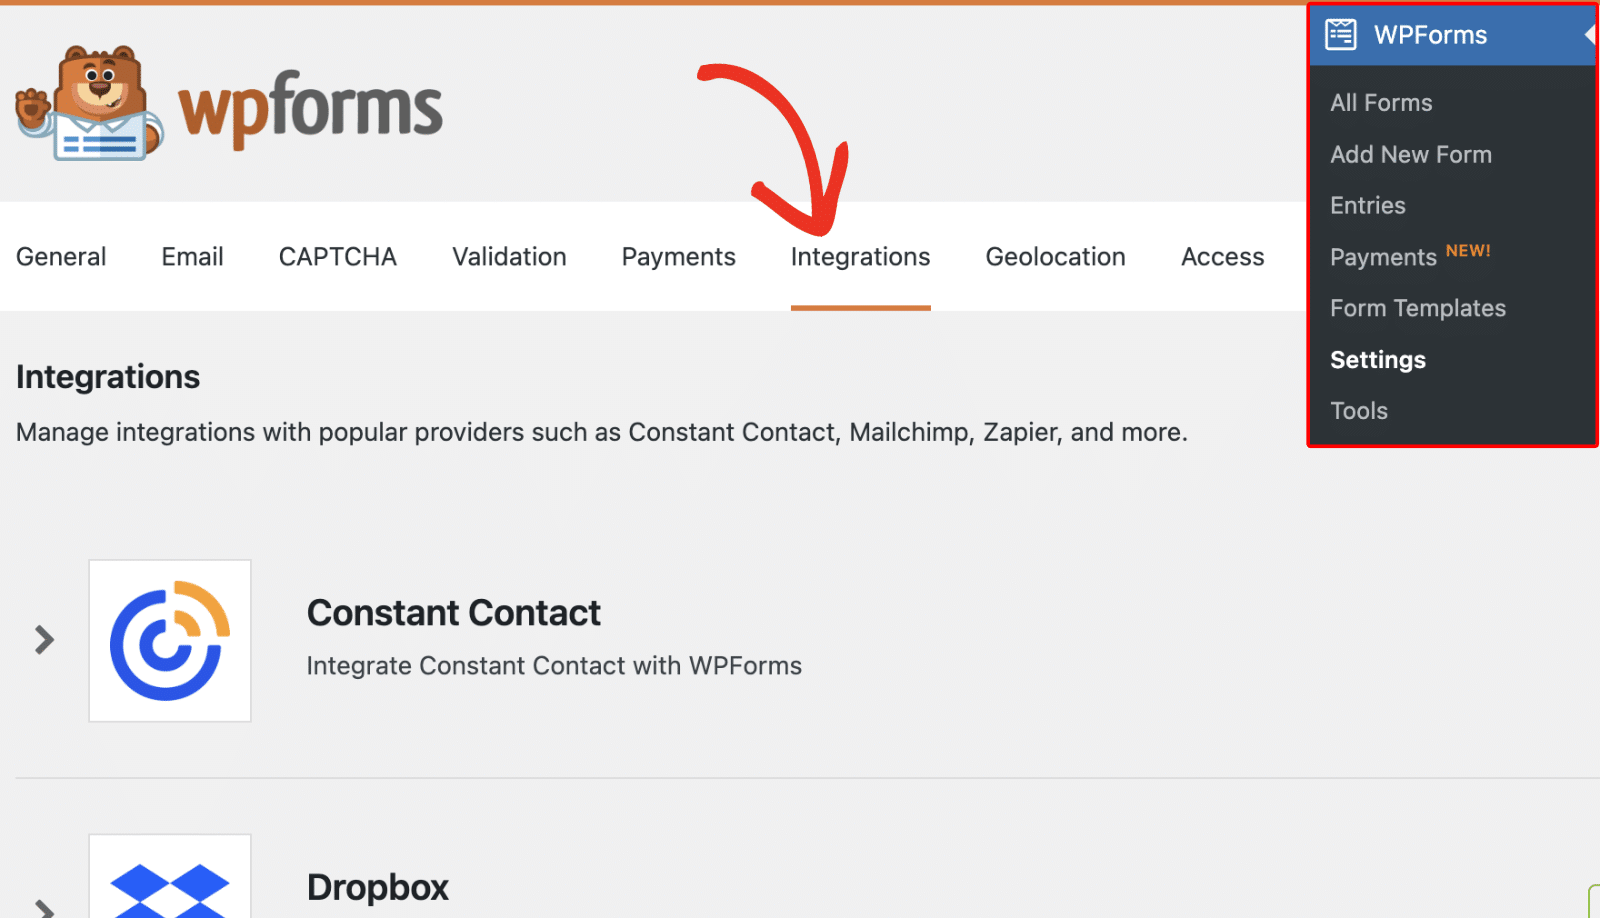
O próximo passo é conectar o WPForms à sua conta Zoho CRM. Para fazer isso no painel do WordPress, você precisará ir em WPForms » Configurações e clicar na aba Integrações.
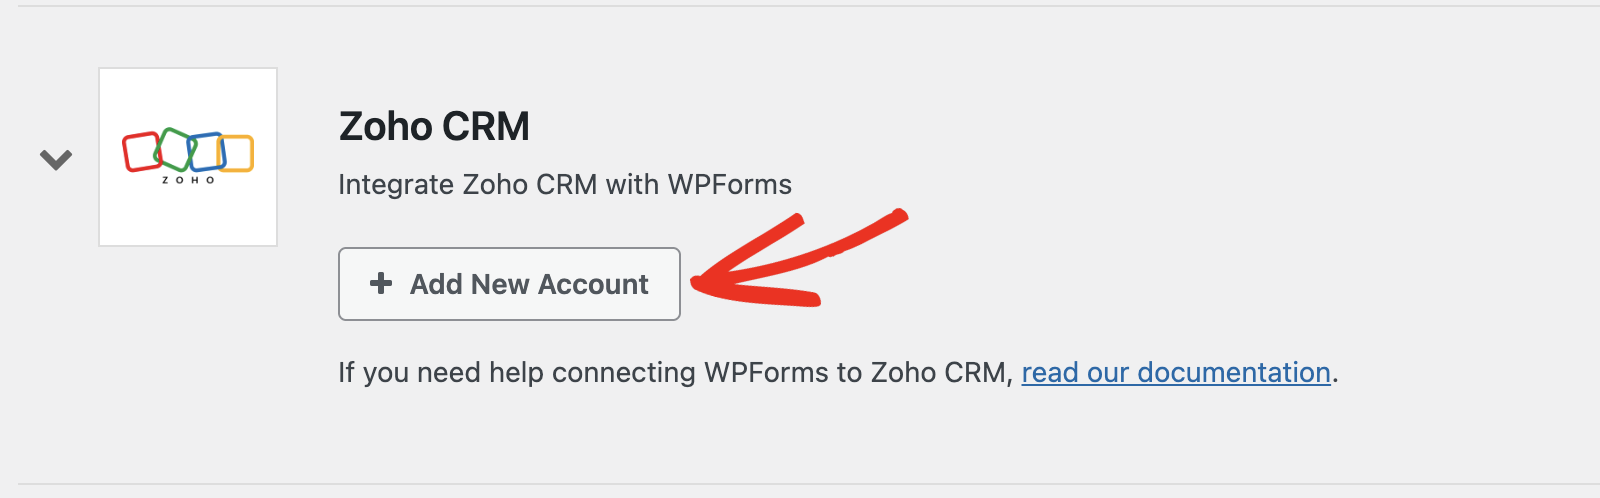
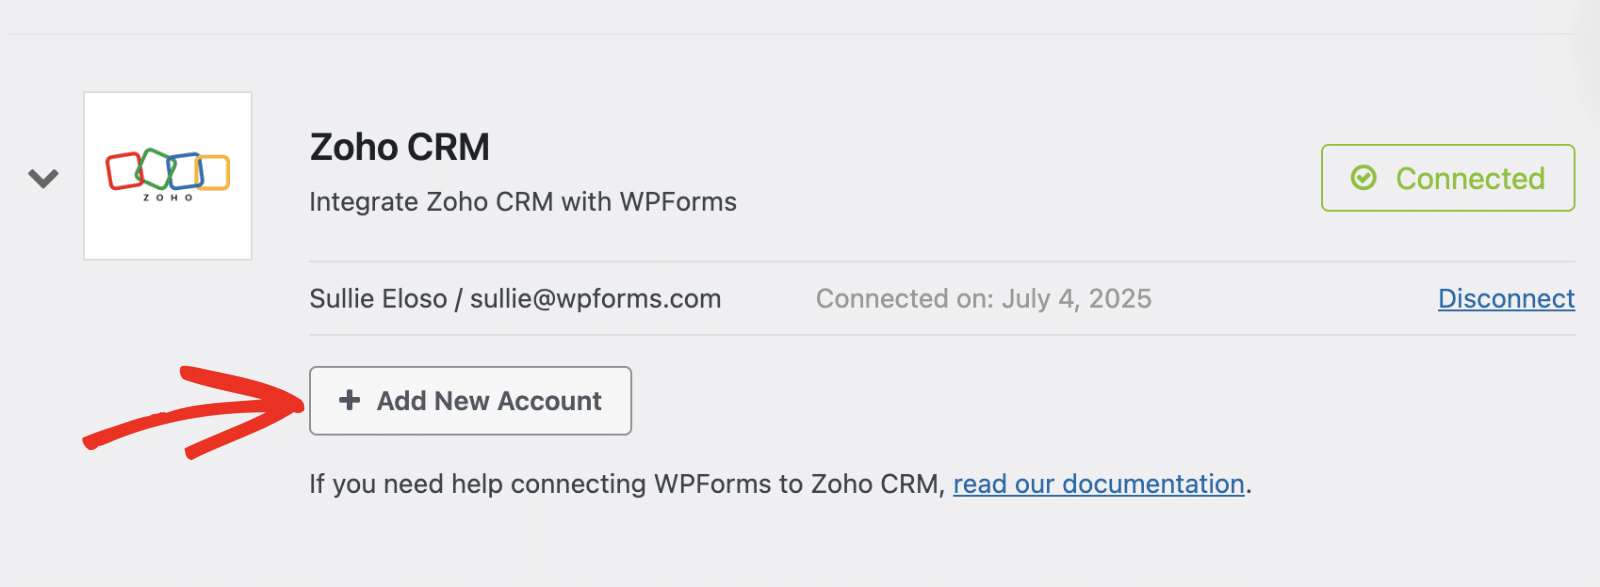
Em seguida, clique na opção Zoho CRM para expandir suas configurações. A partir daqui, clique no botão Adicionar Nova Conta .
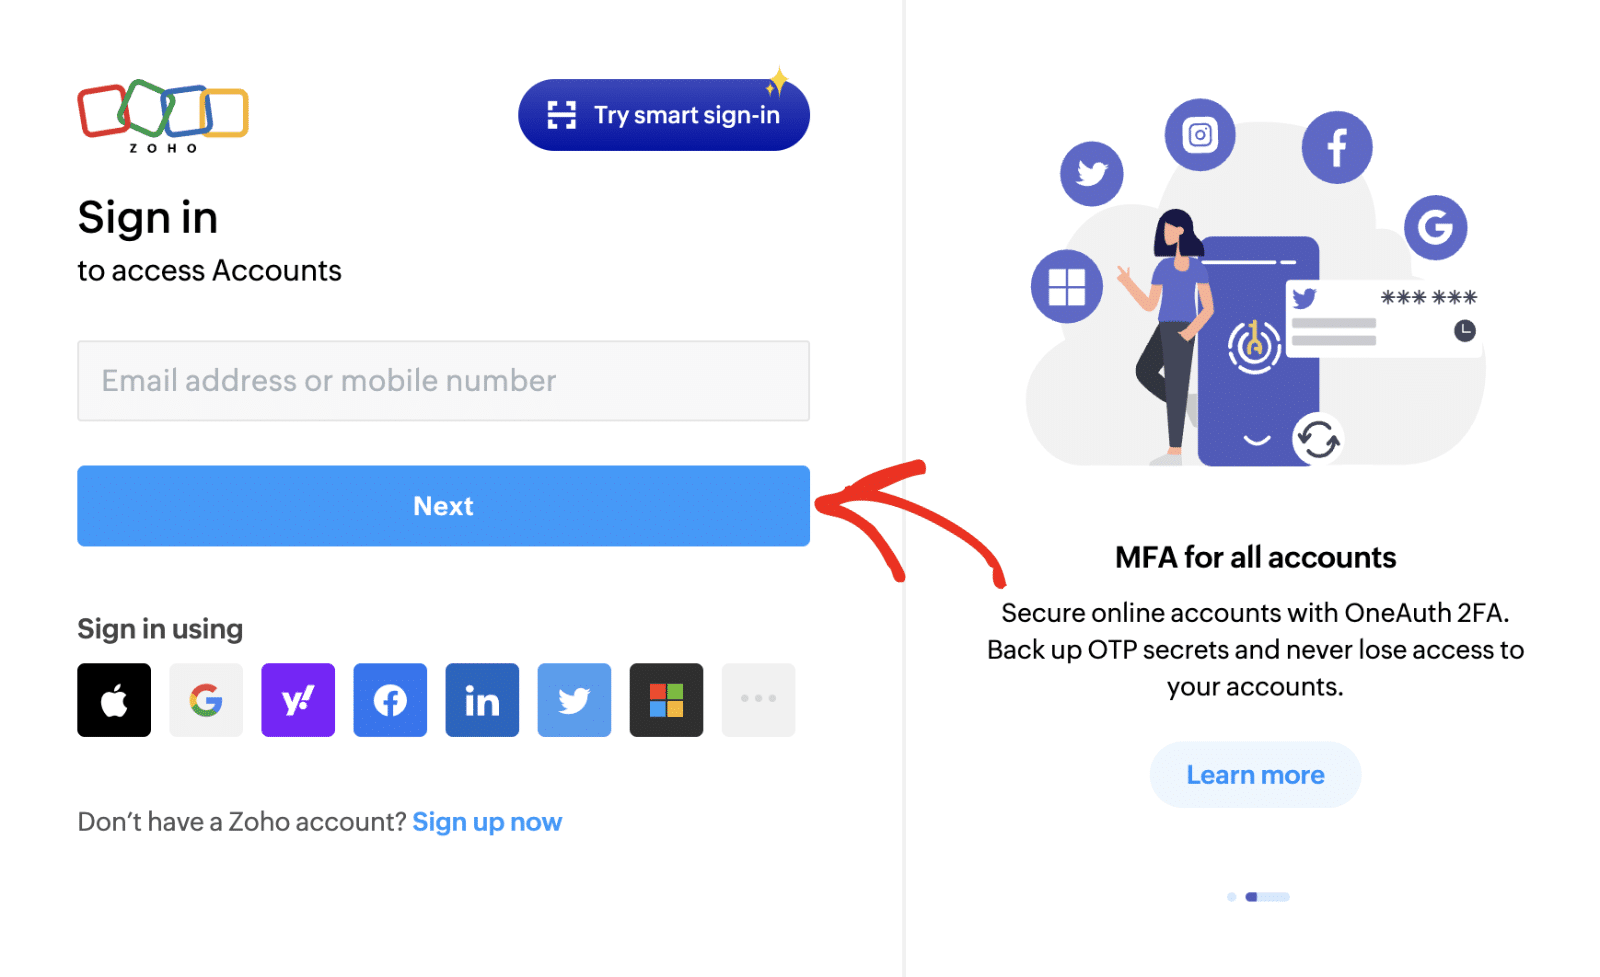
Você será redirecionado para a página de login do Zoho. Se você já tem uma conta Zoho, insira seu endereço de e-mail e clique no botão Próximo para fazer login.
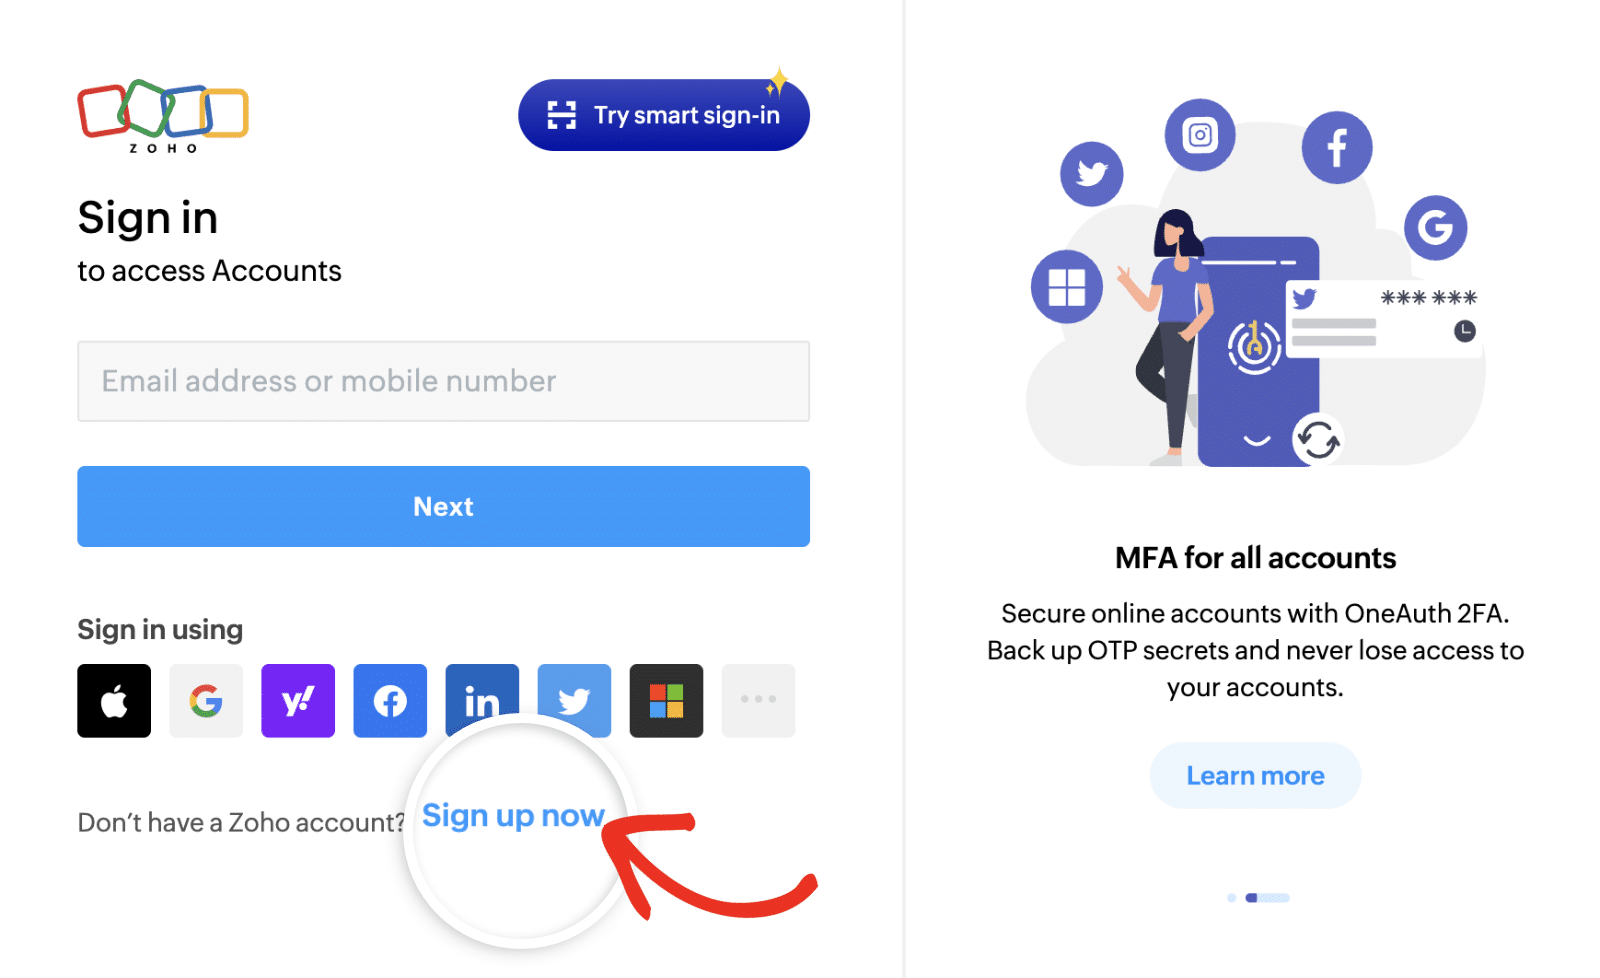
Se precisar criar uma nova conta Zoho, clique no link Inscreva-se agora e preencha o formulário de registro.
Depois de fazer login em sua conta, você precisará autorizar o WPForms a acessar seus dados do Zoho CRM. Revise as permissões e clique no botão Aceitar para continuar.

Observação: Você precisará configurar um perfil de empresa em sua conta Zoho CRM antes de poder conectar sua conta ao WPForms. Consulte nossa seção de Perguntas Frequentes para mais detalhes.
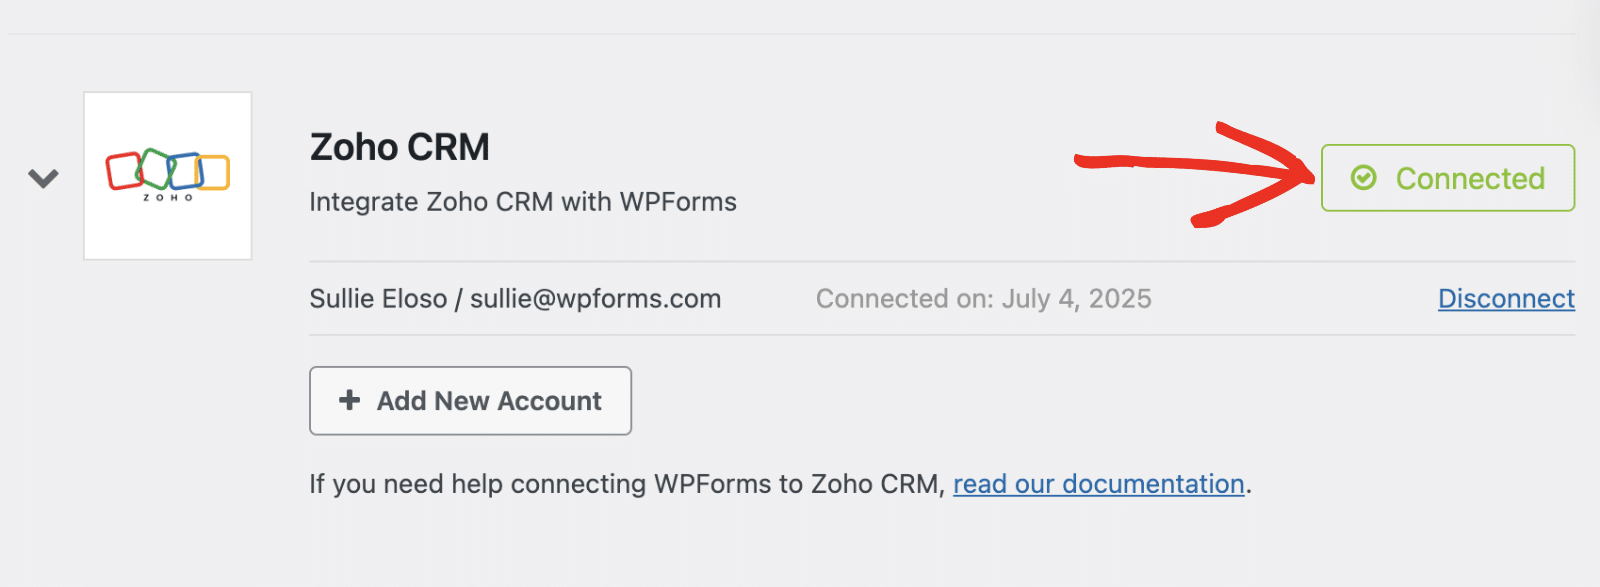
Depois disso, você será redirecionado de volta para sua área de administração do WordPress. Você deverá ver o status verde Conectado junto com os detalhes da sua conexão.
Adicionando uma Conexão Zoho CRM ao Seu Formulário
Após conectar sua conta, você poderá adicionar uma integração Zoho CRM a formulários específicos em seu site. Para fazer isso, você precisará criar um novo formulário ou editar um existente para abrir o construtor de formulários.
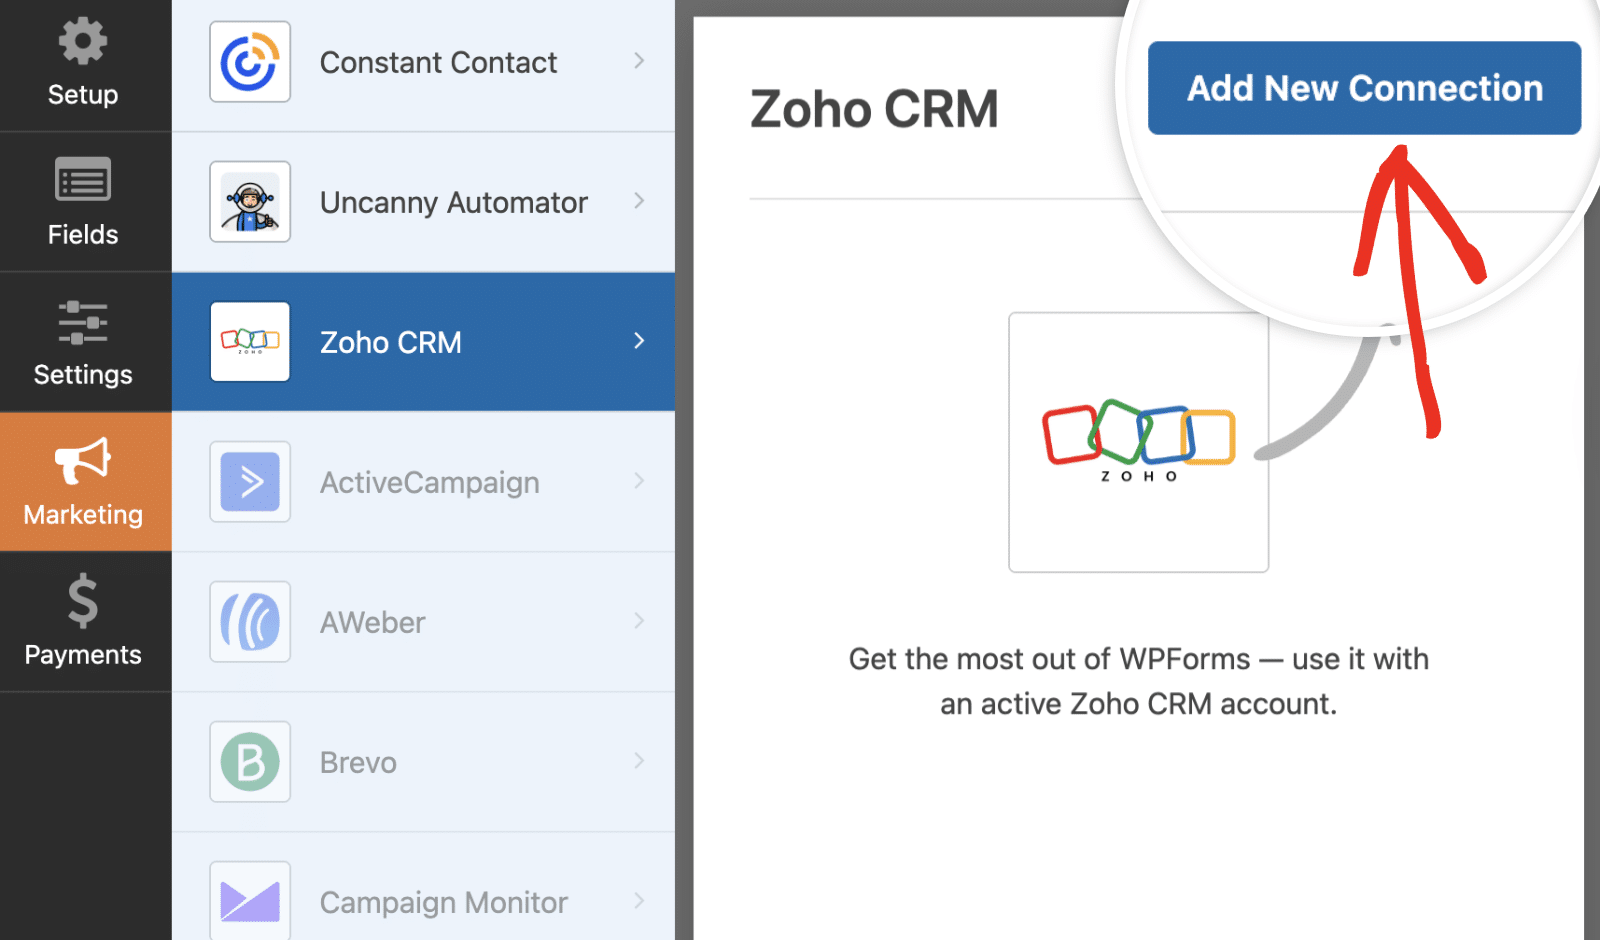
No construtor de formulários, adicione os campos que você gostaria de incluir em seu formulário. Para acessar a página de configurações do Zoho CRM, vá em Marketing » Zoho CRM. Uma vez aqui, clique no botão Adicionar Nova Conexão para criar uma nova integração.
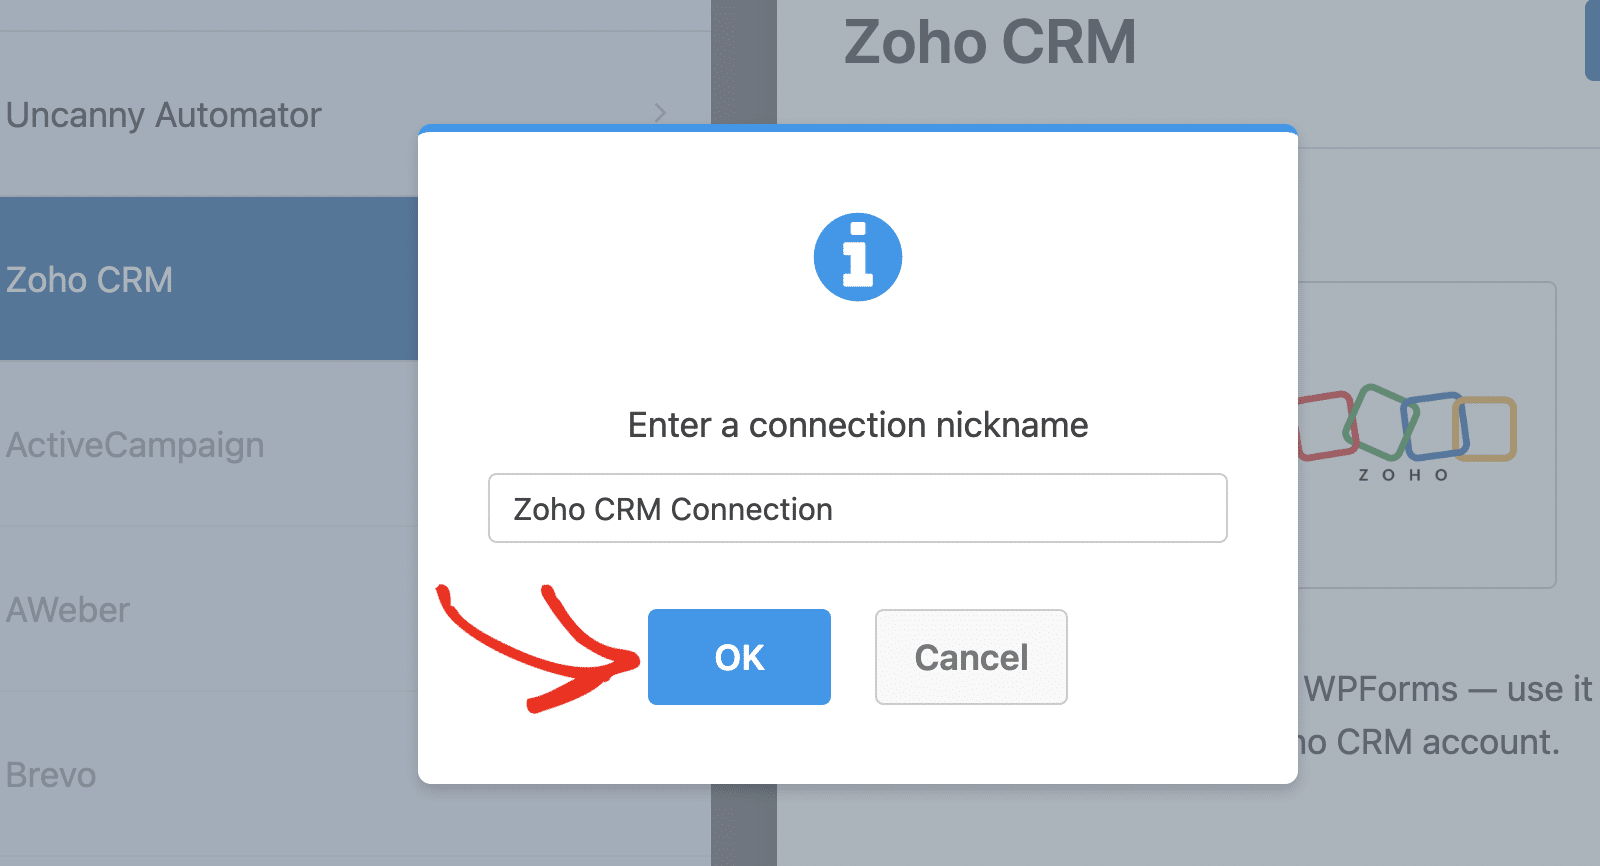
Isso abrirá uma sobreposição onde você precisará fornecer um apelido para esta conexão. Você pode usar qualquer apelido que desejar, pois isso é apenas para referência interna. Depois de adicionar um apelido, clique no botão OK.
Depois de nomear a conexão, configurações adicionais aparecerão.
Configurando Ações de Conexão
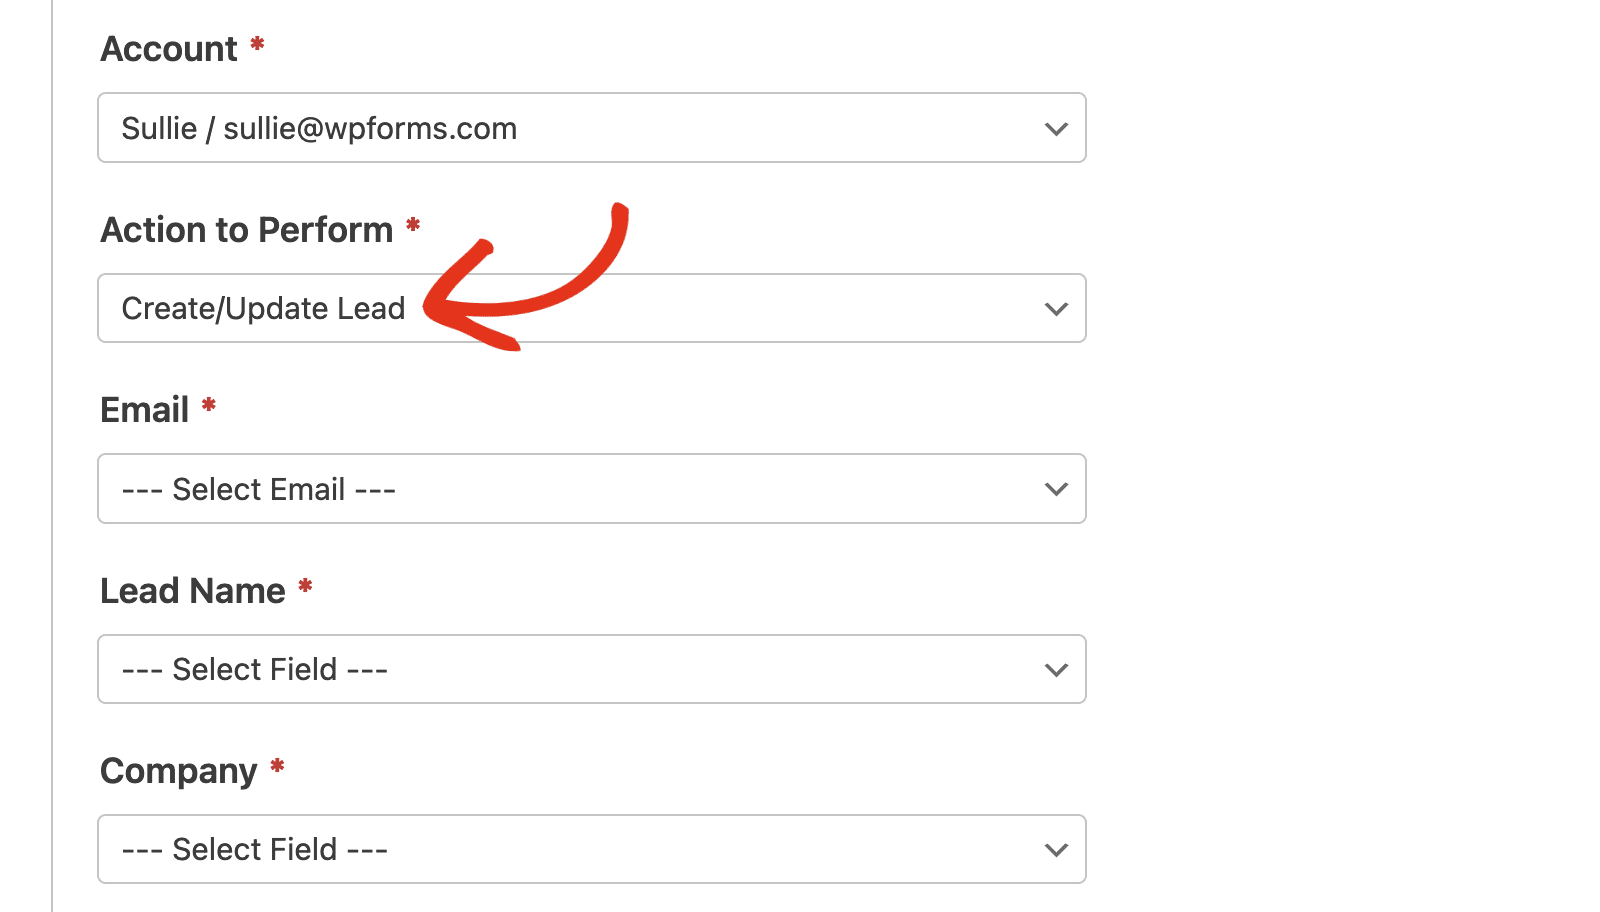
Primeiro, use o menu suspenso Conta para selecionar a conta do Zoho CRM que você conectou na etapa anterior.
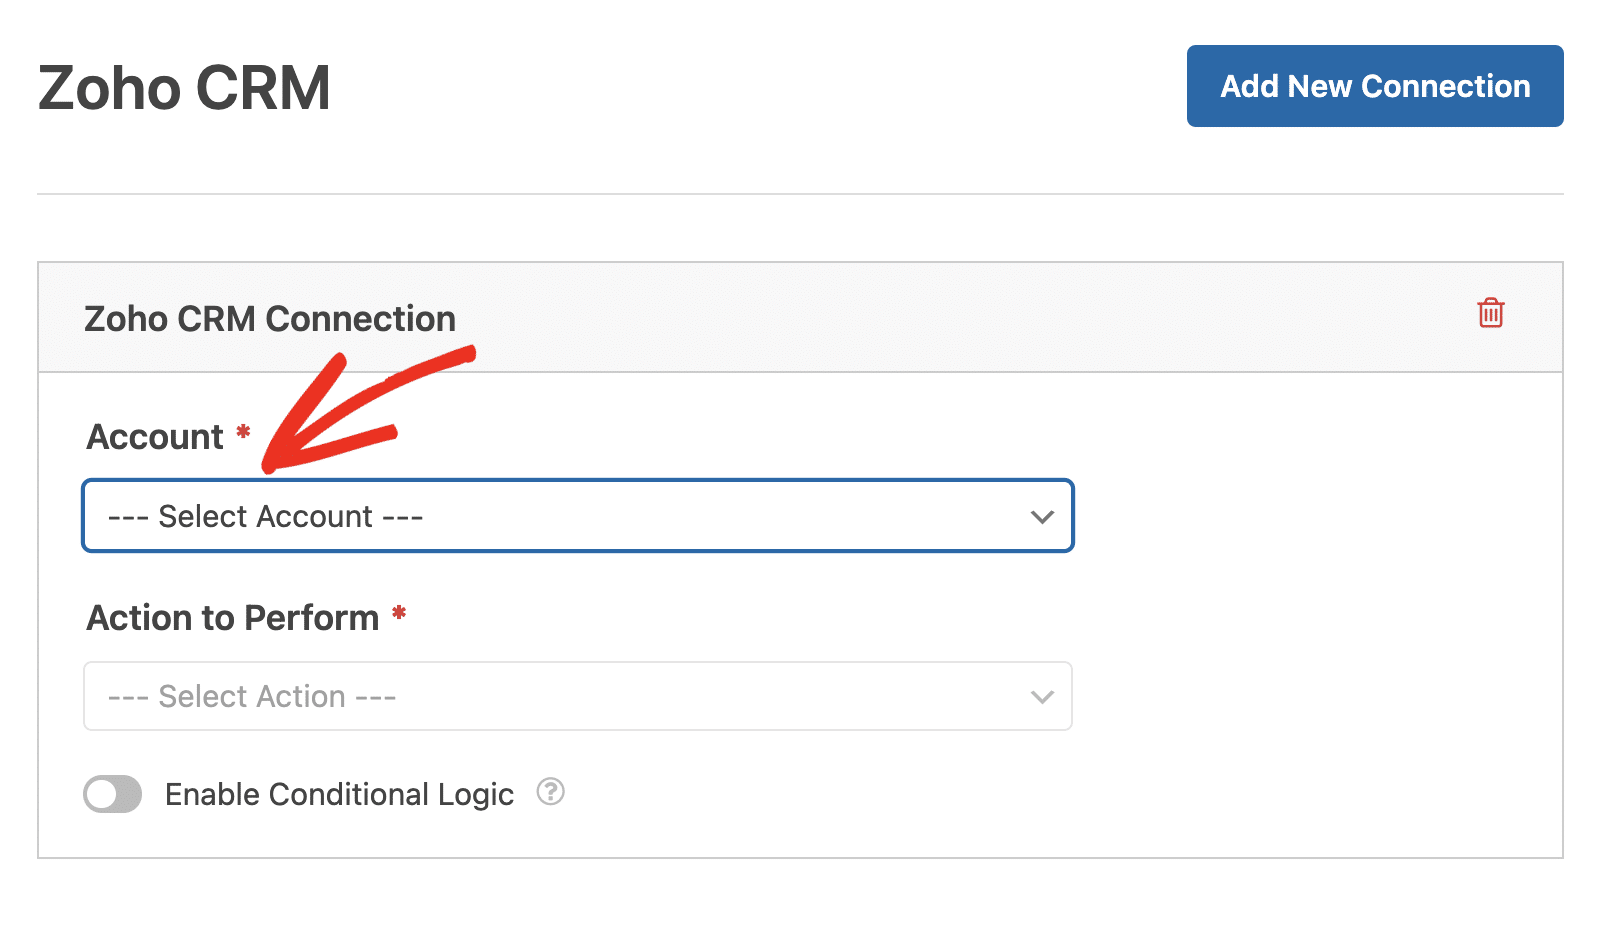
Em seguida, você precisará escolher uma Ação a ser executada no menu suspenso. Esta é a ação que você deseja realizar quando um usuário preencher seu formulário. A opção selecionada aqui também determinará quais configurações adicionais serão exibidas.

As ações disponíveis são:
Nas seções a seguir, abordaremos as ações disponíveis e suas opções relacionadas com mais detalhes.
Criar/Atualizar Contato
Esta ação adicionará um novo registro de contato ao seu banco de dados de contatos do Zoho CRM ou atualizará um contato existente.

Abaixo está uma lista de todas as opções disponíveis para esta ação. Os itens marcados com um asterisco (*) são obrigatórios:
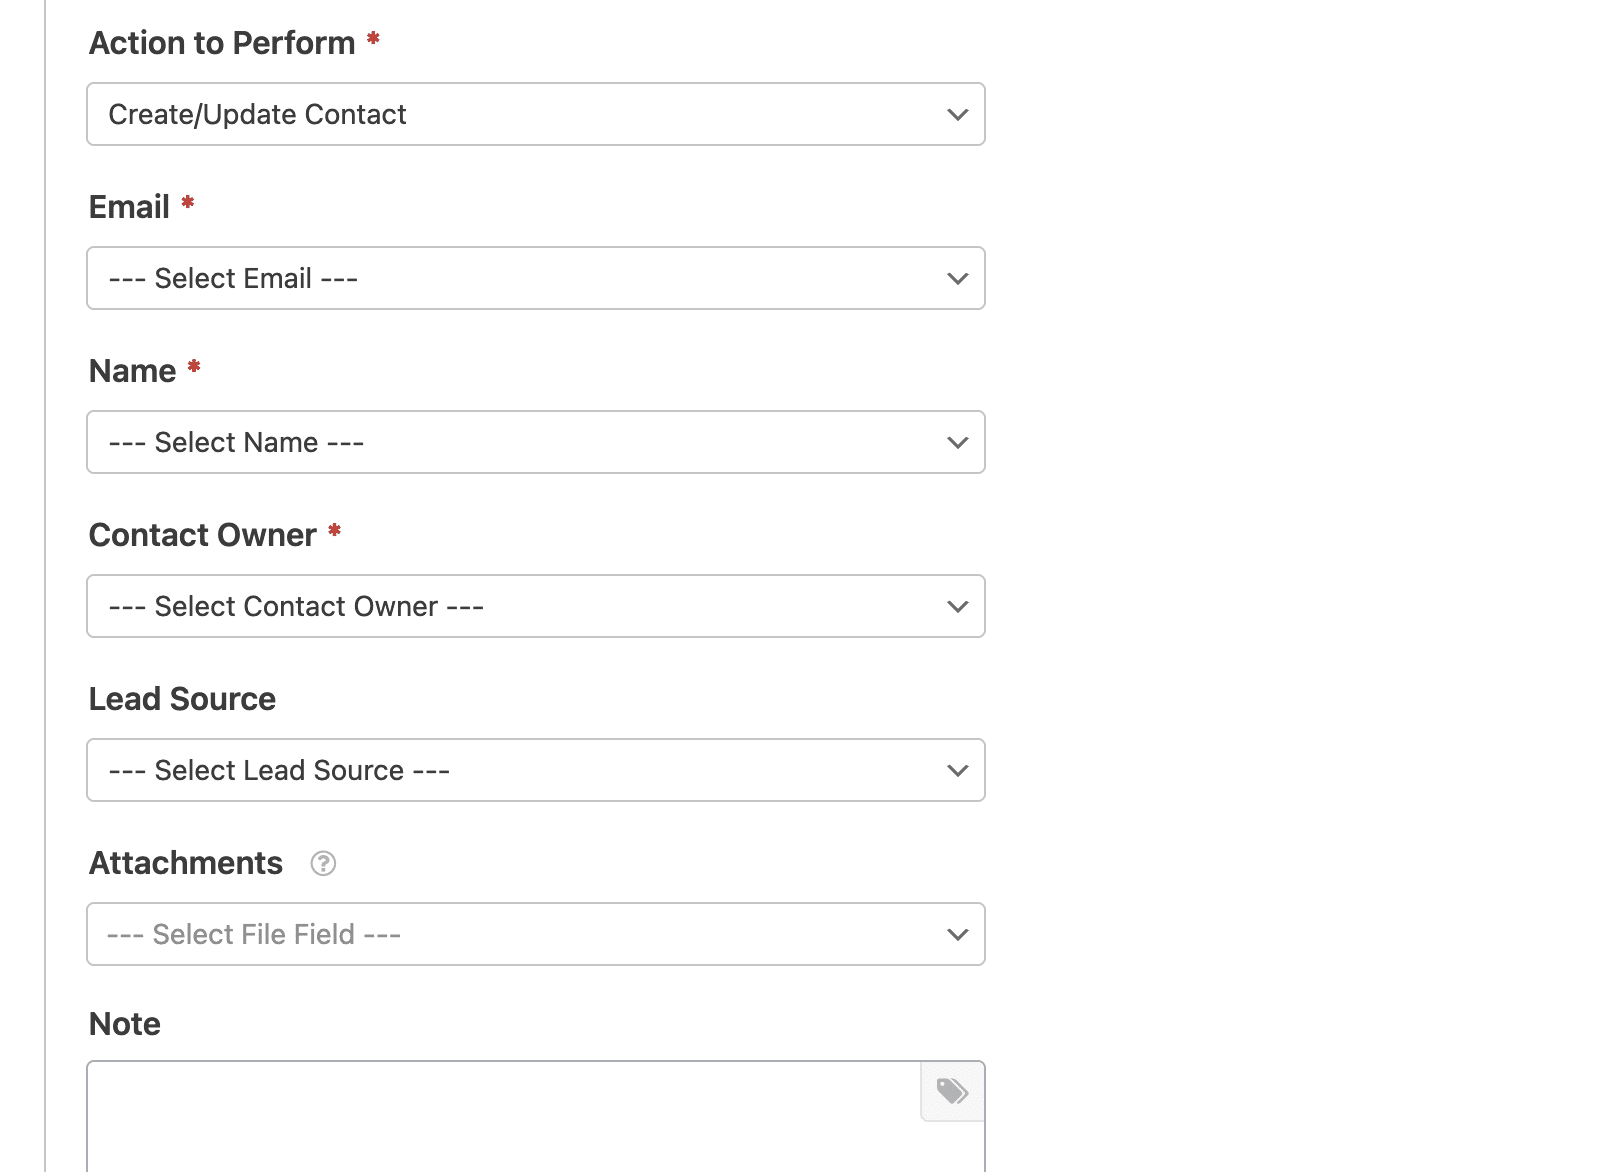
- E-mail*: Escolha um campo de E-mail do seu formulário.
- Nome*: Selecione um campo de Nome do seu formulário para identificar o contato.
- Proprietário do Contato*: Selecione um proprietário de contato para atribuir ao contato. Este será frequentemente a conta que você conectou a esta integração.
- Origem do Lead: Selecione uma origem de lead para rastrear de onde o contato se originou.
- Anexos: Escolha um campo de upload de arquivo do seu formulário para anexar arquivos ao registro de contato.
- Nota: Adicione automaticamente uma nota ao registro do contato. Clicar no ícone de tag exibirá uma lista de Tags Inteligentes do WPForms disponíveis que você pode incluir na nota.
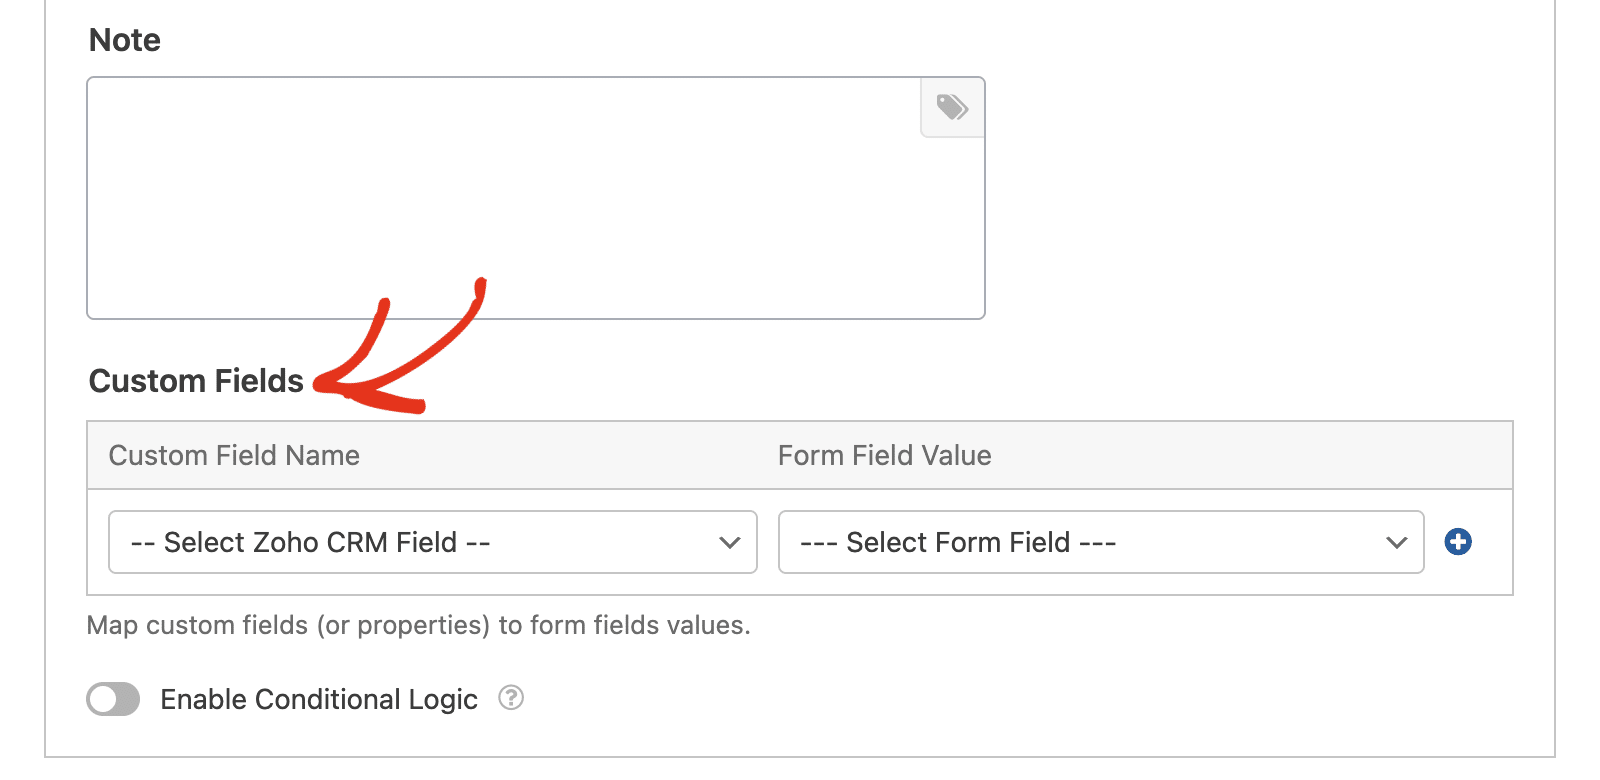
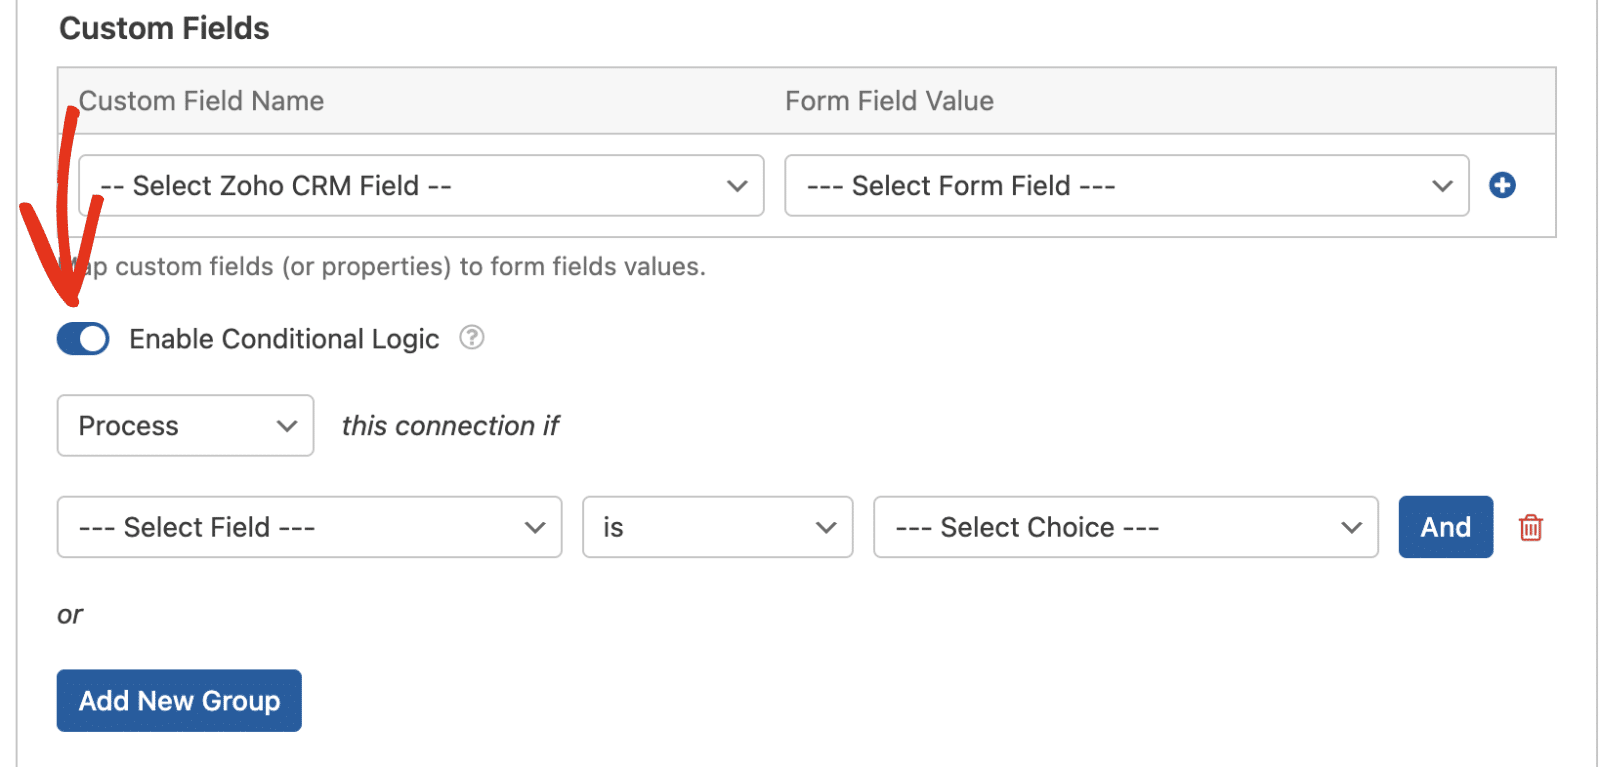
Na seção Campos Personalizados, você pode mapear campos de contato adicionais do Zoho CRM para os campos do seu formulário. Isso permite que você envie informações mais detalhadas de seus formulários para o seu CRM.
Criar/Atualizar Lead
Esta ação adicionará um novo registro de lead ao seu banco de dados de leads do Zoho CRM ou atualizará um lead existente.
Abaixo está uma lista de todas as opções disponíveis para esta ação. Os itens marcados com um asterisco (*) são obrigatórios:
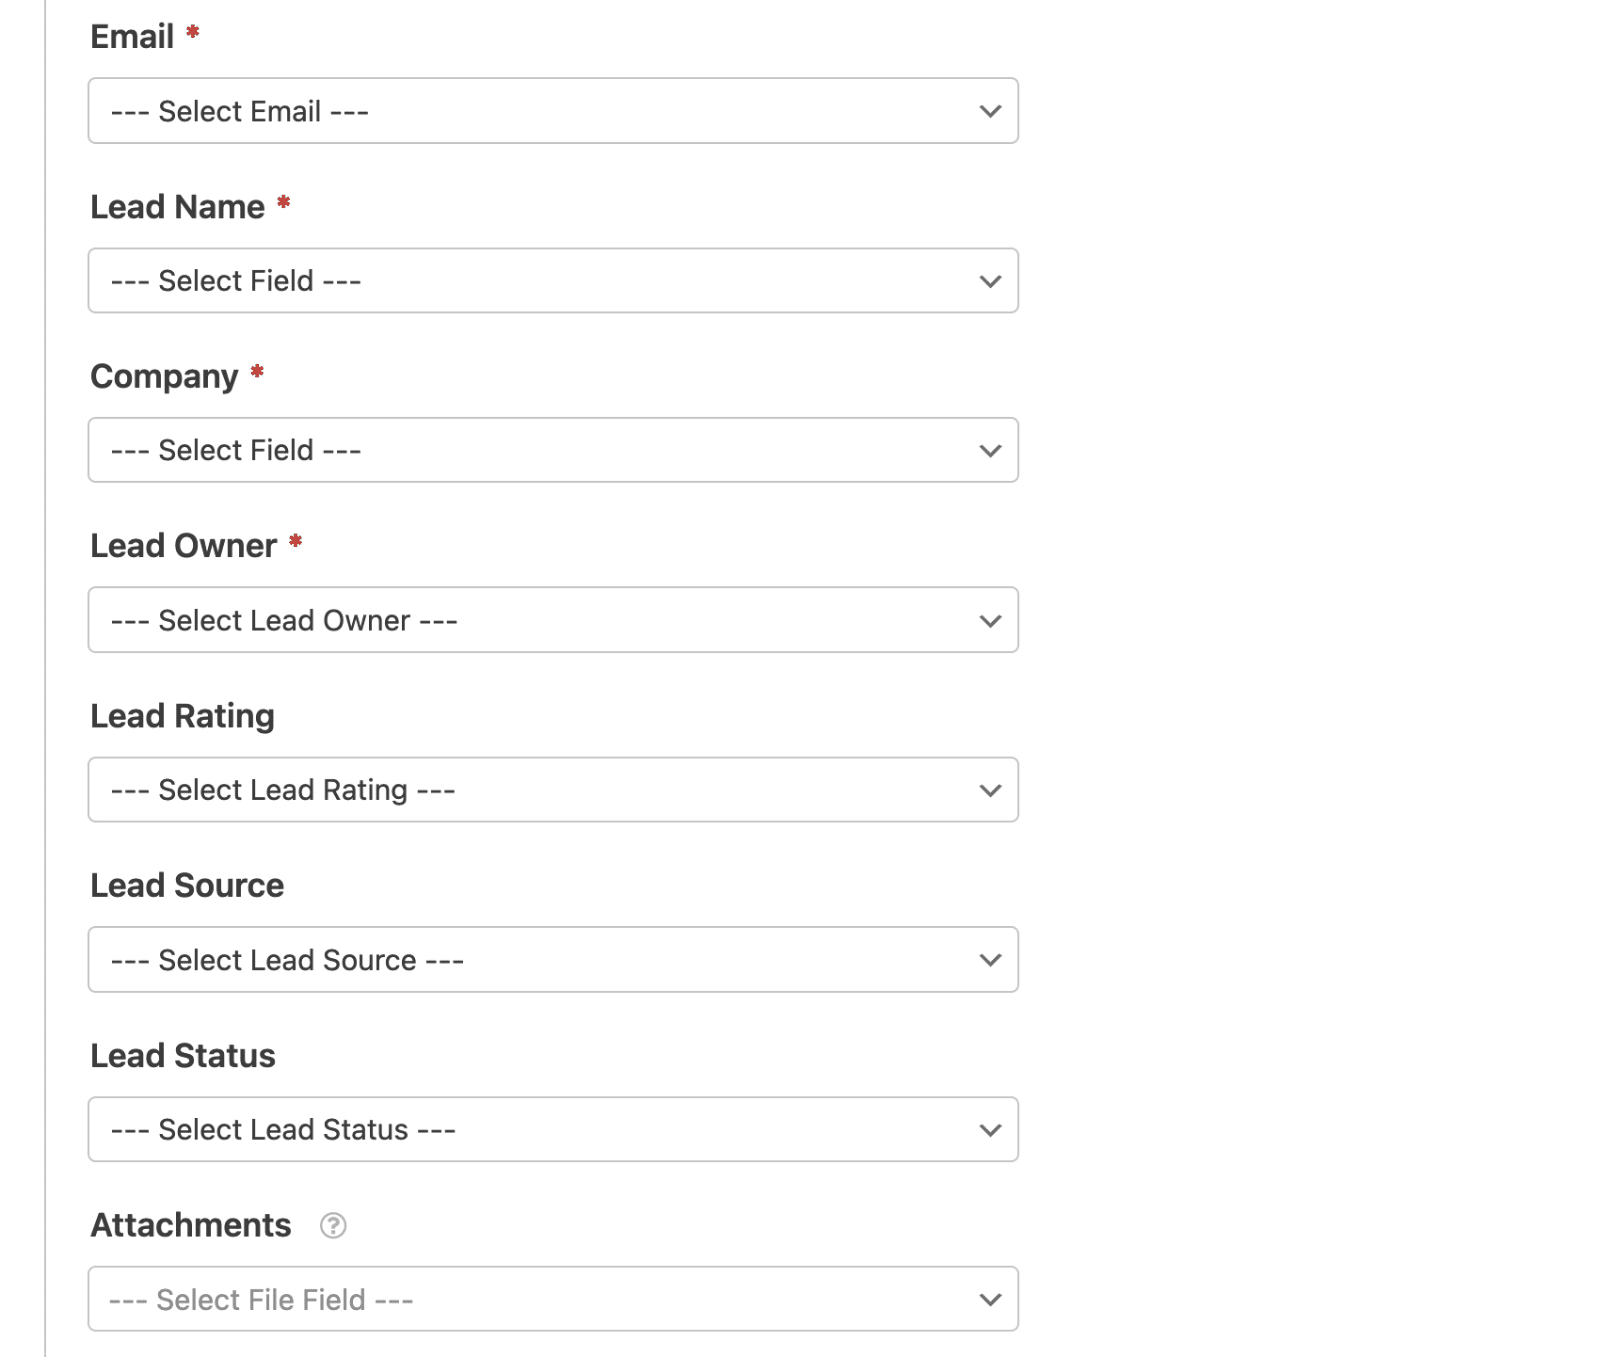
- E-mail*: Escolha um campo de E-mail do seu formulário.
- Nome do Lead*: Selecione um campo de Nome do seu formulário para identificar o lead.
- Empresa*: Selecione um campo que contenha o nome da empresa.
- Proprietário do Lead*: Selecione um proprietário de lead para atribuir ao lead.
- Classificação do Lead: Selecione uma classificação de lead para categorizar a qualidade do lead.
- Origem do Lead: Selecione uma origem de lead para rastrear de onde o lead se originou.
- Status do Lead: Selecione um status de lead para indicar o estado atual do lead.
- Anexos: Escolha um campo de upload de arquivo do seu formulário para anexar arquivos ao registro do lead.
- Nota: Adicione automaticamente uma nota ao registro do lead. Você pode incluir tags inteligentes na nota clicando no ícone de tag.
Da mesma forma, você poderá mapear campos de formulário adicionais para campos do Zoho CRM na seção Campos Personalizados.
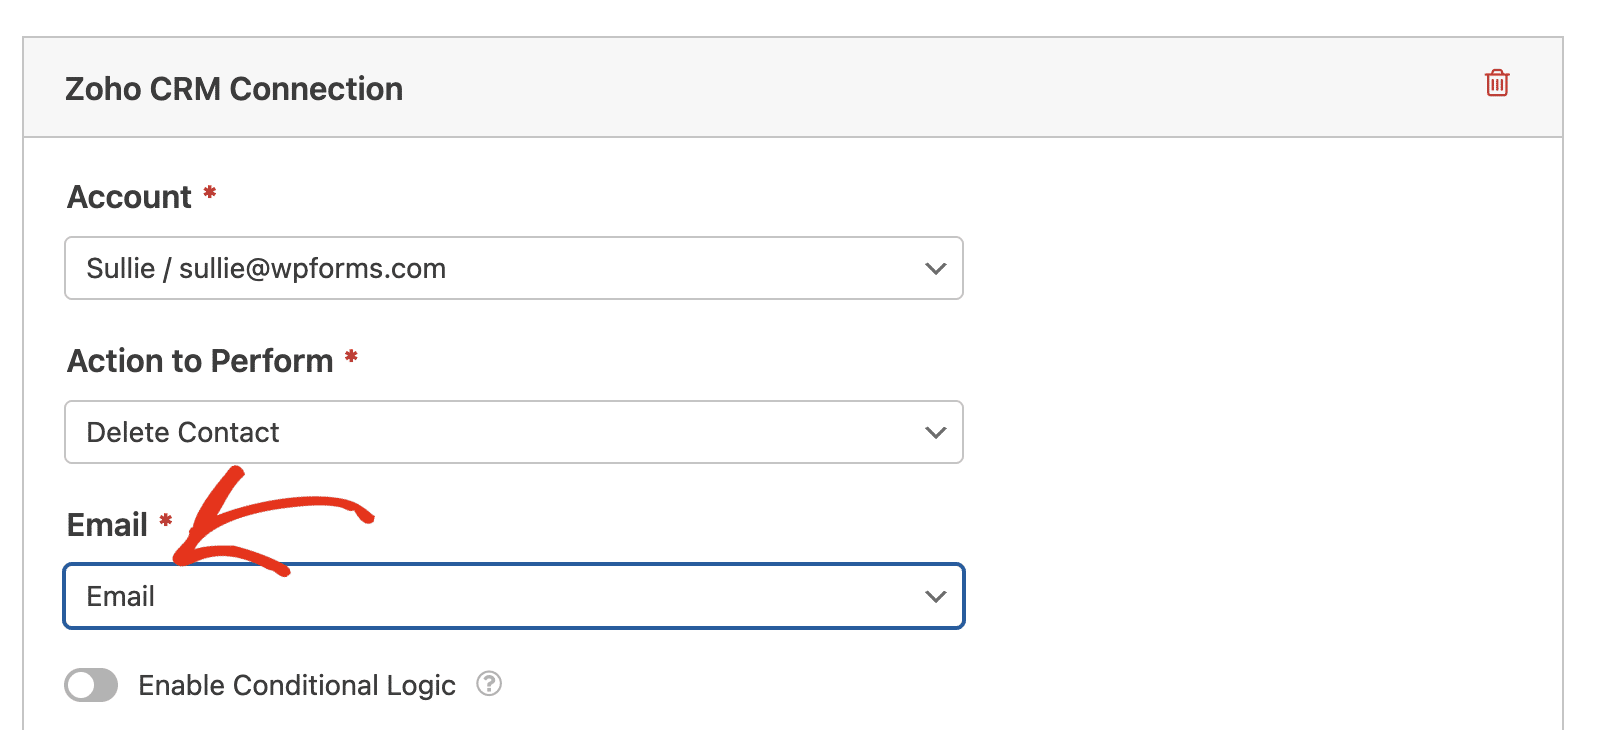
Excluir Contato
Esta ação permitirá que um contato remova seu registro de sua conta do Zoho CRM.
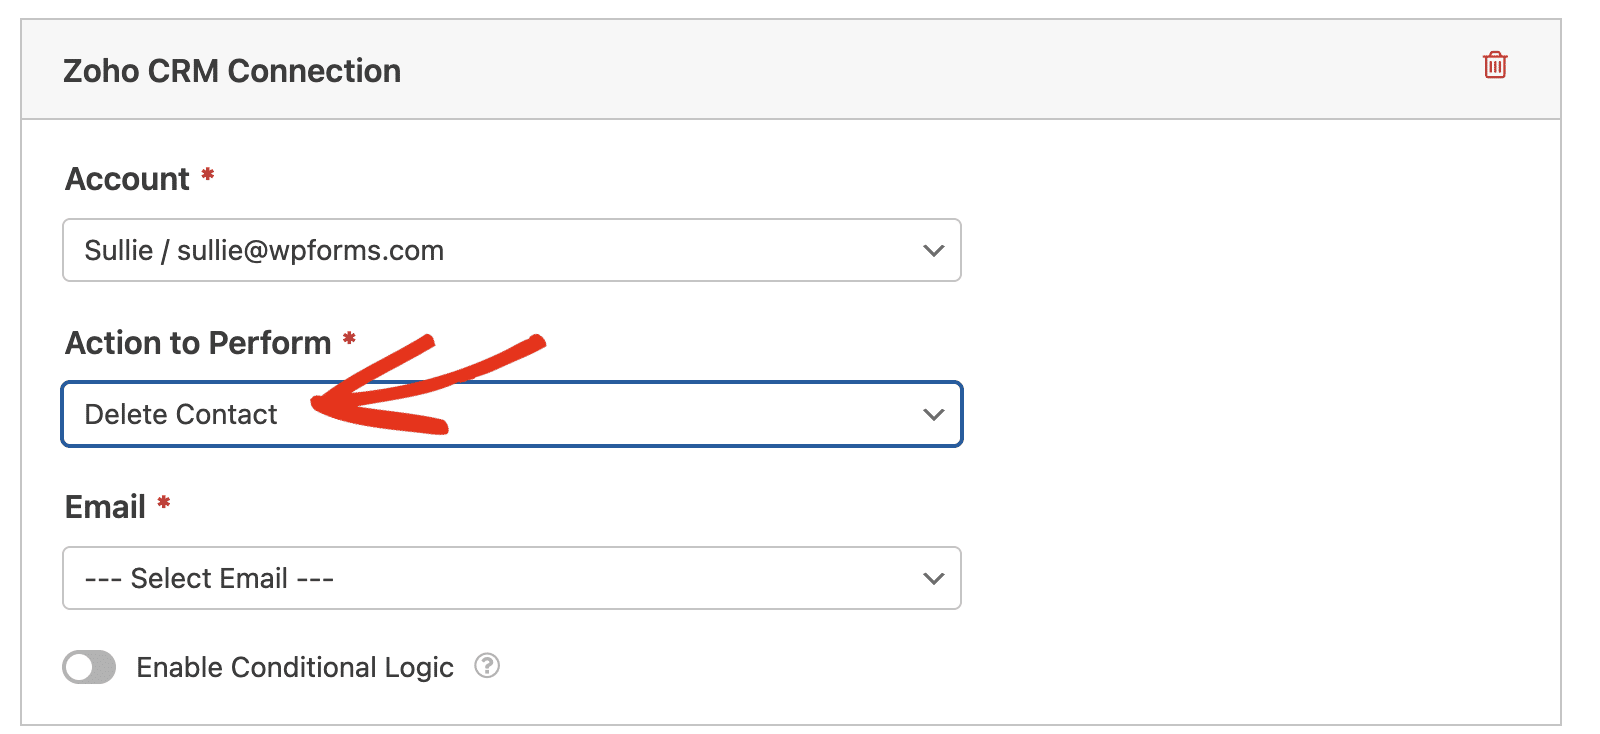
Para configurar esta ação, basta selecionar o campo E-mail do seu formulário.
Excluir Lead
Esta ação permitirá que um lead remova seu registro de sua conta do Zoho CRM.
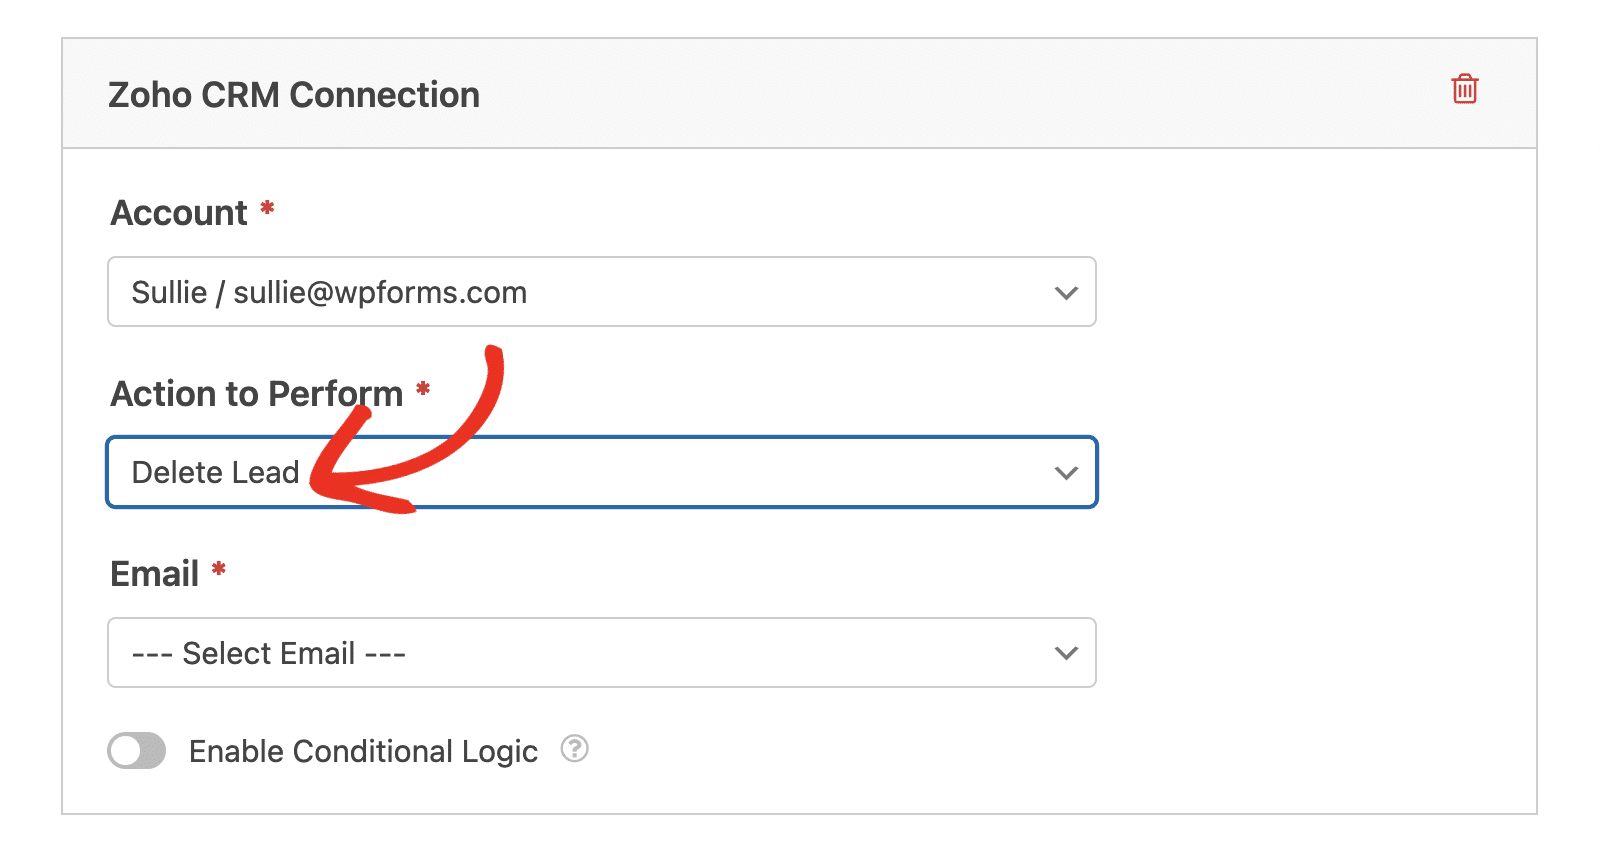
Para configurar esta ação, selecione o campo E-mail do seu formulário.

Habilitando Lógica Condicional (Opcional)
Lógica condicional permite que você altere automaticamente certos aspectos do seu formulário dependendo das seleções ou entrada dos usuários.
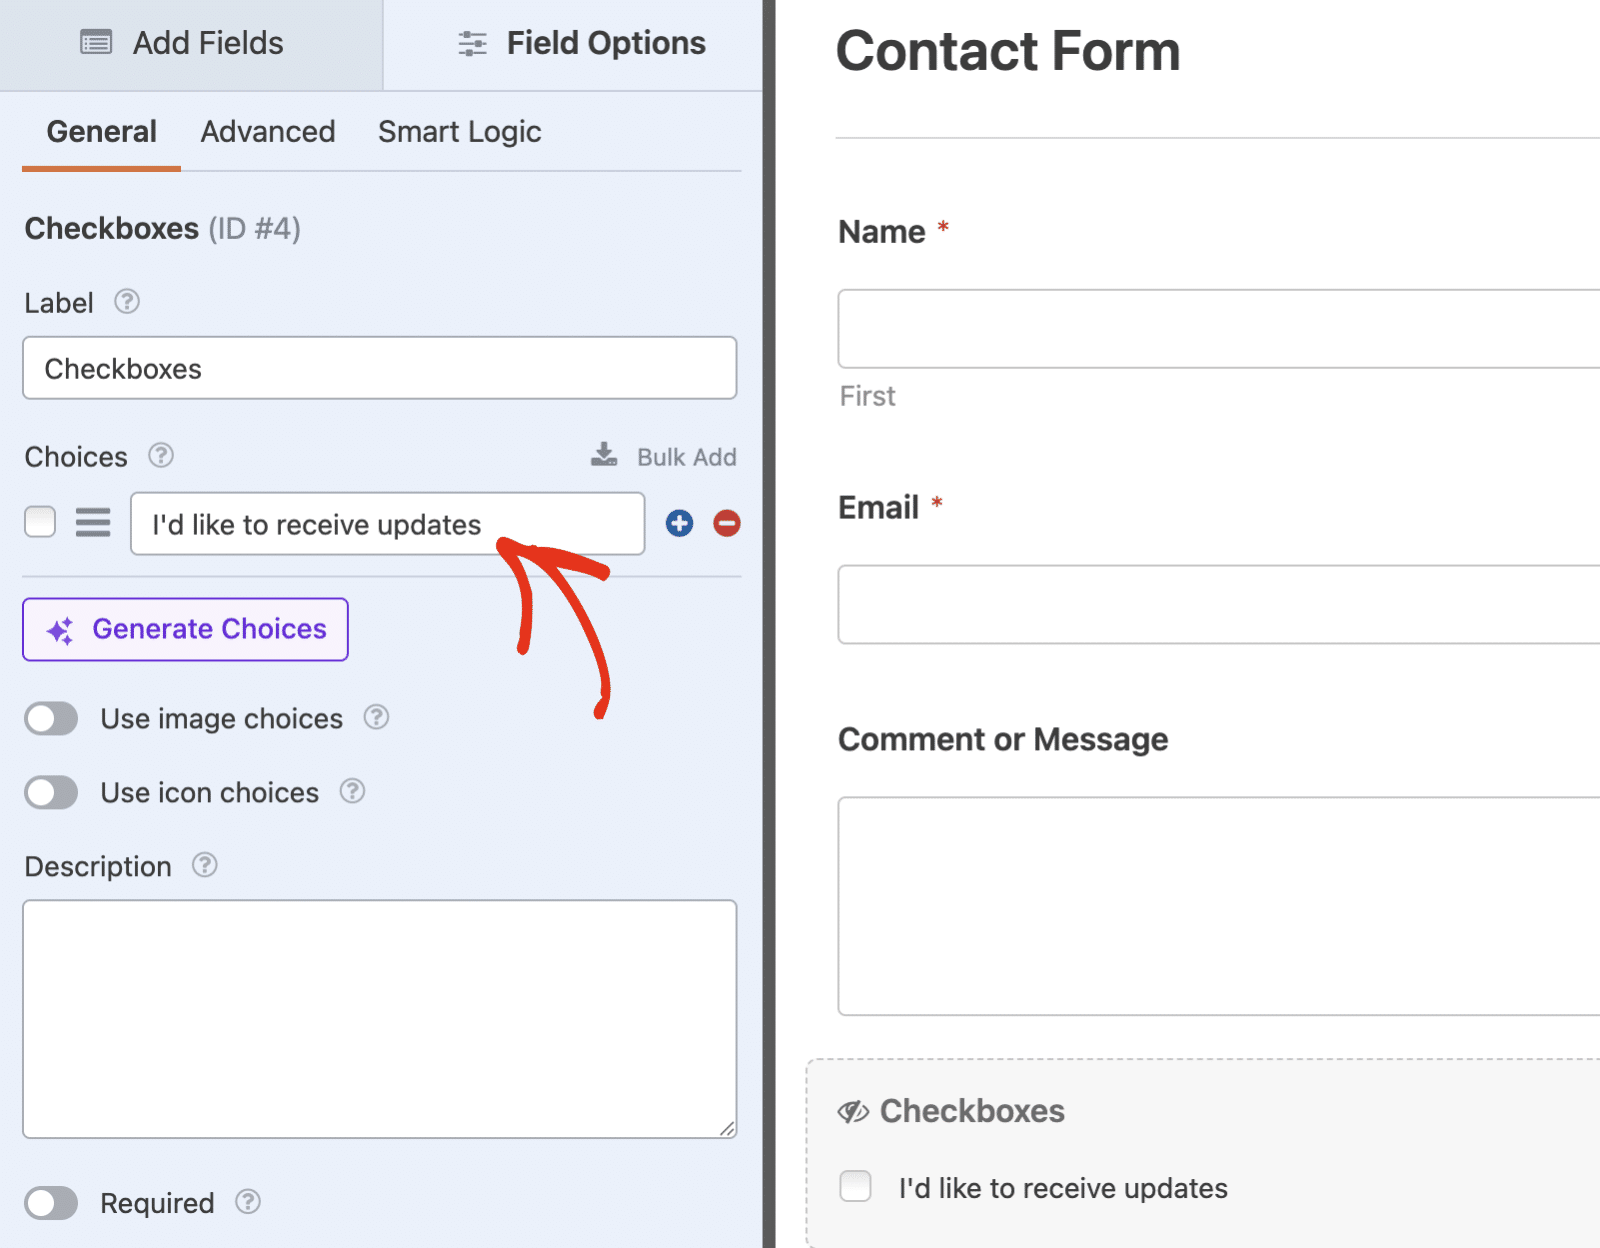
Como exemplo, mostraremos como usar a lógica condicional para permitir que os usuários escolham se desejam ser adicionados ao seu Zoho CRM como um lead ou contato.
Para configurar isso, você primeiro precisará adicionar um campo de Caixas de seleção. Em seguida, exclua outras opções e deixe uma com um rótulo como "Desejo receber atualizações."
Em seguida, vá para Marketing » Zoho CRM no construtor de formulários e ative a opção Habilitar Lógica Condicional.
Em seguida, você precisará usar os menus suspensos que aparecem para configurar sua regra de lógica condicional. Para este exemplo, definimos para Processar esta conexão se Caixas de seleção for Desejo receber atualizações.
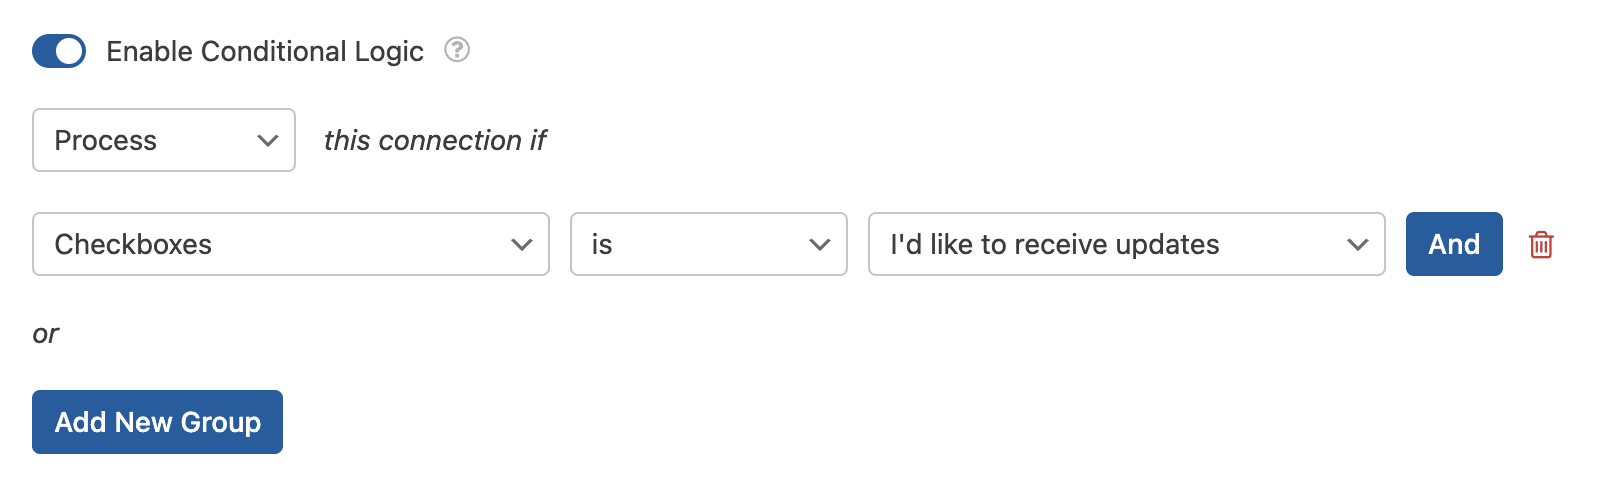
Isso configurará seu formulário para processar a conexão do Zoho CRM somente se o usuário marcar a caixa de seleção Desejo receber atualizações.
Depois de personalizar seu formulário, certifique-se de salvar quaisquer alterações e testar seu formulário antes de exibi-lo em seu site.
Perguntas Frequentes
Estas são algumas das principais perguntas que recebemos sobre a integração do Zoho CRM com o WPForms.
Posso conectar mais de uma conta Zoho?
Sim, você pode conectar várias contas Zoho ao WPForms. Ao configurar a integração em WPForms » Configurações » Integrações, você pode clicar em Adicionar Nova Conta para conectar contas adicionais. Cada conexão de formulário pode usar qualquer uma de suas contas conectadas.
Onde posso gerenciar leads criados através do WPForms?
Você pode visualizar e gerenciar todos os leads e contatos criados através do WPForms fazendo login no seu painel do Zoho CRM. Os dados aparecerão nos módulos apropriados (Leads ou Contatos) com base na ação que você configurou.
É isso! Agora você pode conectar seus formulários WordPress ao Zoho CRM e gerenciar automaticamente leads e contatos de seus envios de formulário.
Em seguida, você gostaria de capturar ainda mais leads? Certifique-se de conferir nosso guia sobre criação de um formulário pop-up para aumentar suas taxas de conversão.