### [Google Drive Addon](https://wpforms.com/docs/google-drive-addon/)
**Published:** May 19, 2025
**Author:** Umair Majeed
**Excerpt:** Learn how to set up the Google Drive addon to automatically upload file uploads to your Google Drive account.
**Content:**
Google Drive Addon is a Pro Feature
Unlock Google Drive Addon and other powerful features to grow your business.
[ Get WPForms Pro ](https://wpforms.com/pricing/)
Would you like to automatically upload files from your WordPress forms to your Google Drive? The WPForms Google Drive addon makes it easy to save file uploads directly to your Google account without relying on third-party connectors.
This guide will show you how to install and set up the Google Drive addon with WPForms.
- [Connecting WPForms to Google Drive](#connecting-wpforms-to-google-drive)
- [Adding a Google Drive Integration to Your Form](#add-google-drive-integration)
- [Setting Up File Storage Options](#file-storage)
- [Managing Local File Storage](#local-file-storage)
- [Setting Up Conditional Logic (Optional)](#conditional-logic)
- [Frequently Asked Questions](#faq)
**Requirements:**
- You will need a [Pro license level](https://wpforms.com/pricing/) or higher to access the Google Drive addon
- Ensure that you’ve installed WPForms version 1.9.5 or higher to meet the [minimum required version](https://wpforms.com/docs/why-you-should-always-use-the-latest-version-of-wpforms/#version-requirements) for the Google Drive addon.
---
Before you get started, be sure WPForms is [installed and activated](https://wpforms.com/docs/install-wpforms-plugin/) on your WordPress site, and that you’ve [verified your license](https://wpforms.com/docs/verify-wpforms-license/). Then, go ahead and [install and activate the Google Drive addon](https://wpforms.com/docs/install-activate-wpforms-addons/).
## Connecting WPForms to Google Drive
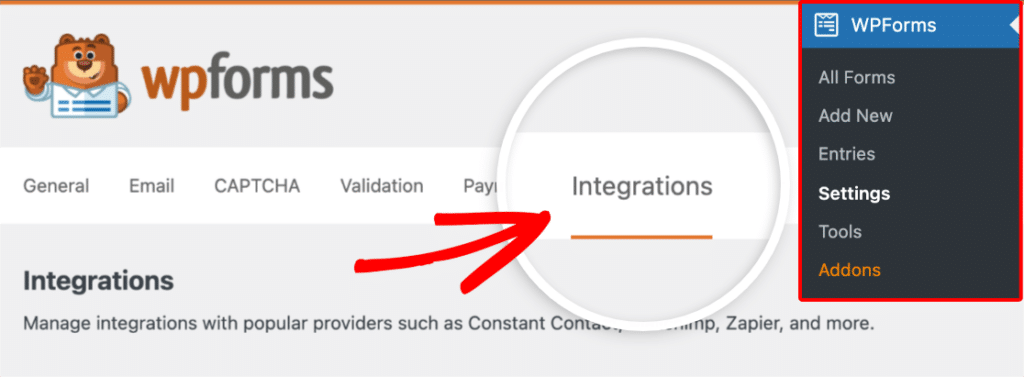
After installing the Google Drive addon, you’ll need to access the Google Drive integration settings. To do this from the WordPress dashboard, go to **WPForms » Settings** and click on the **Integrations** tab.
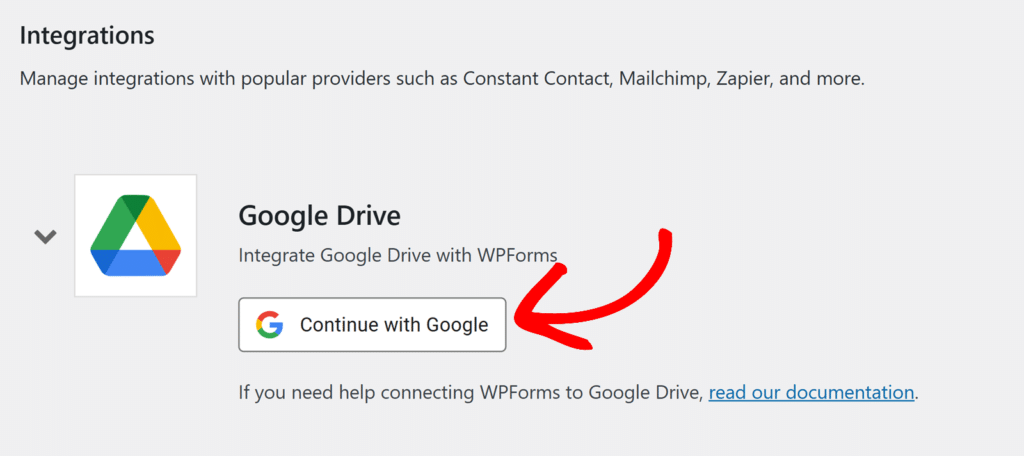
Next, click on the **Google Drive** integration to expand its settings and click the **Continue with Google** button to connect WPForms to your Google account.
You’ll then be redirected to a Google authentication page where you’ll need to select a Google account to use with WPForms.
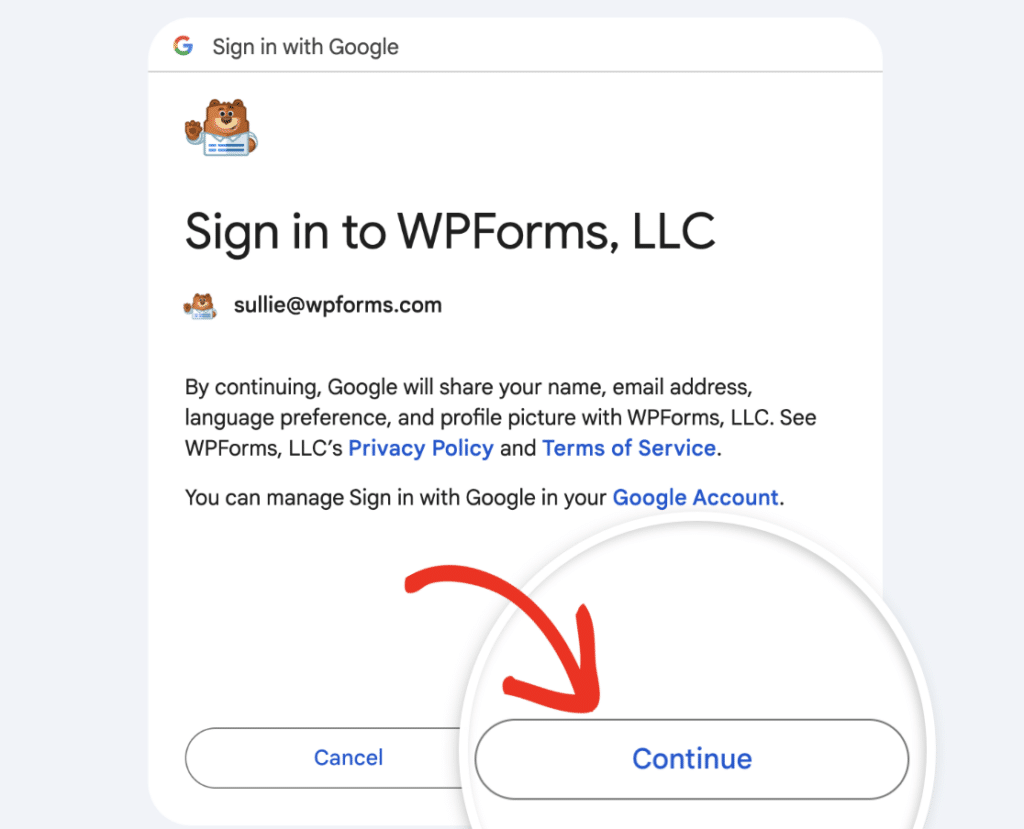
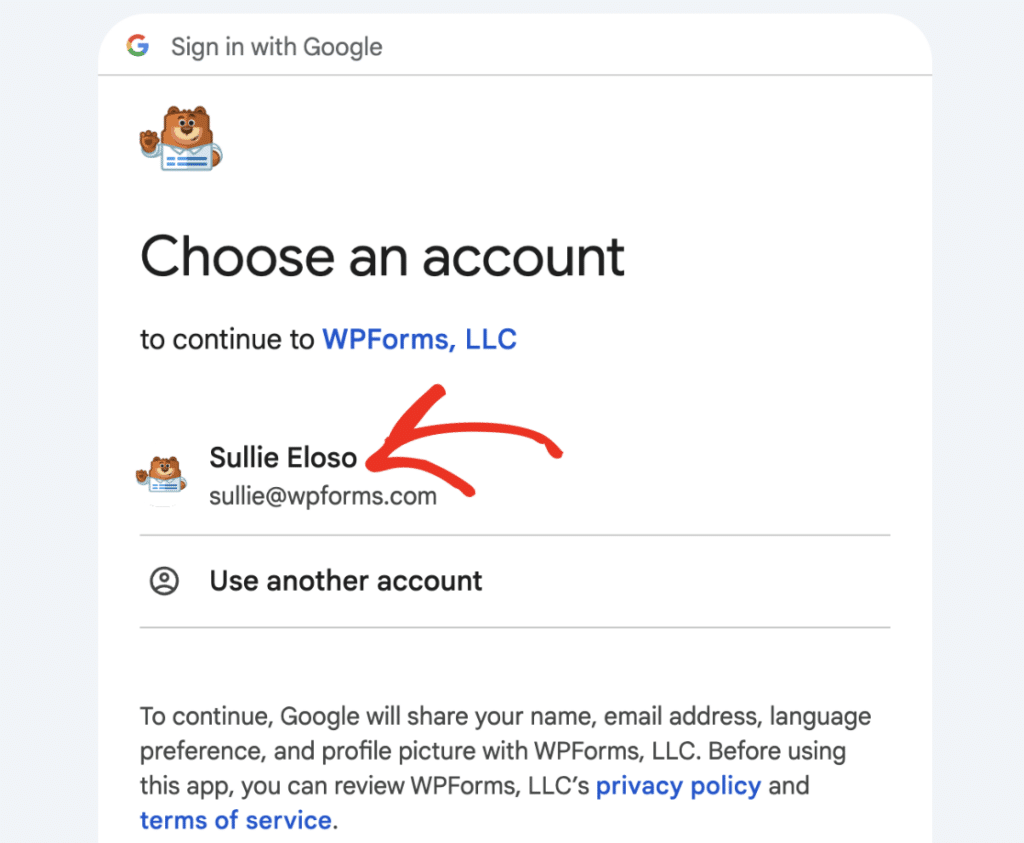Once you’ve selected a Google account, click the **Continue** button to proceed.
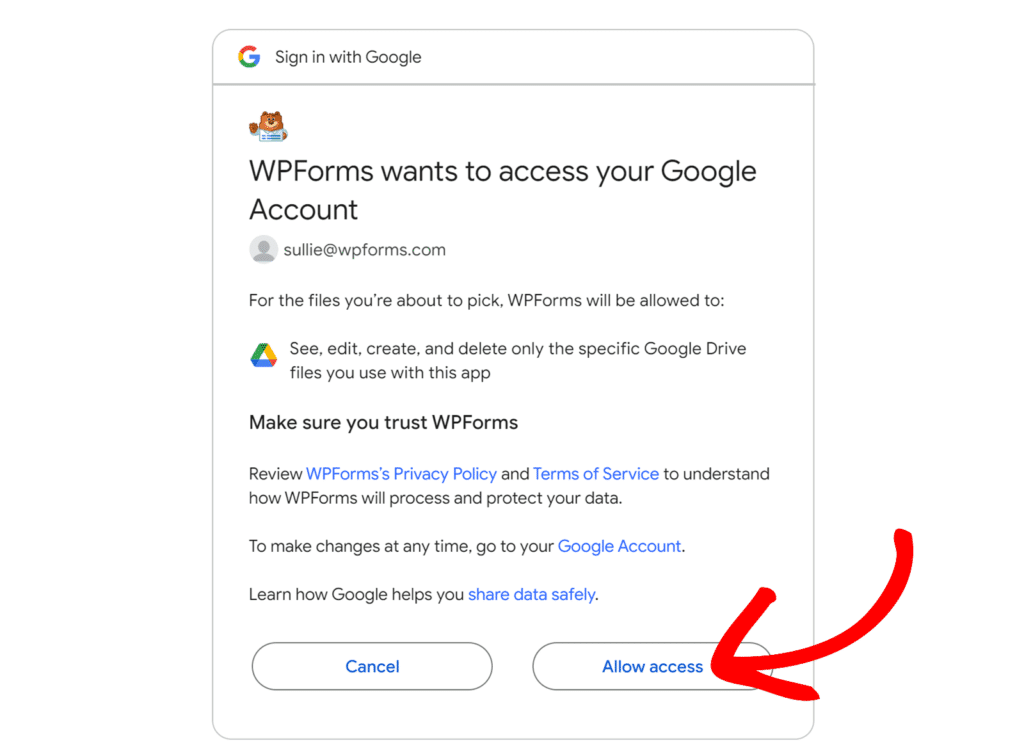
Next, you’ll see a screen where WPForms is requesting access to your Google Drive account. To continue, click **Allow access**.
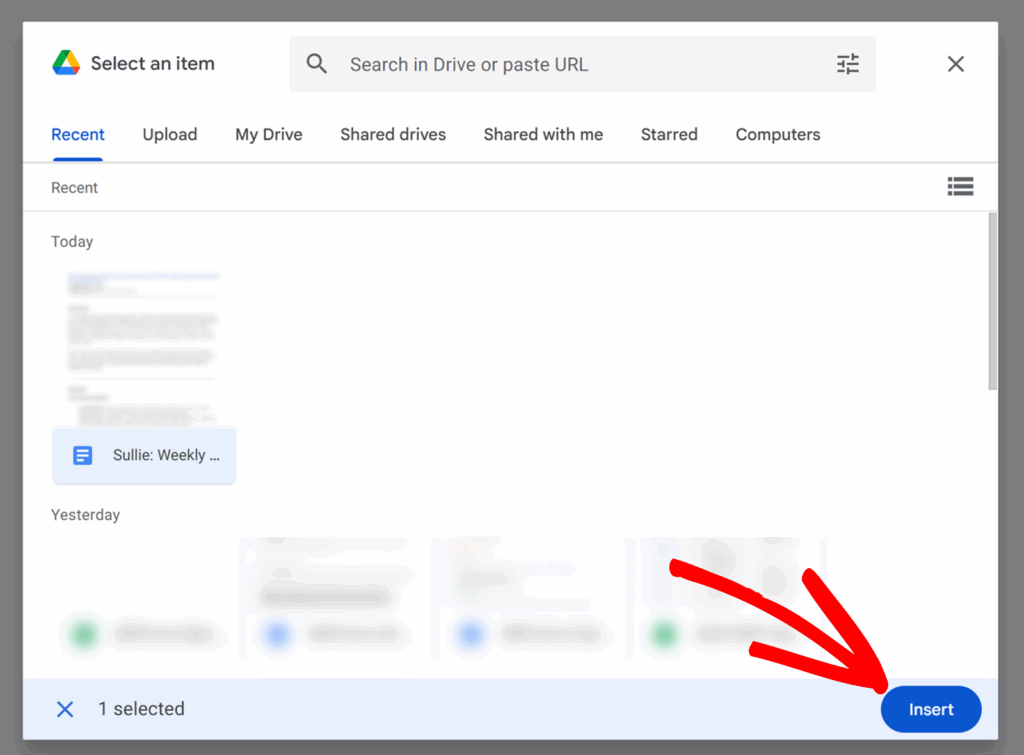
After granting access, Google Drive will open and prompt you to select a file from your account. This is part of Google’s authorization flow.
To continue, click any file in your Google Drive. Once a file is selected, click the **Insert** button to complete the connection.
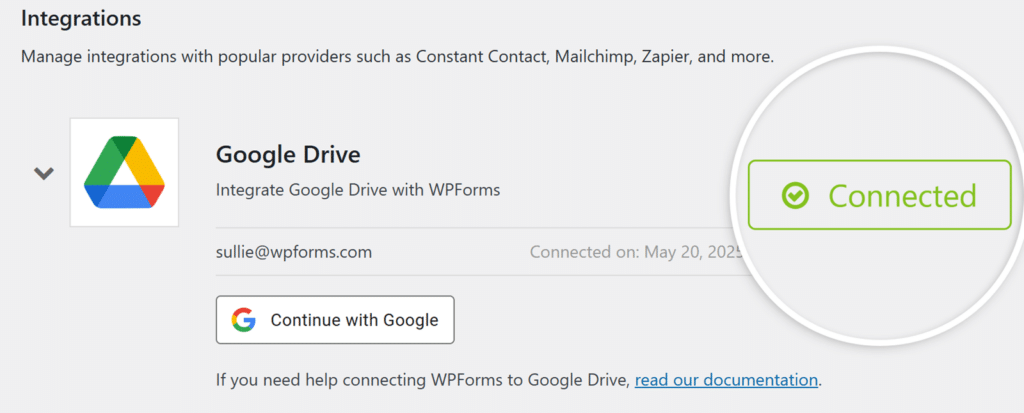
Once access is granted, you’ll be redirected back to **WPForms » Settings » Integrations**, where you should see a green **Connected** status next to your Google Drive account.
## Adding a Google Drive Integration to Your Form
Once your Google Drive account is connected, you can add the integration to a specific form.
To get started, [create a new form or edit an existing one](https://wpforms.com/docs/creating-first-form/) to open the form builder.
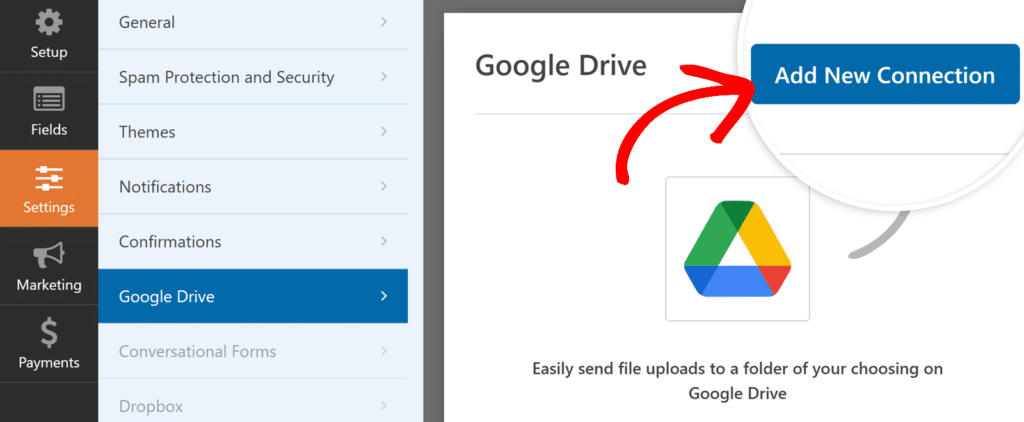
Once you’ve accessed the form builder, go to **Settings » Google Drive** and click the **Add New Connection** button.
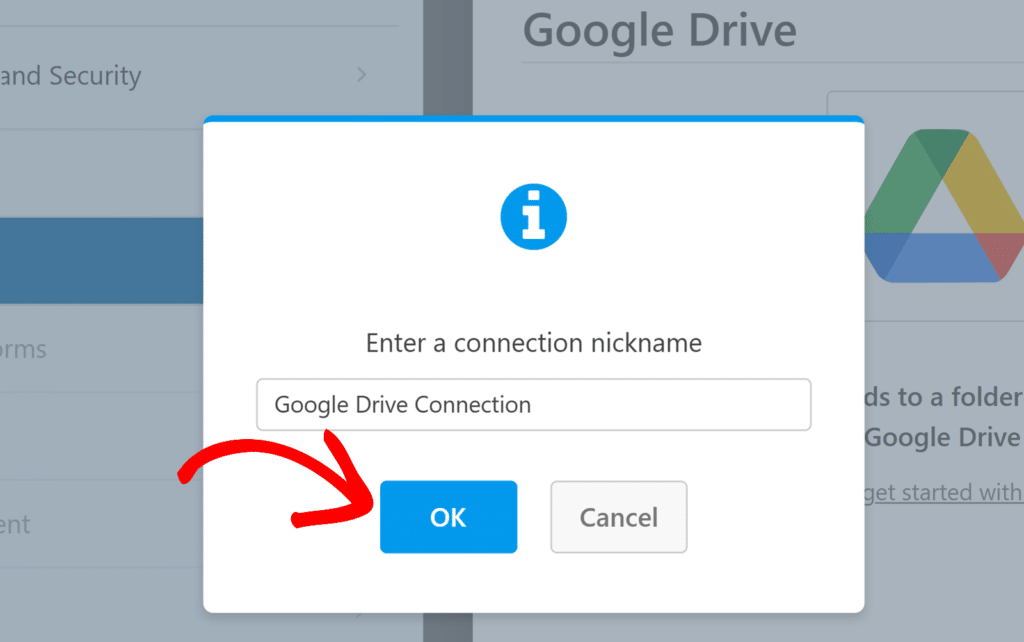
An overlay will appear where you can enter a connection nickname. This name is for internal reference only and won’t be visible to users. After entering the nickname, click the **OK** button.
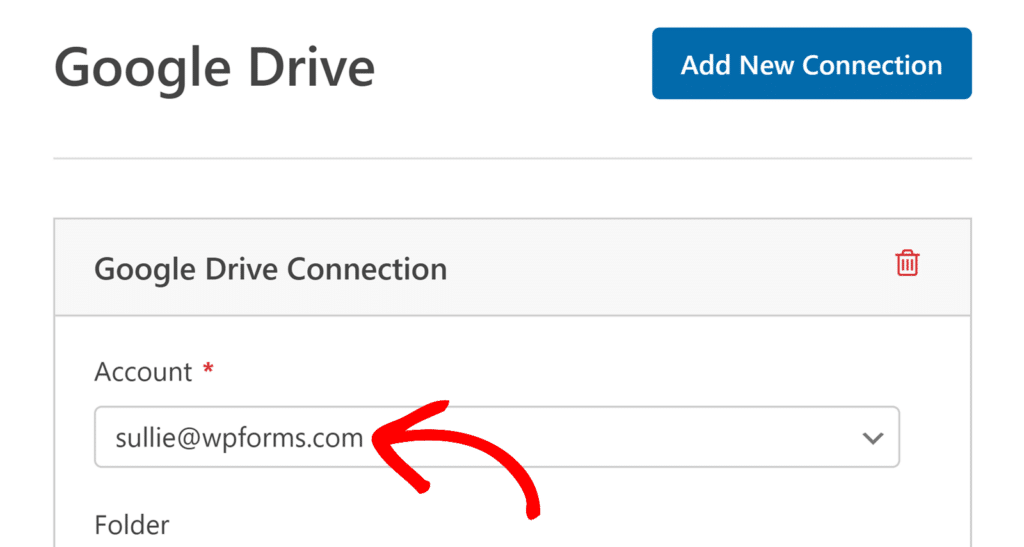
Next, you’ll see an **Account** dropdown. Select the Google Drive account you want to use for this connection. If you’ve connected multiple Google accounts, they will all be listed here.
Once the account is selected, additional settings will appear for choosing where the uploaded files should be stored.
## Setting Up File Storage Options
Once you’ve selected your Google Drive account, you’ll be able to choose how and where uploaded files are stored.
Under the **Folder** setting, you’ll see two options:
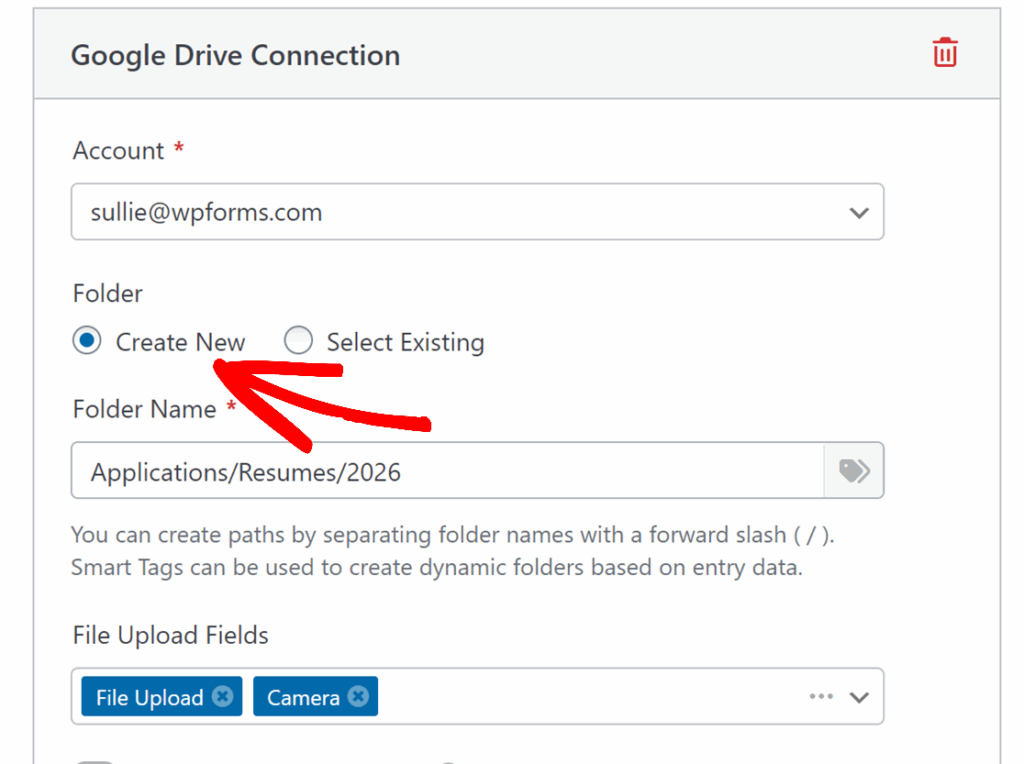
- **1. Create New**: This option lets you specify where uploaded files will be stored by creating folders in your connected Google Drive as needed. The **Folder Name** field is pre-filled with your form’s name, but you can change it anytime.
- If you enter a single folder name (no Smart Tags and no `/`), the folder is created when you save the form, and all uploaded files are stored there.
- If you enter a folder path using a forward slash (`/`) or include Smart Tags, WPForms creates any missing folders automatically when an entry is submitted. Uploaded files are stored in the last folder in the path.
- **Examples**:
- `Event Uploads / Photos`
- `Applications/Resumes/2026`
- `Clients/{field_id="3"}`: Creates a folder for each value submitted in field ID 3.
- `Clients/{field_id="3"}/Entry-{entry_id}`: Creates a folder based on the value submitted in field ID 3, then creates a unique subfolder for each entry. Example: If field ID 3 is `Client-001` and the entry ID is `1245`, the folder path in Google Drive becomes `Clients/Client-001/Entry-1245`.
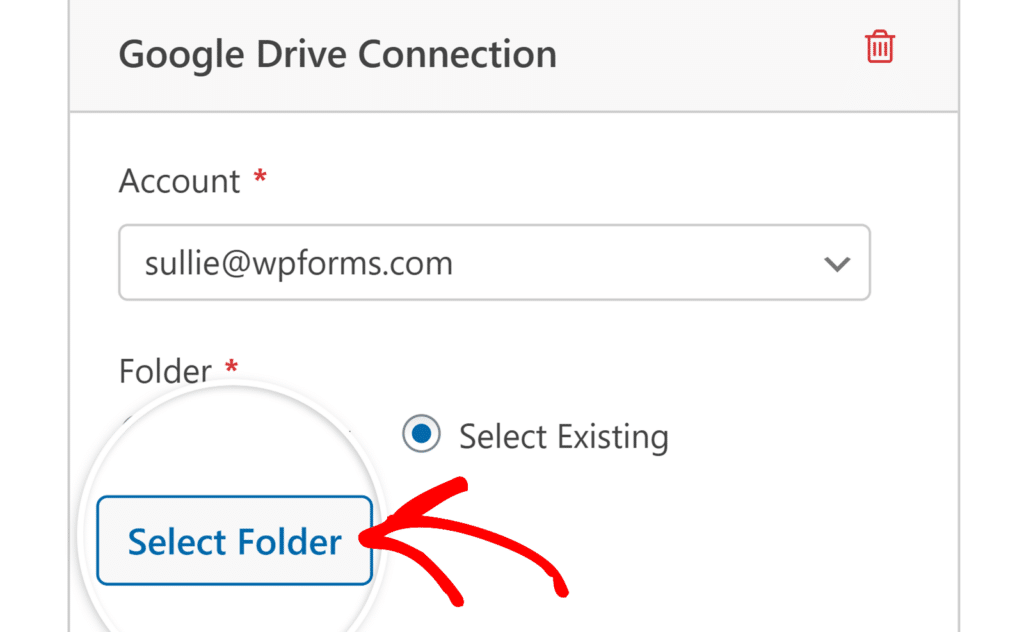
- **2. Select Existing**: Choose this option to save uploaded files to a folder that already exists in your Google Drive. Click the **Select Folder** button to browse and choose your destination.
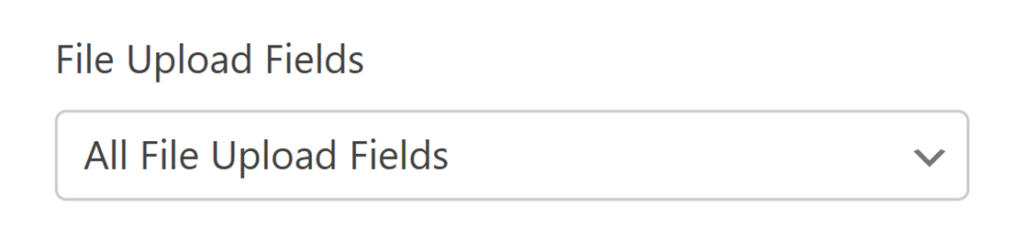
Next, select which File Upload fields should send files to Google Drive. In the **File Upload Fields** dropdown, select a specific File Upload field or choose **All File Upload Fields** to automatically upload files from every file upload field in the form.
### Accessing Your Google Drive Folder
Once you’ve selected a folder or saved your form settings, a **View Folder on Drive** button will appear in the **Folder** section of your Google Drive connection settings.
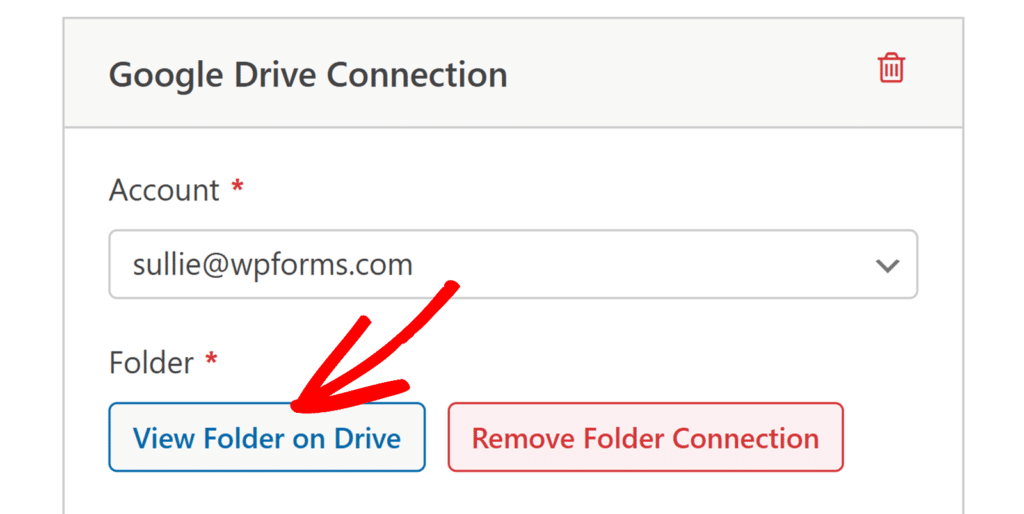Clicking this button will open the selected folder in your Google Drive account. This allows you to quickly access and manage uploaded files.
## Managing Local File Storage
By default, uploaded files are saved both in your WordPress media library and in your Google Drive folder. However, you can choose to store files only in Google Drive by enabling an advanced setting.
To adjust this, scroll down to the **Advanced** section in your Google Drive settings and locate the **Delete Local Files After Upload** toggle.
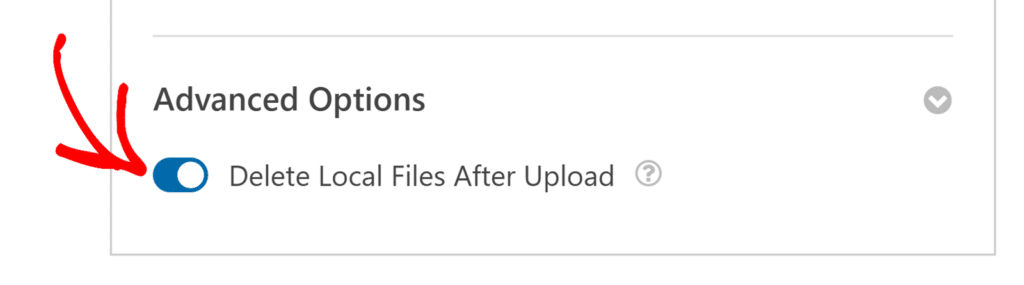When this option is disabled, files uploaded through your form will be stored both on your WordPress site and in your Google Drive account.
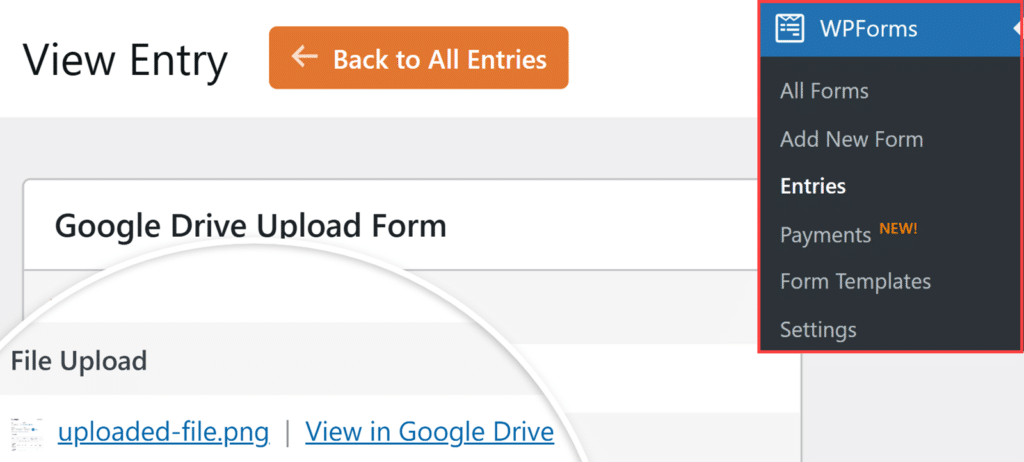
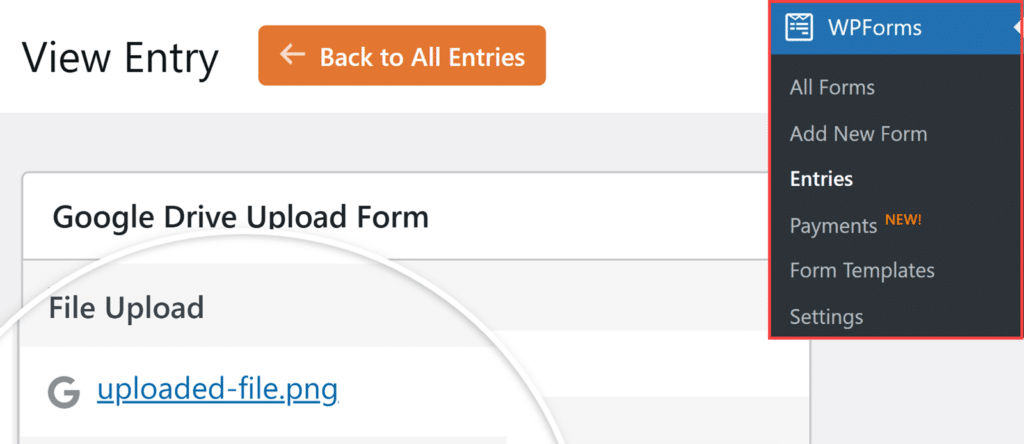
You can access these files from **WPForms »** **Entries**, where you’ll have options to view them directly on your WordPress site or use the **View in Google Drive** link to access them in your Google Drive account.
If you enable the **Delete Local Files After Upload** option, files will be automatically removed from your WordPress site’s storage once they have been successfully uploaded to Google Drive and will only exist in your Google Drive account.
In this case, WPForms automatically updates file links in form entries and email notifications to point to the files in your Google Drive account.
For more details about managing entries, see our [complete guide on form entries](https://wpforms.com/docs/complete-guide-to-form-entries/).
## Setting Up Conditional Logic (Optional)
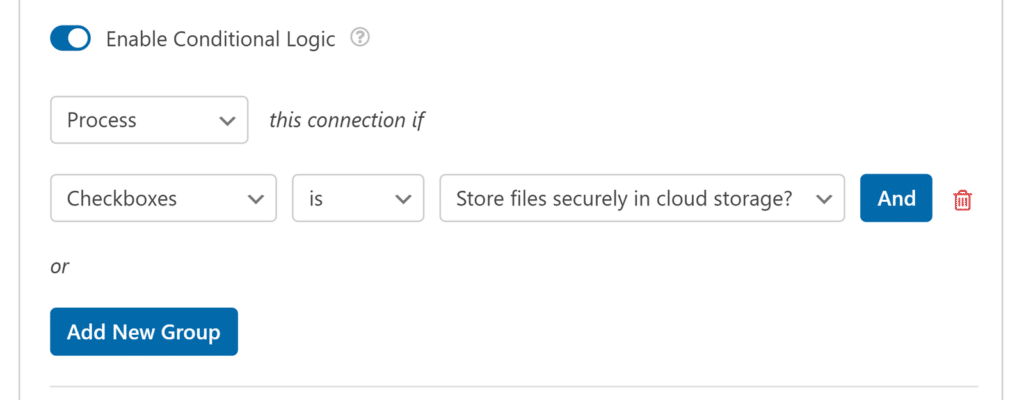
Conditional logic allows you to control when the Google Drive integration runs based on users’ form selections. For example, you might only want to upload files to Google Drive if a user selects a specific option in a dropdown or checks a certain box.
To use conditional logic with the Google Drive addon, turn on the **Enable Conditional Logic** option and create your conditional logic rule.
Need help setting up your conditional logic rule? Our beginner’s tutorial on [using conditional logic in WPForms](https://wpforms.com/docs/how-to-use-conditional-logic-with-wpforms/) has all the details.
Finally, be sure to save any changes and [test your form](https://wpforms.com/docs/how-to-properly-test-your-wordpress-forms-before-launching-checklist/) before displaying it on your site.
## Frequently Asked Questions
Below, we’ve covered some of the top questions we receive about integrating Google Drive with WPForms.
#### Can I connect more than one Google account?
Yes, WPForms supports multiple Google Drive accounts. When adding a connection in your form settings, you’ll see a dropdown that lets you choose which connected Google account to use.
#### What happens to the file links when local files are deleted?
When the **Delete Local Files After Upload** setting is enabled, WPForms automatically updates the file URLs in your form entries and email notifications to point directly to the files in your Google Drive.
#### Can I retry uploading files to Google Drive for a single entry?
Yes, you can retry the upload for an individual entry from the single entry screen. To do so, go to **WPForms** » **Entries**, open the entry using the **View** link, then look at the **Actions** panel on the right.
When the upload task for that entry has already run with a Complete or Failed status, you will see a **Reupload to Google Drive** option there.
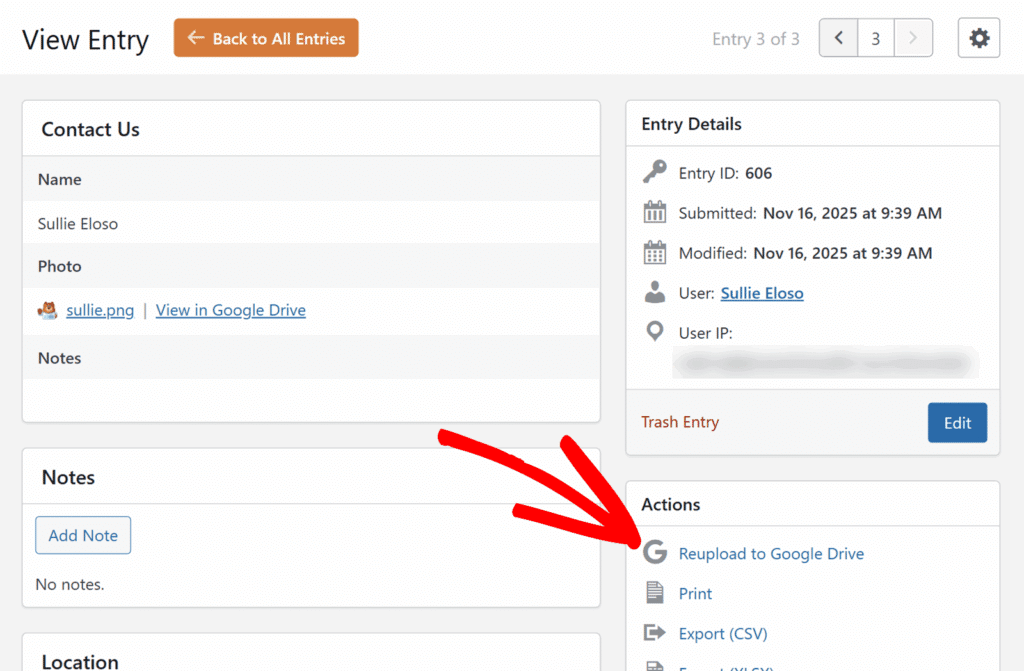Selecting this option tells WPForms to run the Google Drive upload again for that entry.
That’s it! You now know how to connect WPForms to Google Drive and automatically store file uploads in your Drive account.
Next, would you like to learn more about how file uploads work in WPForms? Be sure to check out our [complete guide to the File Upload field](https://wpforms.com/docs/a-complete-guide-to-the-file-upload-field/) for more details on customizing file types, sizes, and more.
**Categories:** Addons, Advanced (Pro) Addons
---