Is Ninja Forms not sending email from your contact form? If you aren’t receiving notifications from your contact form plugin, you could miss out on valuable leads.
We’re going to show you the best way to fix Ninja Forms not sending email with a plugin. We’ll also walk through your Ninja Forms settings to make sure everything is correctly set up.
Fix Your Ninja Forms Emails Now
Why Is My Ninja Forms Email Not Working?
Sometimes emails from your Ninja Forms can get lost, or suddenly stop working. This is a frustrating problem, but it’s also very common.
It happens for different reasons. But often when users find Ninja Forms emails not sending, what’s happening behind the scenes is that emails are rejected by a mail server on their way to your mailbox. WordPress uses the wp_mail() function, which can’t authenticate emails. That’s why servers silently reject them as spam.
The easiest way to fix Ninja Forms not sending email is by using the WP Mail SMTP WordPress plugin. WP Mail SMTP redirects all of the emails from your site through a 3rd party mailer service. That way, your emails are properly authenticated and reach the right inbox.
WP Mail SMTP has proven effective for fixing email issues with tons of contact forms. For example, many users who have Divi contact form not working are able to fix the issue instantly using WP Mail SMTP.
The same is true if you’re troubleshooting email notification issues with Gravity forms.
Now that we understand a bit more about the issue, let’s test Ninja Forms on your website and troubleshoot your email problems.
How to Fix Ninja Forms Not Sending Email
There are a few reasons for Ninja Forms not sending email. We’ll walk through them in the steps below, and provide a comprehensive guide to fixing the problem.
In This Article
Step 1: Test Your Ninja Forms Contact Form
The first thing we’ll check in Ninja Forms is the form itself.
Sometimes WordPress forms can break without you realizing it. For example, you might install a new plugin or a theme that causes a conflict.
Let’s fill out your form and test it now.
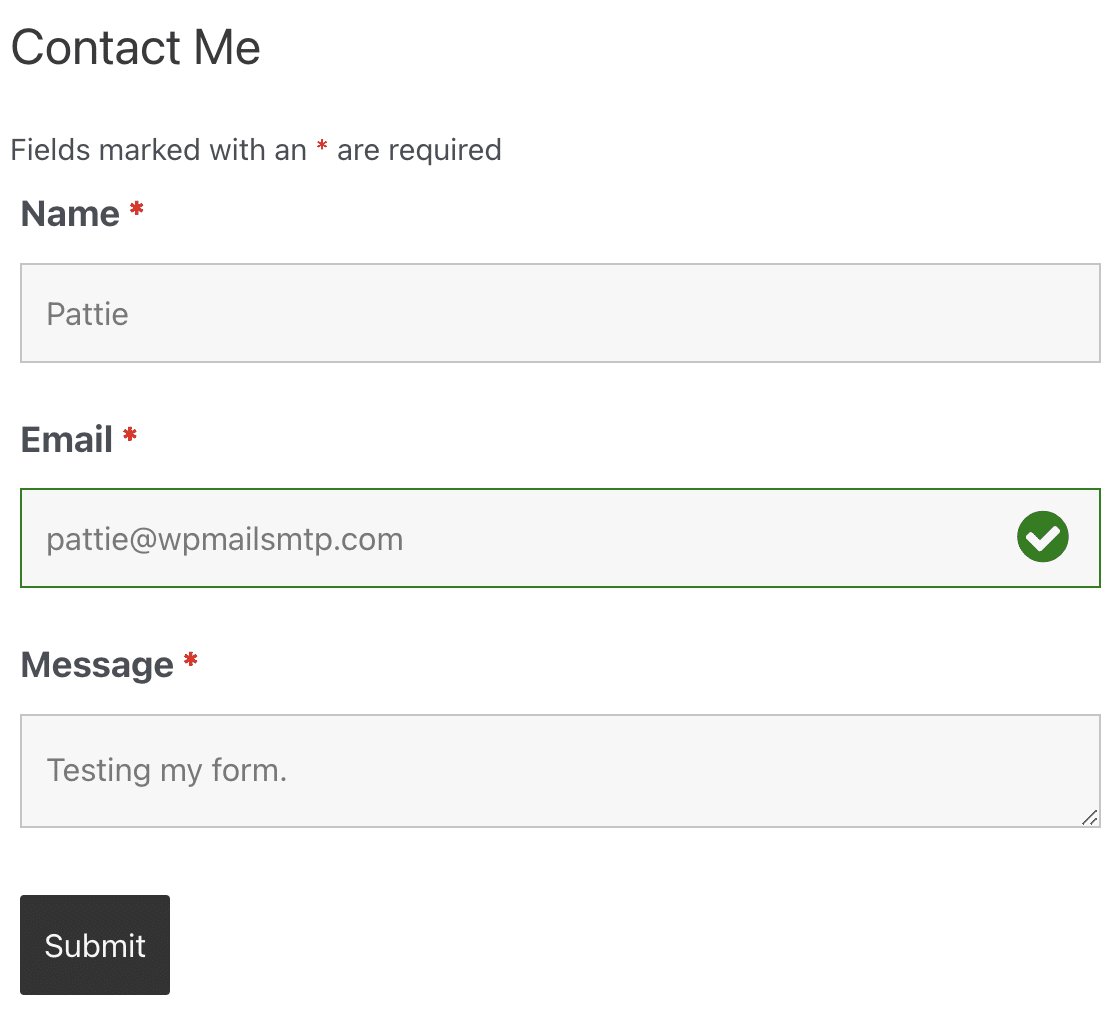
If it works, you should see a Thank You page or a Success Message, depending on how your form is configured.
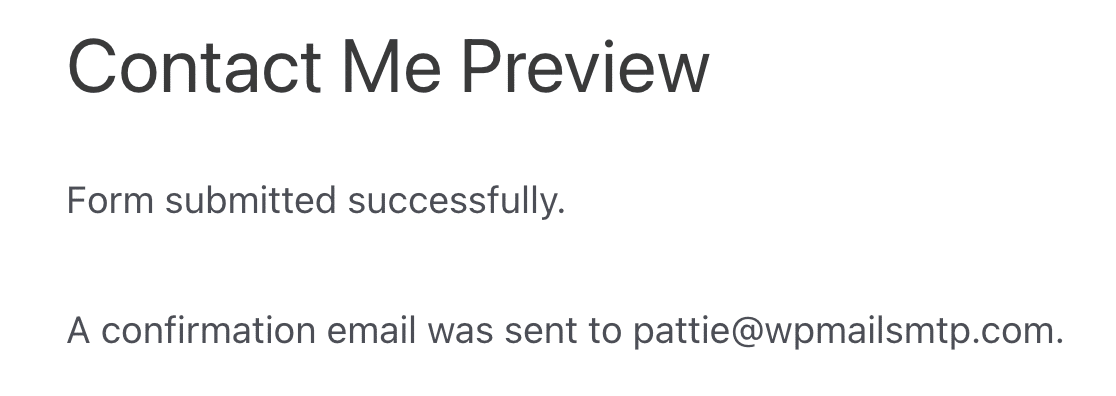
If you don’t see the Thank You page or Success Message after submitting the form, the form might have an issue with your website. Some other signs are:
- Fields not validating correctly
- Required fields that you can’t fill in or see
- The form is stuck on processing
- A Submit button that doesn’t do anything when you click on it
- Forms that are slow to load or slow to submit.
If you notice any of these problems, you’ll want to reach out to Ninja Forms to find out why your form isn’t working properly.
If you fill out the form and it looks like it’s working, you’ll need to dig a little deeper. Let’s switch over to the WordPress dashboard and see if the form is set up correctly.
Step 2: Check Your Ninja Form Settings
Let’s look at the settings on your form to find out why it’s not sending email.
To start, click Ninja Forms » Dashboard.
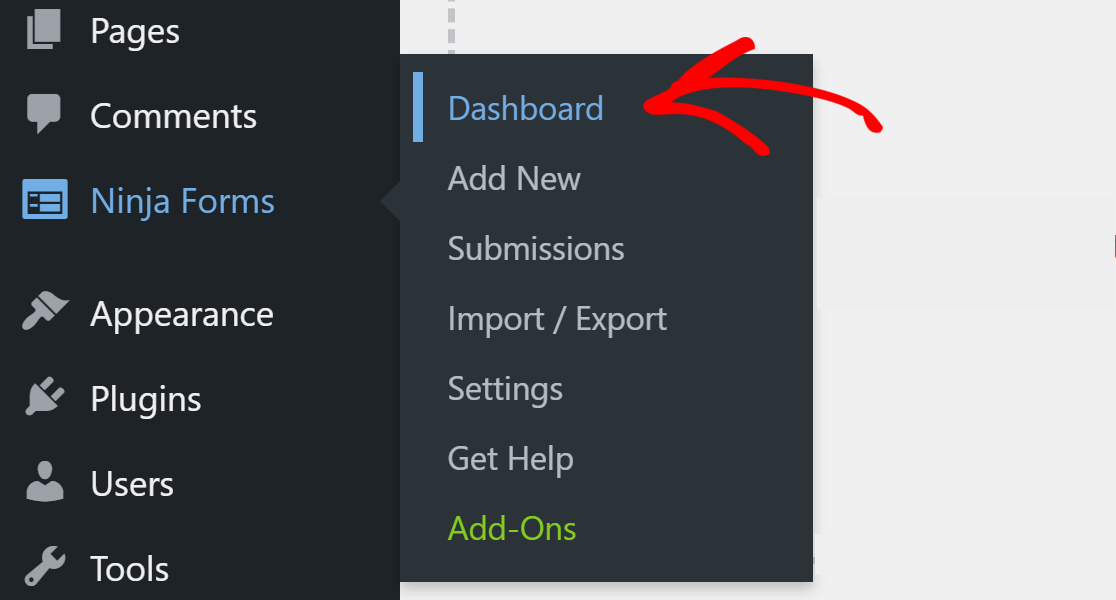
Next to the form, click the gear icon on the right to open up the options panel underneath. Then click Edit to open the settings page for the form.
![]()
Ninja Forms lets you set up different actions that will trigger when your form is submitted. We’re going to look at the defaults here, but yours might look a little different.
On our default form, these are the 4 actions that Ninja Forms has added. You can see here that they’re all turned on.
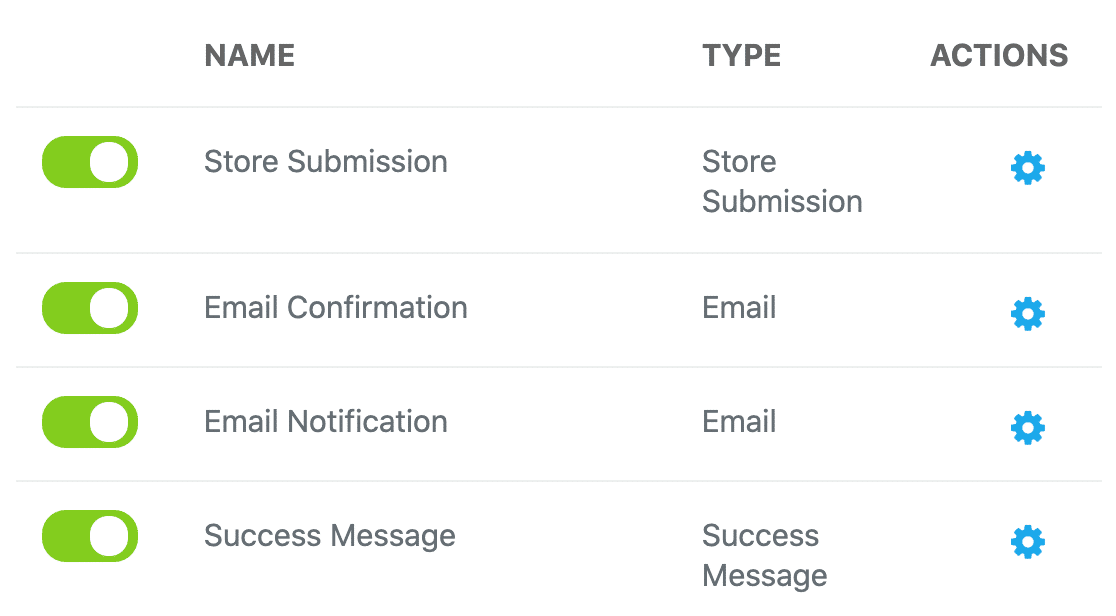
We know that the Success Message works because we already tested the form. Let’s check the other 3 actions one by one.
You can click the gear icon next to each one as we work down the list.
Store Submission
Store Submission stores your entry in a basic list in WordPress. This is what our test entry looks like.

You can check the entries for any form by clicking View Submissions under the name of the form.

If the entries are being saved, we can move on and look at the email settings.
Email Confirmation
The next action on the list is Email Confirmation. In Ninja Forms, this is the email that should be sent to your visitor when they submit your form.
By default, this email will be sent to the email address provided on the form using the {form:email} Smart Tag, or merge tag.
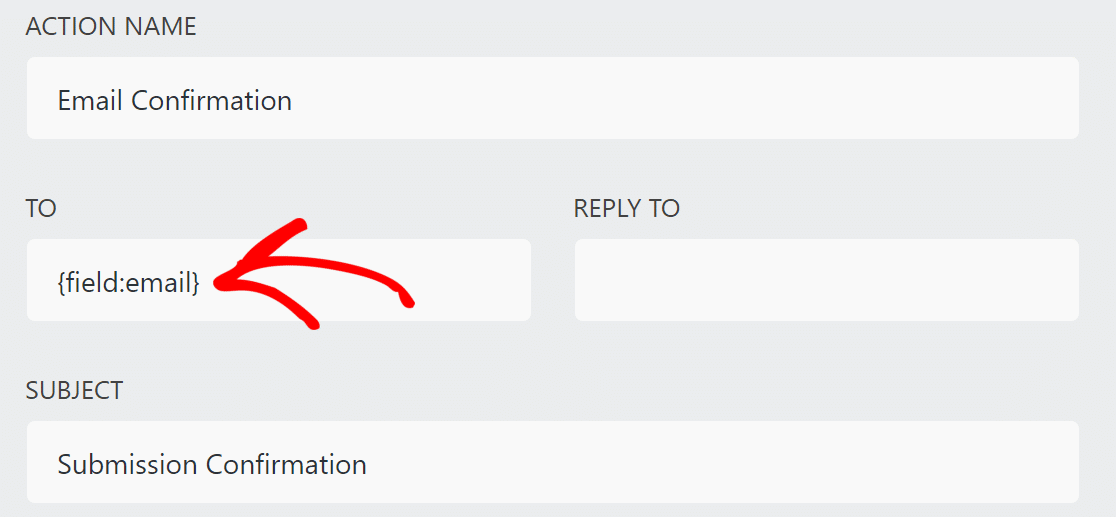
Ninja Forms says that having multiple recipients can cause deliverability problems. So while we’re testing, it’s a good idea to just have 1 email address or tag here.
Email Notification
The next action we need to check is the Ninja Forms Email Notification. This is the email that’s sent to the site owner with the entire contents of the form submission.
By default, this email will be sent to {system:admin_email}.
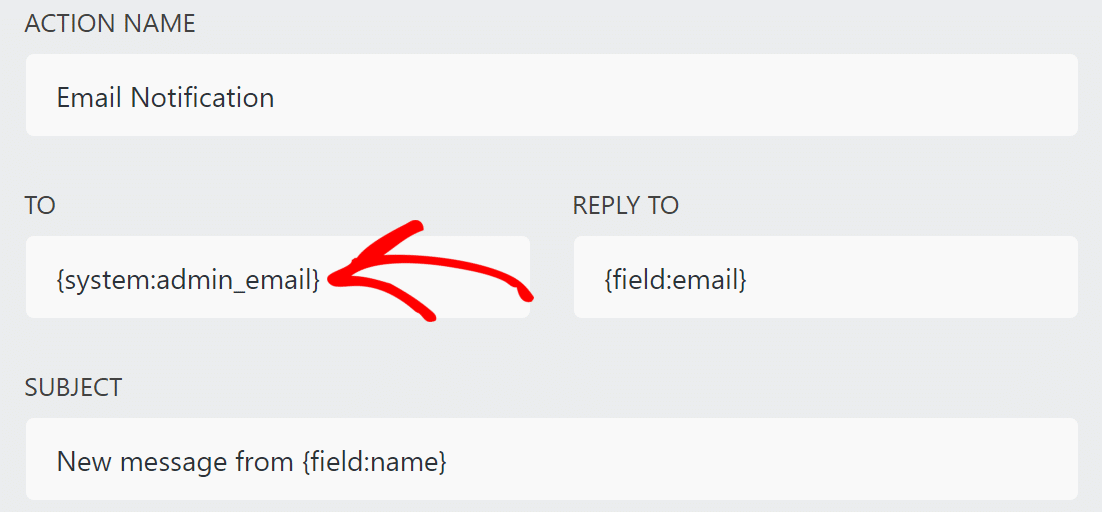
In case you’re wondering what {system:admin_email} means, it’s the default WordPress admin email address. Here’s an easy guide to help you change the WordPress admin email if it’s wrong.
Keep in mind that Ninja Forms has 2 other email Smart Tags for notification email:
{wp:user_email}– the email of the user that’s currently logged in to WordPress{wp:post_author_email}– the email for the author of the post or page where the form is published.
If you add one of these to your Ninja Forms notifications by mistake, you might think Ninja Forms is not sending email when it’s actually sending messages to the wrong person. So it’s definitely a good idea to check that the tag you’re using is correct.
Spam Protection Settings
The next item that we want to check is the spam protection settings. If the Ninja Forms reCAPTCHA is not working, go to Ninja Forms » Settings.
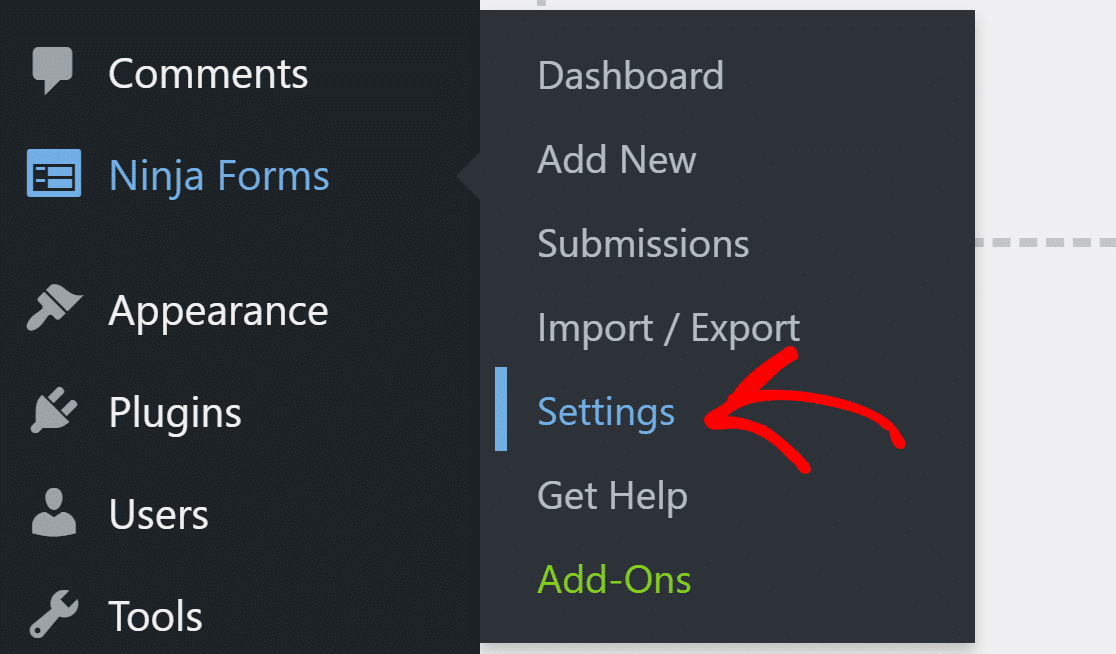
The forms sometimes don’t work due to incorrect spam protection settings. Under the reCAPTCHA Settings, check if you have entered the correct Site Key and Secret Key.

If you’ve checked everything so far and can’t spot any error, let’s use the best SMTP plugin to fix the Ninja Forms not working problem.
Step 3: Install WP Mail SMTP for Ninja Forms
WP Mail SMTP is the best SMTP (Simple Mail Transfer Protocol) plugin for WordPress. It’ll deliver your Ninja Forms emails through a 3rd party mailer service to solve delivery problems.
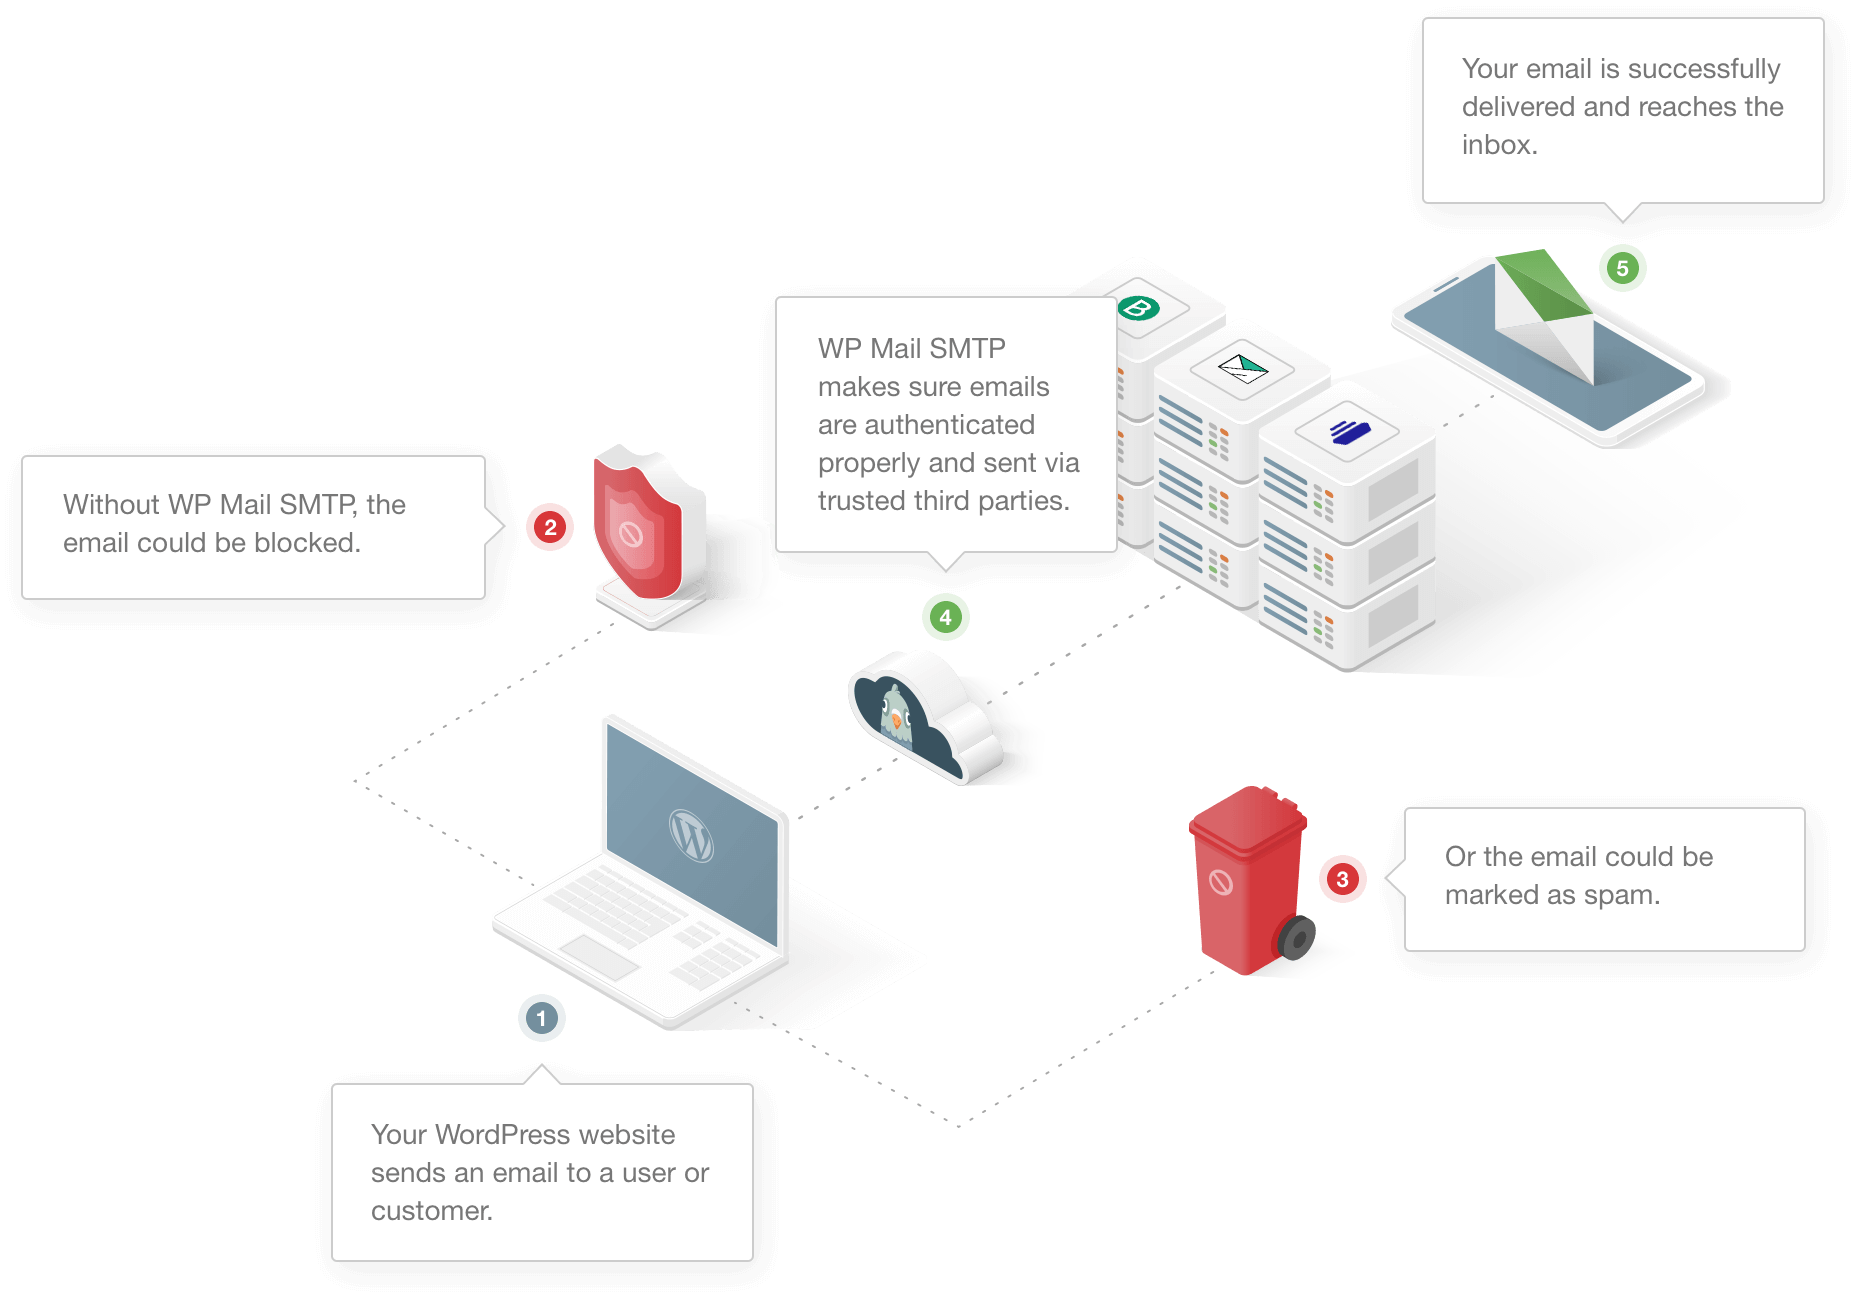
The great thing is that you can choose from tons of different mailer services. There are free and paid options to choose from.
The email service will add correct authentication to the emails so that they reach the right inbox. This will also prevent them from being sent to the spam folder.
Let’s go ahead and set up WP Mail SMTP on your WordPress site now.
Install the WP Mail SMTP Plugin
To fix Ninja Forms emails not sending once and for all, go to your WP Mail SMTP account, and under the Downloads section, click the orange button to download the latest version of the plugin file.
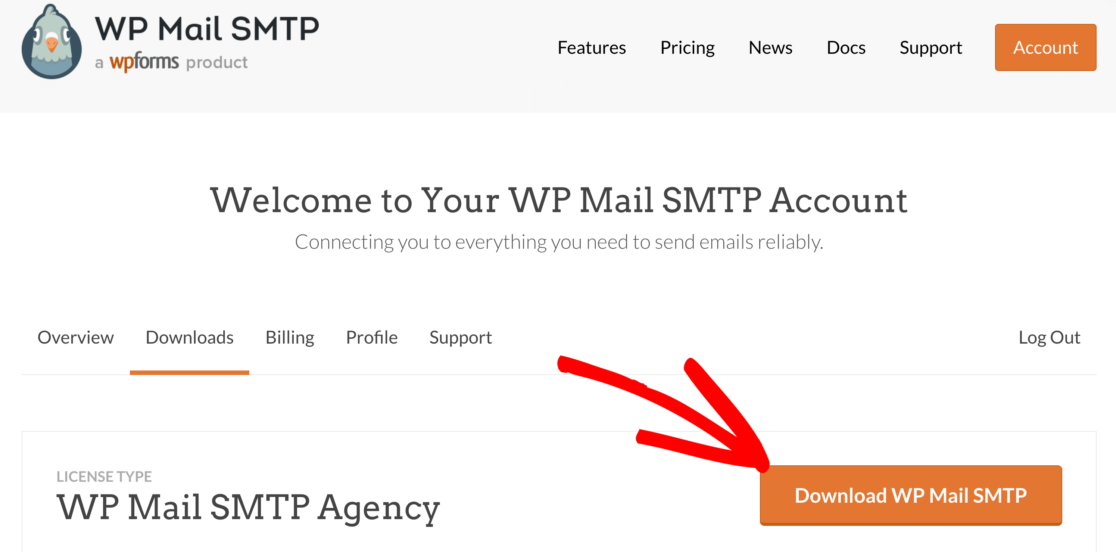
Switch back to your WordPress dashboard and upload the zip file to the plugins page. If you need help with this step, check out this beginner’s guide to installing a plugin in WordPress.

Don’t forget to activate the plugin before moving on. As soon as you do that, the Setup Wizard will start in your browser. This makes it easy to configure the plugin.
If you’re not ready to start the wizard right now, you can come back and restart it by clicking the Launch Setup Wizard button in the plugin settings.
Choose a Mailer Service
Now it’s time to choose the mailer service. This will add authentication to the emails and will fix the Ninja Forms email not sending issue.
To start the wizard, click the Let’s Get Started button.

WP Mail SMTP offers a wide range of options for the mailer service.
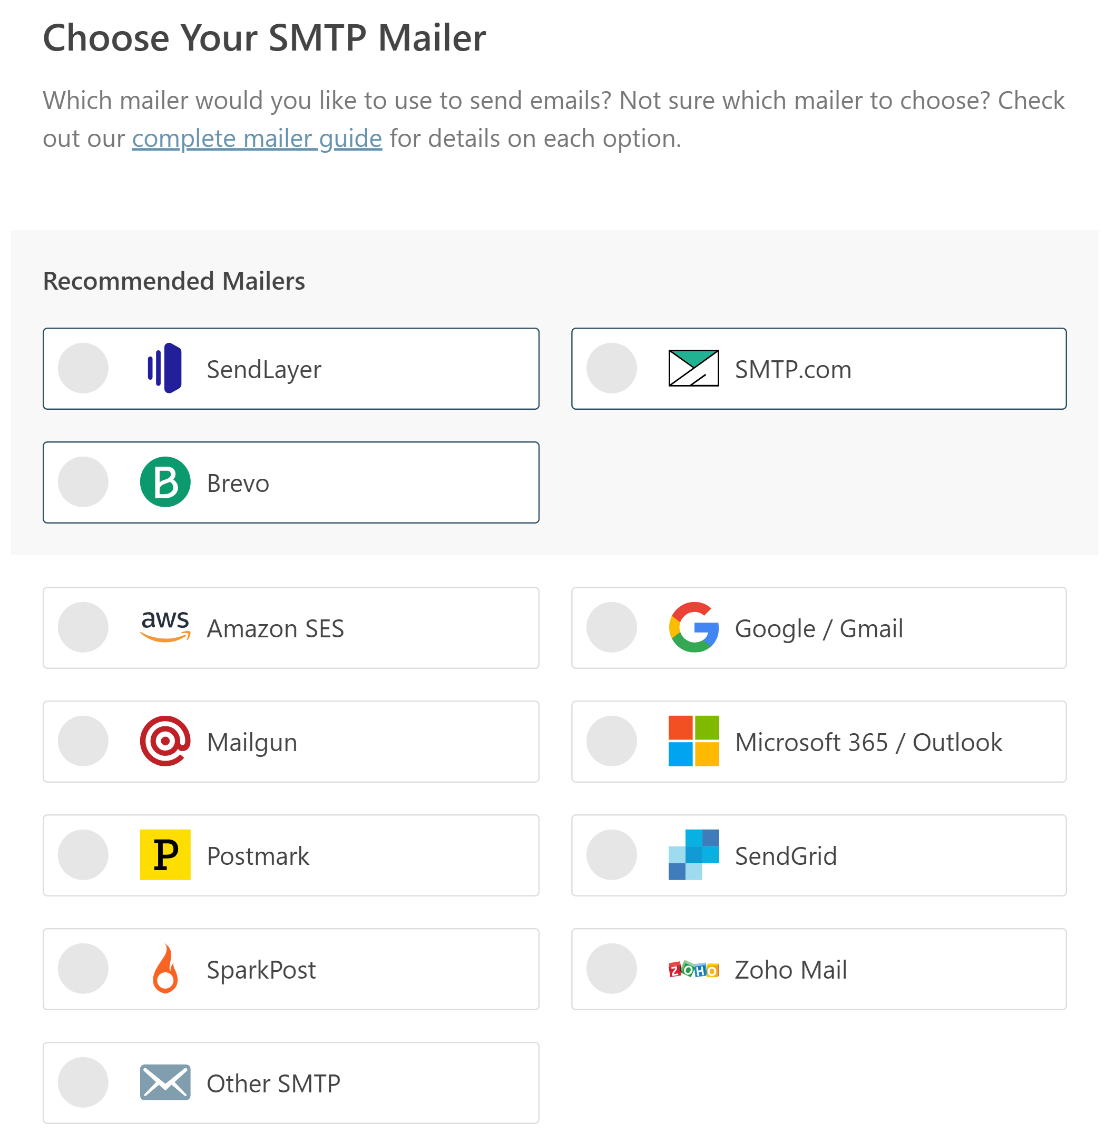
We recommend SendLayer, SMTP.com, or Brevo (formerly Sendinblue) because they’re reliable and easy to set up.
Once you choose the mailer, you’ll want to switch over to our documentation so that you can complete the set-up steps. We’ve created detailed guides for each email provider:
| Mailers available in all versions | Mailers in WP Mail SMTP Pro |
|---|---|
| SendLayer | Amazon SES |
| SMTP.com | Microsoft 365 / Outlook.com |
| Brevo | Zoho Mail |
| Google Workspace / Gmail | |
| Mailgun | |
| Postmark | |
| SendGrid | |
| SparkPost | |
| Other SMTP |
If you want to set up multiple mailers, you can do so in the Additional Connections settings once you’ve finished the Setup Wizard. Then you can select a Backup Connection and configure Smart Routing.
When you’ve set everything up on your website, come back to this guide to enable email logging on your site.
Turn on Email Logging (Optional)
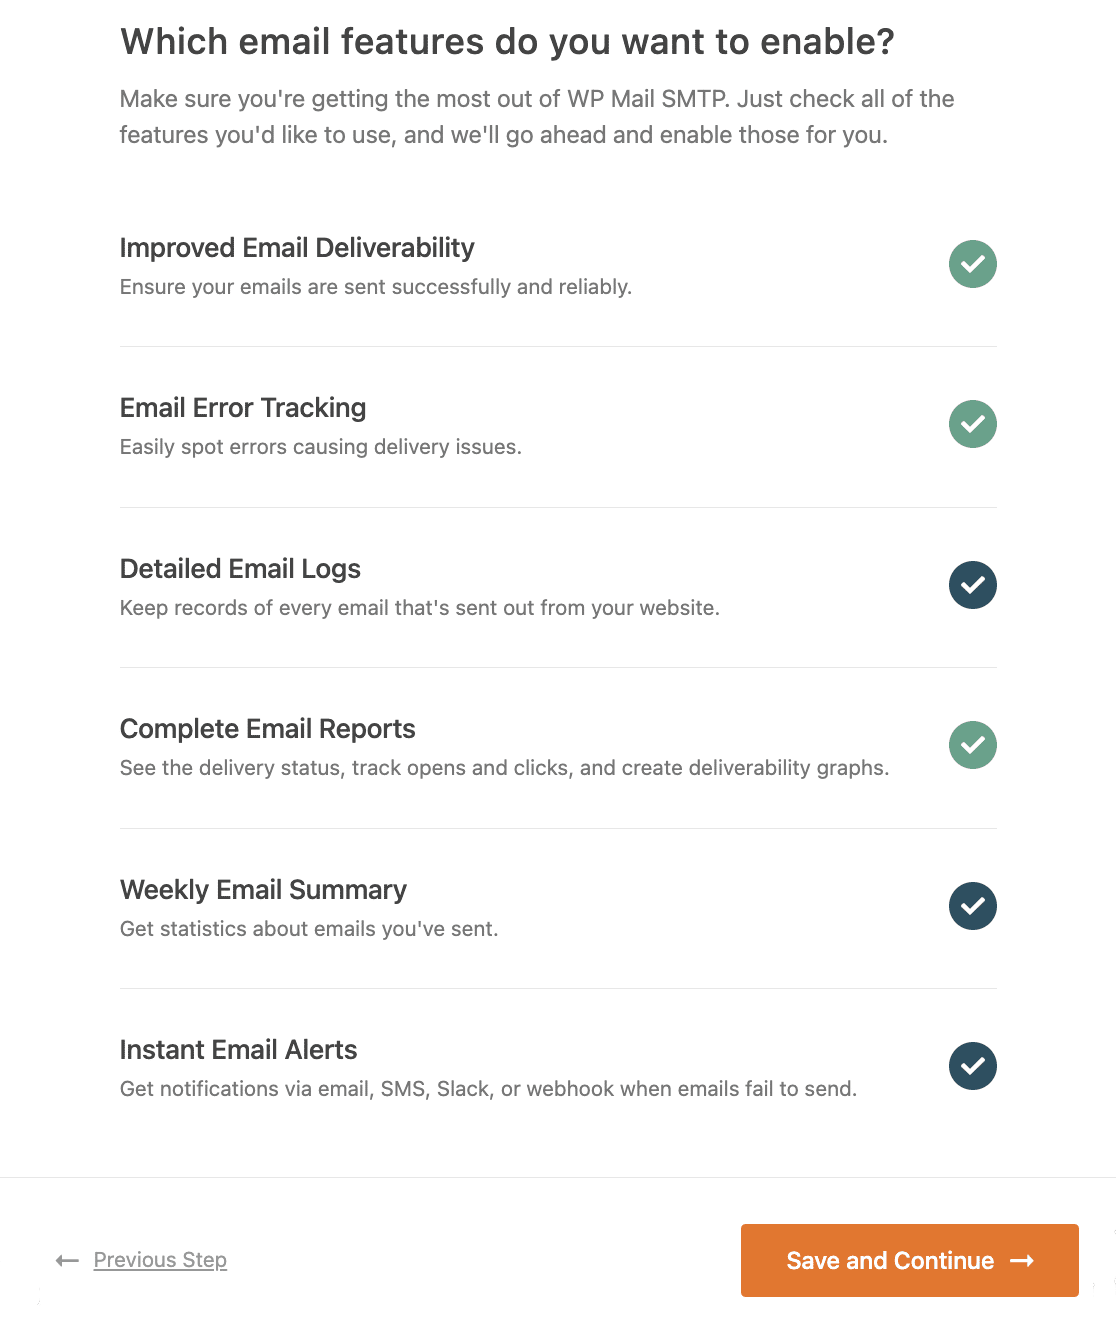
In this step, you can enable or disable the email features you want. You will have two options enabled by default.
- Improved Email Deliverability
- Email Error Tracking
If you have our Pro version or higher, you can also turn on Detailed Email Logs and the Weekly Email Summary. This will help you to keep track of all emails that are sent out from your site.
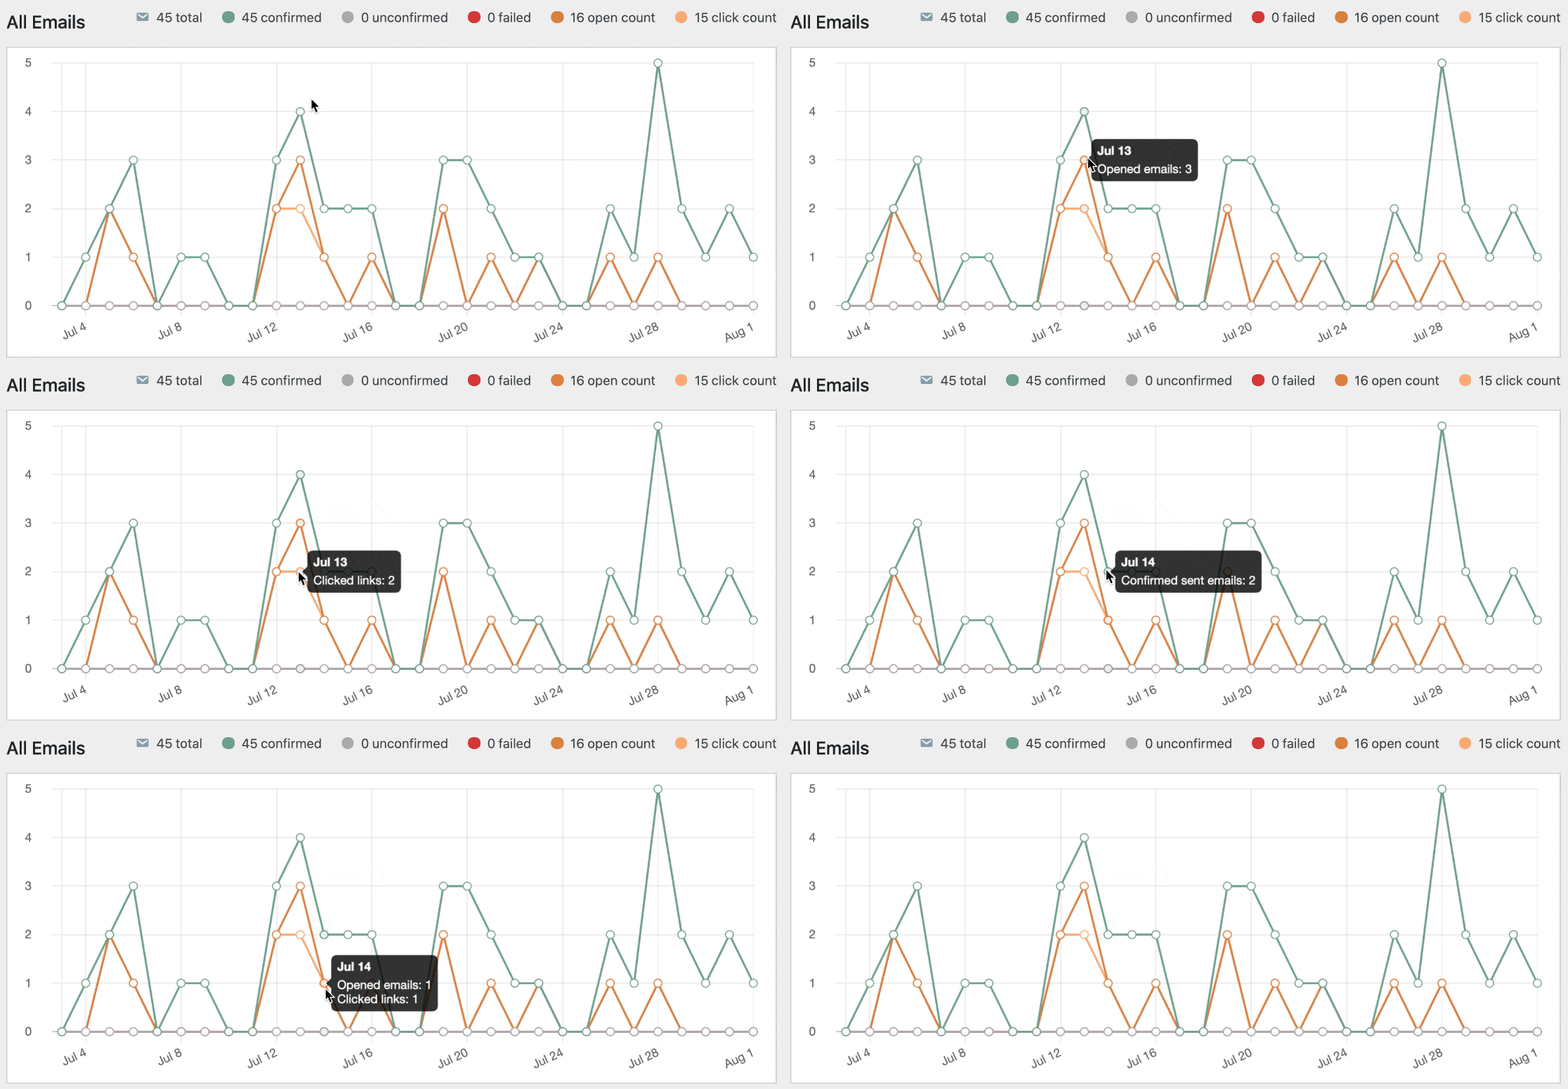
If email logging is enabled, you can see your emails’ delivery statuses and other important information in Complete Email Reports as well as the WP Mail SMTP Dashboard Widget.
The other feature available here is Instant Email Alerts. This will let you know right away if your site fails to send an email so that you can fix the problem quickly.
Next, there are some advanced email logging options you can enable.
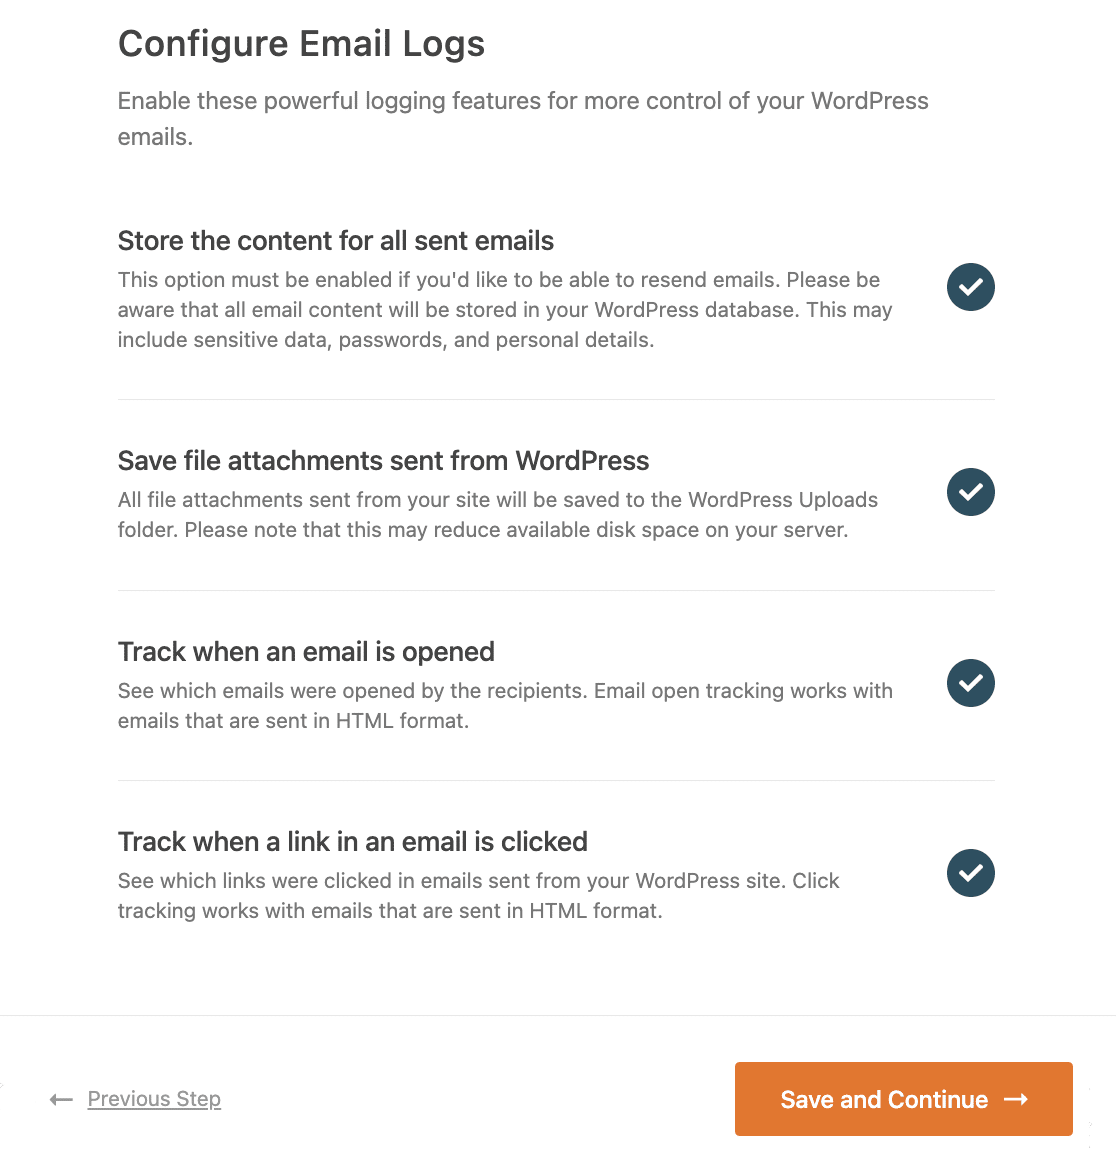
These features let you save email content and attachments and track email opens and link clicks. Read our article on how to log WordPress emails to see how these features work.
For the last step, go to your WP Mail SMTP account, copy the license key and paste it into the box. This will enable automatic updates to the plugin.

And that’s it! We’ve walked through all of the steps to fix Ninja Forms not sending email on your website. You’ll receive an automatic test email to confirm that your settings are live.
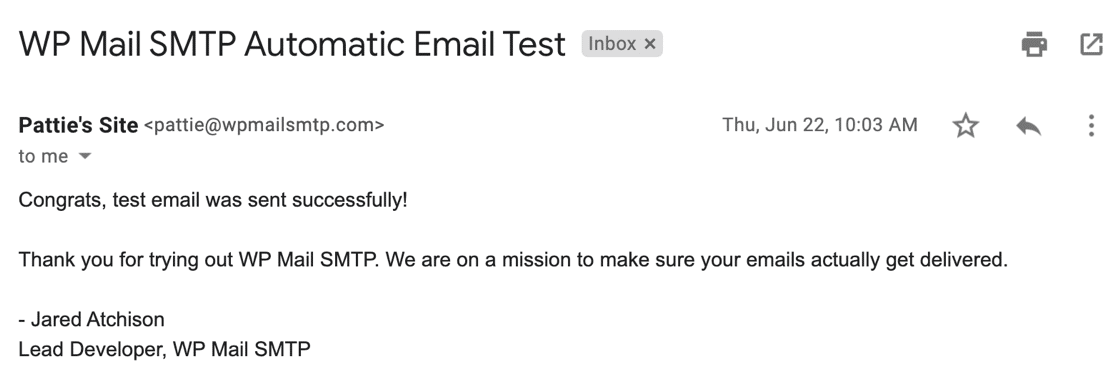
Finally, let’s take a look at an easy way to make sure that every email is sent from an authenticated address.
Step 4: Send All Emails From the Same Address
Most of us use a bunch of different plugins to send email from WordPress. Now that you’ve set up WP Mail SMTP, it makes sense to have all of your plugins use the same From Email.
Instead of going through each plugin individually, you can force the same sender address across all of your plugins.
To do that, go to the WP Mail SMTP » Settings.
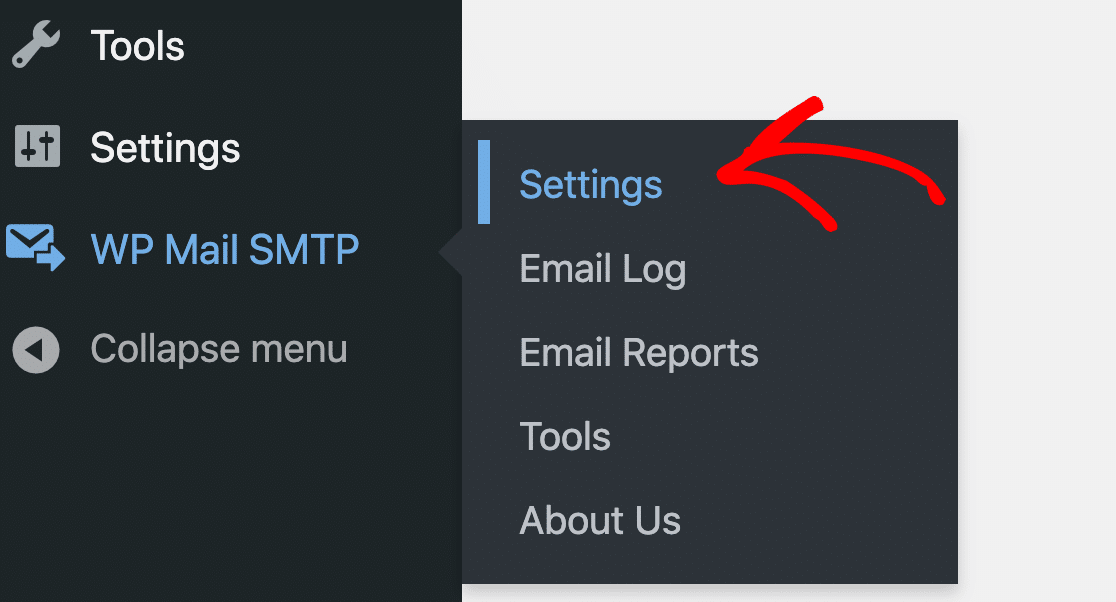
In the From Email section, check Force From Email.
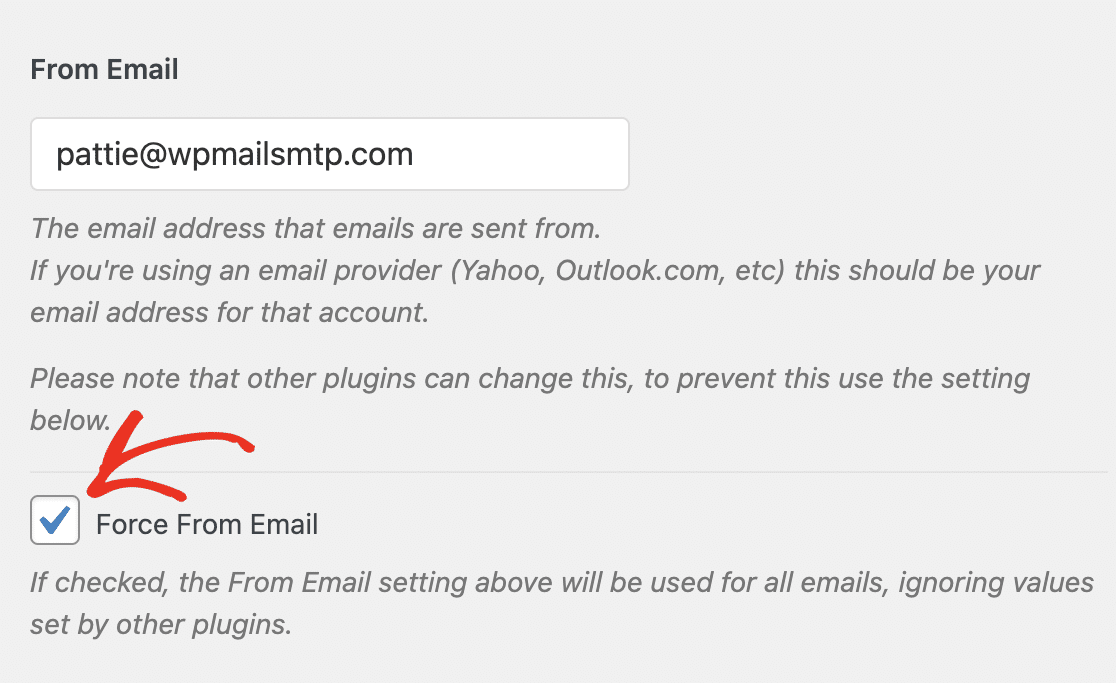
Once you save your settings, all of the plugins on your site will send email from the same address.
If you tried to do this and the setting was grayed out, it’s likely that your email provider only allows you to use 1 From Email. When we detect this, we gray out the setting.

And that’s it! Now all your emails are being sent from the email address you authenticated in WP Mail SMTP.
Are your Ninja Forms emails still going to spam? Here’s a final email delivery tip to fix that.
Step 6: Stop Email From Ninja Forms Going to Spam
If emails from Ninja Forms are going to spam, you likely have an issue with your DNS settings.
Most email providers will ask you to add specific records to your domain’s DNS so that your WordPress emails are properly authenticated. If you don’t do this, your Ninja Forms emails may still go to spam.
WP Mail SMTP has a built-in Domain Checker that will scan your DNS for potential problems. You can try it out by sending a test email and then checking the results.
If you see orange or red icons, that means you may have missing DNS records that are causing the problem.
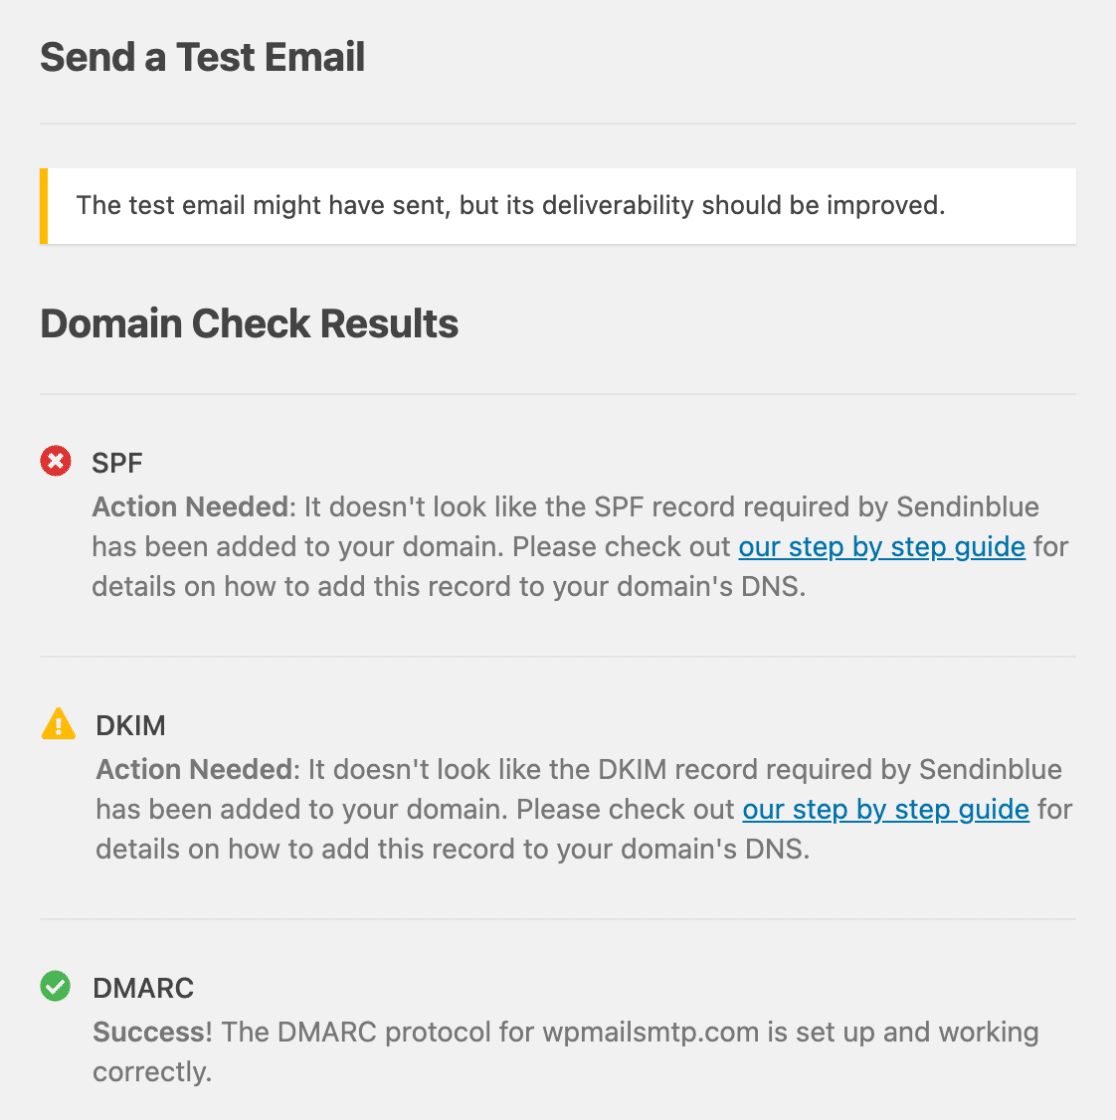
Ready to check your DNS? Our mailer documentation covers the steps for each email provider in WP Mail SMTP. But if you’re unsure about what these records do, check out our guide to DMARC, SPF, and DKIM.
You might also want to check whether you need to create a PTR record. If you’ve never come across PTR records before, we’ve got an article that explains what a PTR record is and why you might need one.
Fix Your Ninja Forms Emails Now
Next, Track More User Activity On Your Site
Now you’re tracking opens and clicks, you might be interested in more ways to monitor users on your site.
Tracking WordPress users can unlock tons of insights into the way they’re using your site and interacting with your content. If you have a multi-author blog, it’s also helpful to track the changes that logged-in users are making.
To get started, check out the best plugins to track user activity in WordPress.
And if you’re trying to add a sidebar to your site, see our article on how to create a custom WordPress sidebar.
Ready to fix your emails? Get started today with the best WordPress SMTP plugin. If you don’t have the time to fix your emails, you can get full White Glove Setup assistance as an extra purchase, and there’s a 14-day money-back guarantee for all paid plans.
If this article helped you out, please follow us on Facebook and Twitter for more WordPress tips and tutorials.

Well, I’m Using The Latest Version Of Your Plugin And When I Send Email By Ninja Form I’ve Setup A Diffrent “From Email” For Every Form, …But Your Plugin Always Use The Email Account I’ve Configured In WP Mail SMTP > “SMTP Username” Field …So There Is A Problem With That Setting!
Hi Enone,
I apologize, but you need to use the same WP Mail SMTP authenticated email address as your “From email” to deliver your website email notifications, and there’s no way to change it. Because you need to send an email notification using an authenticated email account to improve your email deliverability. Otherwise, your email notifications will be flagged as SPAM.
If you want to send emails from different company email accounts, you can configure a domain-based mailer such as SendLayer, Amazon SES, SMTP.com, Sendinblue, Mailgun, Postmark, Spark Post, or SendGrid to send emails using different email addresses.
Those mailers will authenticate your domain instead of authenticating one specific email. Then you can set different “From email” addresses in your form notifications, or in plugins like Ninja Forms or WooCommerce ([email protected] / [email protected] / [email protected]).
You can see all the available mailers here and configure a mailer of your choice.
I hope this helps. Thanks!
Hi
I have installed your plugin and configured it. I have tested sending emails and it works perfectly with the test email tool that your plugin has.
However the Ninja Forms plugin has stopped sending emails, with the previous WP configuration (PHP mail) it did send emails.
Can you help me solve the problem?
Thank’s
Hi Manuel,
When you have a moment, I would suggest creating a support thread with all the relevant details. This will allow us to assist you more effectively.
In the meantime, this guide should help you to troubleshoot your issue.
I hope this helps. Thanks!