### [PDF Addon](https://wpforms.com/docs/pdf-addon/)
**Published:** August 11, 2025
**Author:** Umair Majeed
**Excerpt:** Learn how to install and use the PDF addon
**Content:**
PDF Addon is a Pro Feature
Unlock PDF Addon and other powerful features to grow your business.
[ Get WPForms Pro ](https://wpforms.com/pricing/)
Would you like to generate professionally formatted PDFs from your form entries? The WPForms PDF addon lets you create a PDF copy of your form’s notification email or build fully customized documents such as invoices, certificates, or contracts with your own brand styling.
This tutorial will show you how to set up and customize PDFs for your forms.
- [Creating a New PDF](#create-new-pdf)
- [Choosing a Template](#choosing-a-template)
- [Customizing Template Fields](#customizing-template-fields)
- [Styling the Appearance](#appearance-settings)
- [Adjusting Advanced Settings](#advanced-settings)
- [Viewing Generated PDFs](#viewing-generated-pdfs)
**Requirements:**
- Ensure that you’ve installed WPForms version 1.9.7.3 or higher to meet the [minimum required version](https://wpforms.com/docs/why-you-should-always-use-the-latest-version-of-wpforms/#version-requirements) for the PDF addon.
- You will need a [Pro license level](https://wpforms.com/pricing/) or higher to access the PDF addon
---
Once the core WPForms plugin is in place and your [license is verified](https://wpforms.com/docs/verify-wpforms-license/), you’ll be able to [quickly install and activate the PDF addon](https://wpforms.com/docs/install-activate-wpforms-addons/).
## Creating a New PDF
To start, [create a new form](https://wpforms.com/docs/creating-first-form/) or edit an existing one to access the form builder. Once you’re in the form builder, go ahead and add the fields you’d like to include in the form. You can use [WPForms AI](https://wpforms.com/docs/generating-forms-with-wpforms-ai/) to quickly speed up the form creation process.
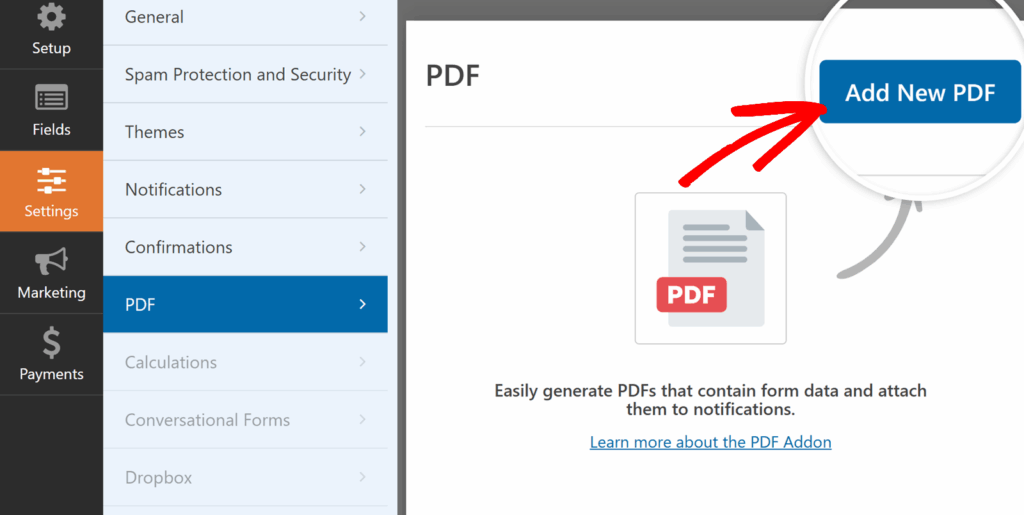
After adding the fields to your form, navigate to **Settings »PDF** and click the **Add New PDF** button to create a new PDF.
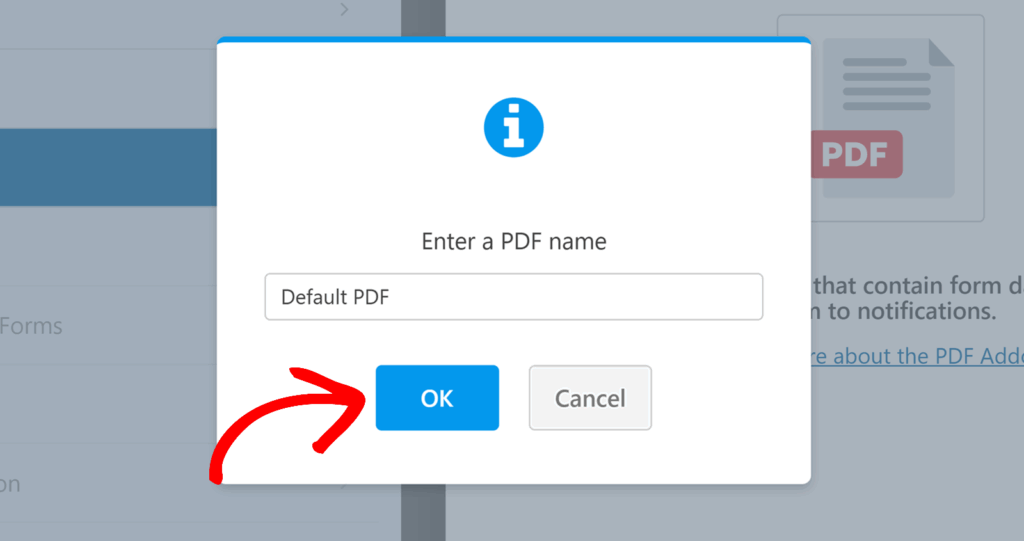
In the overlay that appears, go ahead and name your PDF and then click **OK** to proceed.
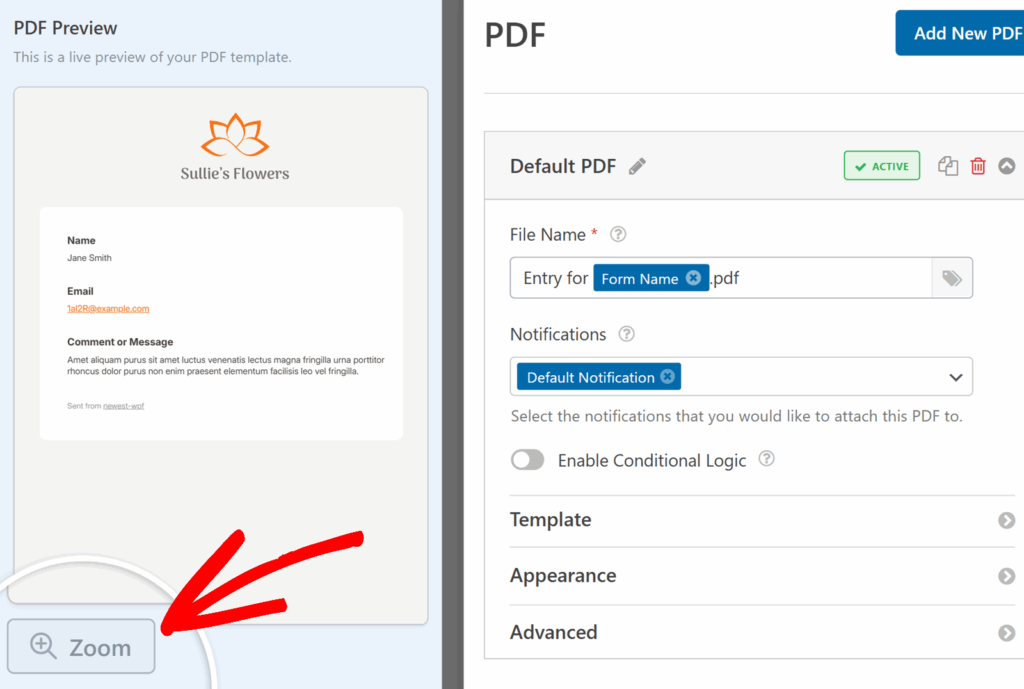
You’ll now see the PDF editor layout with a live preview on the left and all settings and customization options on the right.
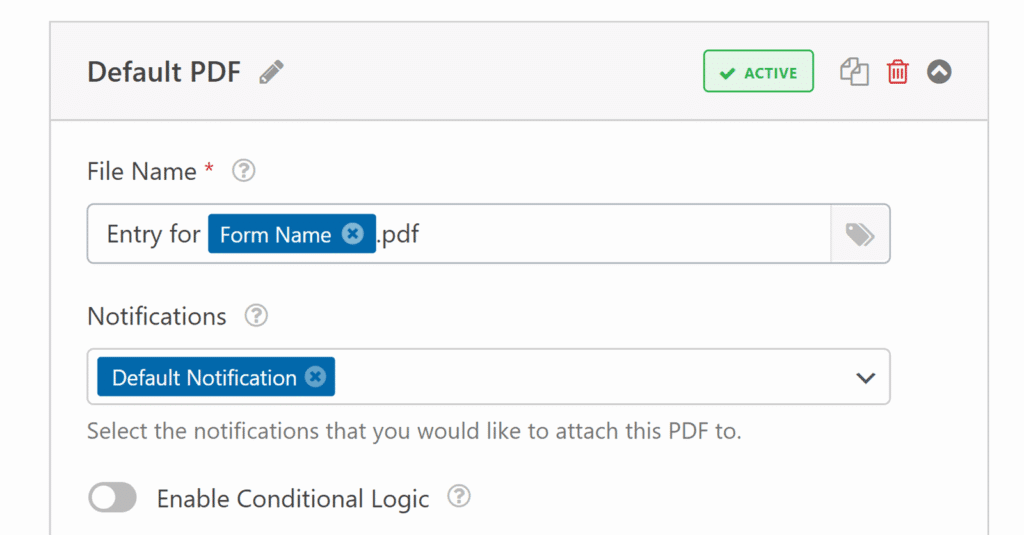
From here, you can start by setting up the basic details for your PDF:
- **File Name**: By default, the file name uses the form name and a `.pdf` extension. You can change it manually or insert smart tags by clicking the smart tag icon.
- **Notifications**: Choose which email notifications this PDF will be attached to.
- **Conditional Logic**: Enable this option if you want the PDF to be generated only when certain conditions are met. See our guide on [conditional logic](https://wpforms.com/docs/how-to-use-conditional-logic-with-wpforms) for more details on this.
After you’ve set up the basics, you can move on to choosing and customizing a template.
## Choosing a Template
Next, you’ll need to choose the layout and style for your PDF. The PDF addon includes a variety of ready-made templates, organized into four categories:
- **Notifications** – Matches the styles available for email notifications (Classic, Compact, Modern, Elegant, Tech).
- **Documents** – Flexible layouts for contracts, applications, cover pages, tables, and more (Basic, Legal, Application, Cover Page, Table, Sidebar).
- **Financial** – Purpose-built for invoices and similar documents (Classic, Modern, Sidebar).
- **Certificates** – Pre-designed award and certificate layouts (Classic, Modern, Elegant).
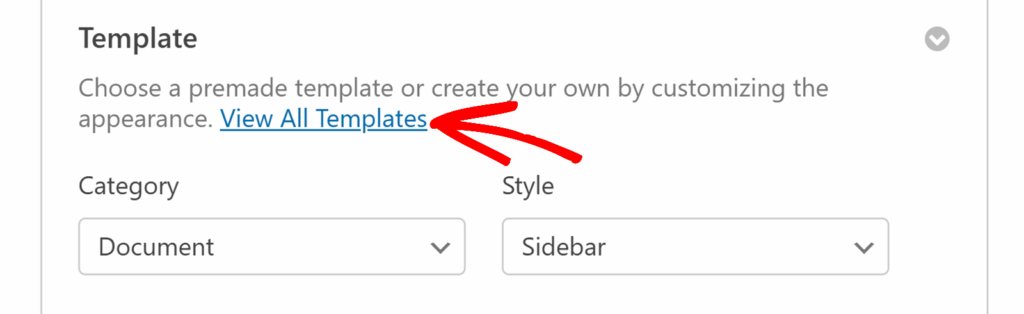
In the **Template** section, first select a **Category** from the dropdown. Then, use the **Style** dropdown to pick a design within that category.
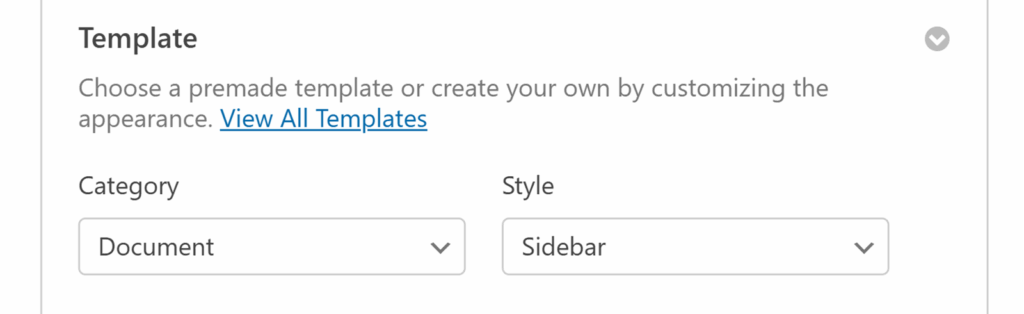If you’d like to browse all options with a live preview, click the **View All Templates** link. This will open a modal where you can scroll through each template and select the one you want to use.
Once you’ve selected a template, it will appear in the live PDF preview on the left side of the screen. The category and style you choose here also determines which fields are available for customization in the next step.
**Note:** To take a closer look at your design, click the **Zoom** button located below the preview.
## Customizing Template Fields
After selecting a template and style, you can start tailoring the content to fit your needs. The options available will depend on the template you chose, but the process for editing is the same for all.
For example, a **Legal Document** style might include fields for business information, signature, and date, while a **Modern Invoice** style will have fields for invoice details, billing information, and payment terms.
**Note**: When you click on a specific field in the settings panel, a red outline will appear around that field in the preview so you can easily see exactly what you’re editing.
### Editing Field Text
Click inside any field to replace the placeholder text with your own wording. As soon as you make a change, it will appear in the live preview so you can see exactly how it will look in your PDF.
### Using Smart Tags
All fields in the PDF addon support smart tags. These let you pull dynamic data from your form entries, such as the user’s name, email address, or any other field value.
To insert a smart tag, click the **smart tag icon** next to the field, then choose the tag you’d like to add from the dropdown menu.
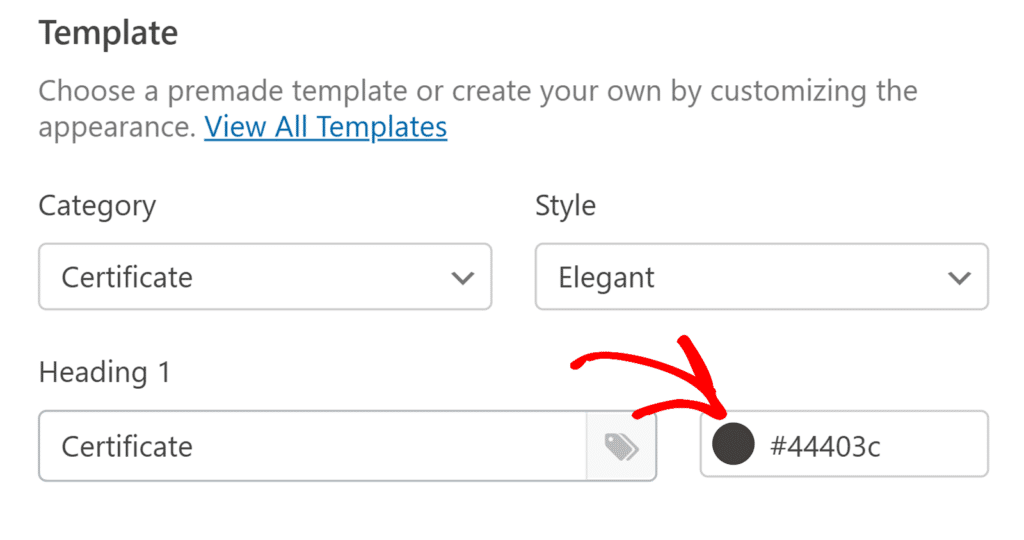
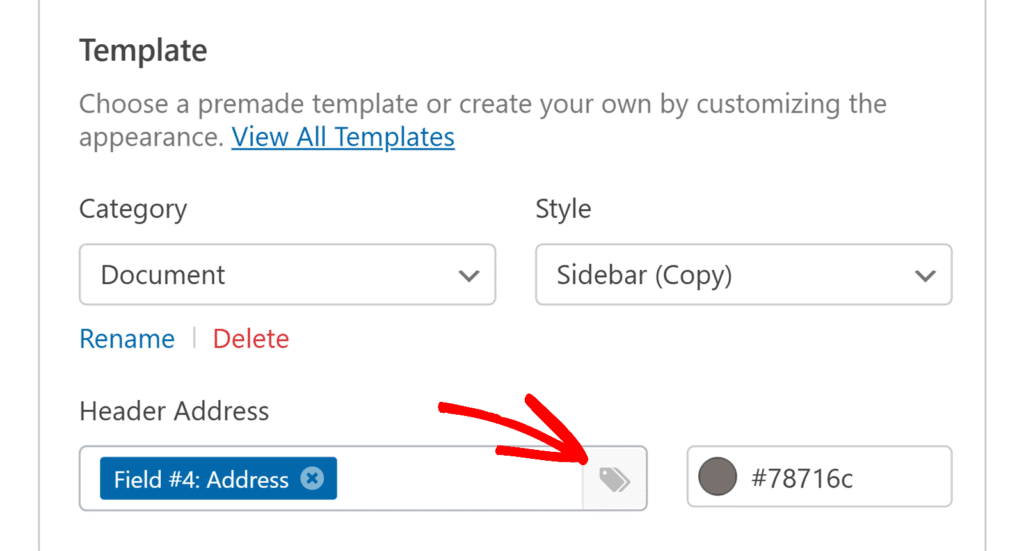### Changing Text Color
You can change the color of the text for any field. Click the color box next to a field to open the color picker. You can choose from your theme colors or select a custom color to match your branding.
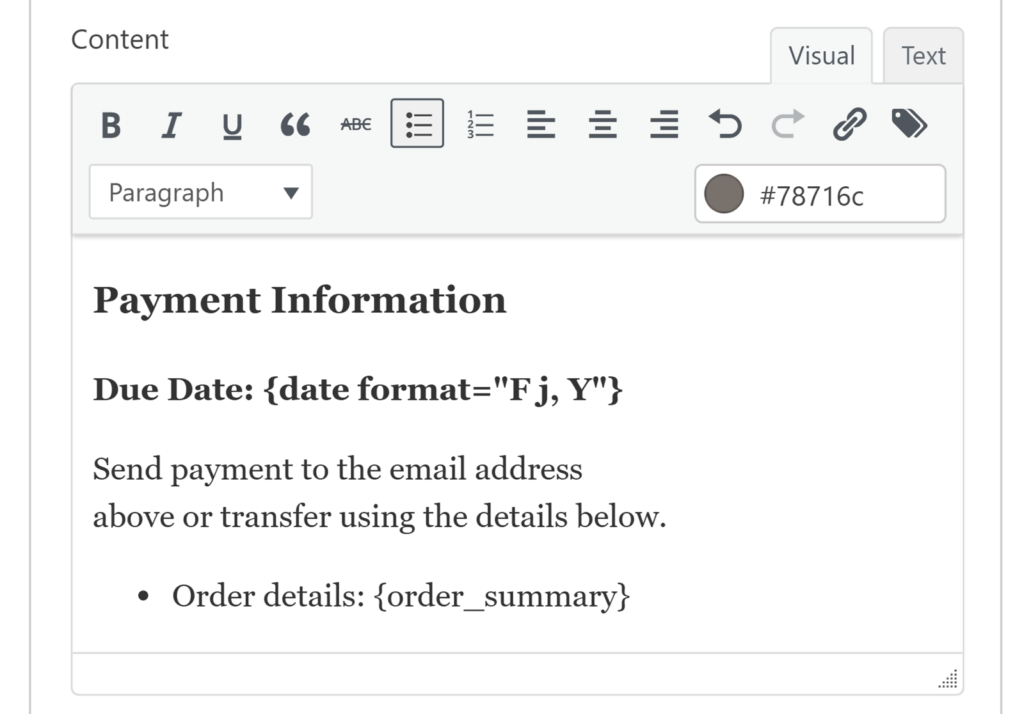
### Formatting Larger Content Areas
For larger text sections, such as the main body of a document or certificate, you can use the built-in text editor to:
- Apply headings and text styles like bold or italic
- Insert links and add bullet or numbered lists
- Add smart tags anywhere within the content
- Add and edit your content using HTML
For more details, be sure to check our tutorial on [using the content field](https://wpforms.com/docs/using-the-content-field/).
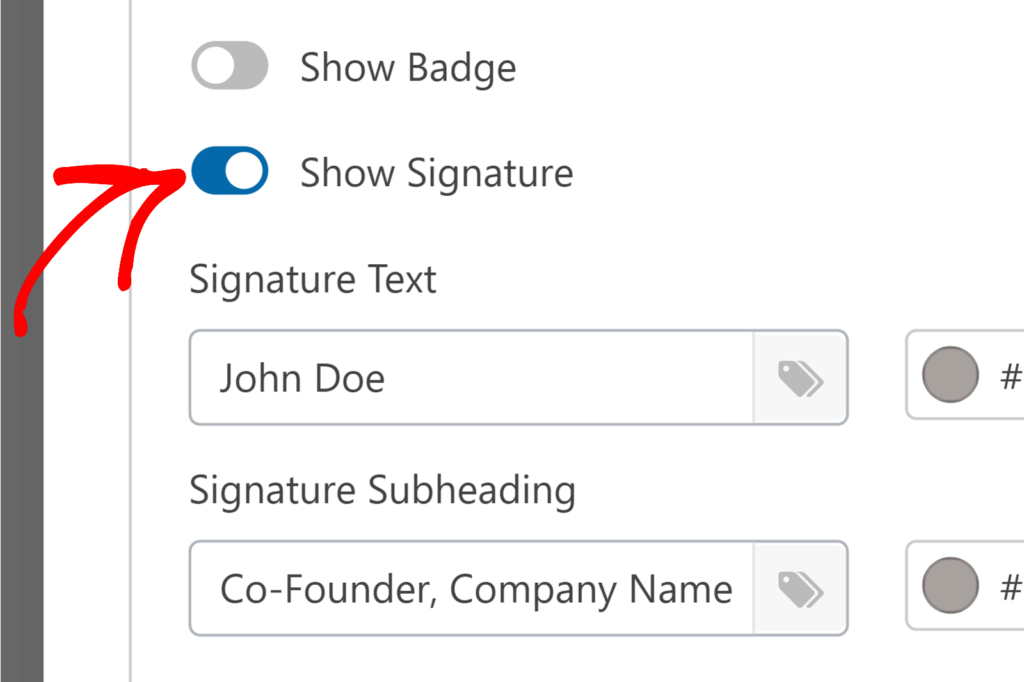
### Toggling Optional Elements
Some templates include optional elements such as a badge, signature block, or date field. You can easily turn these on or off depending on your needs.
## **Styling the Appearance**
The Appearance section lets you customize the overall style and branding of your PDF. From colors and fonts to logos and borders, this section gives you complete control over how your document looks.
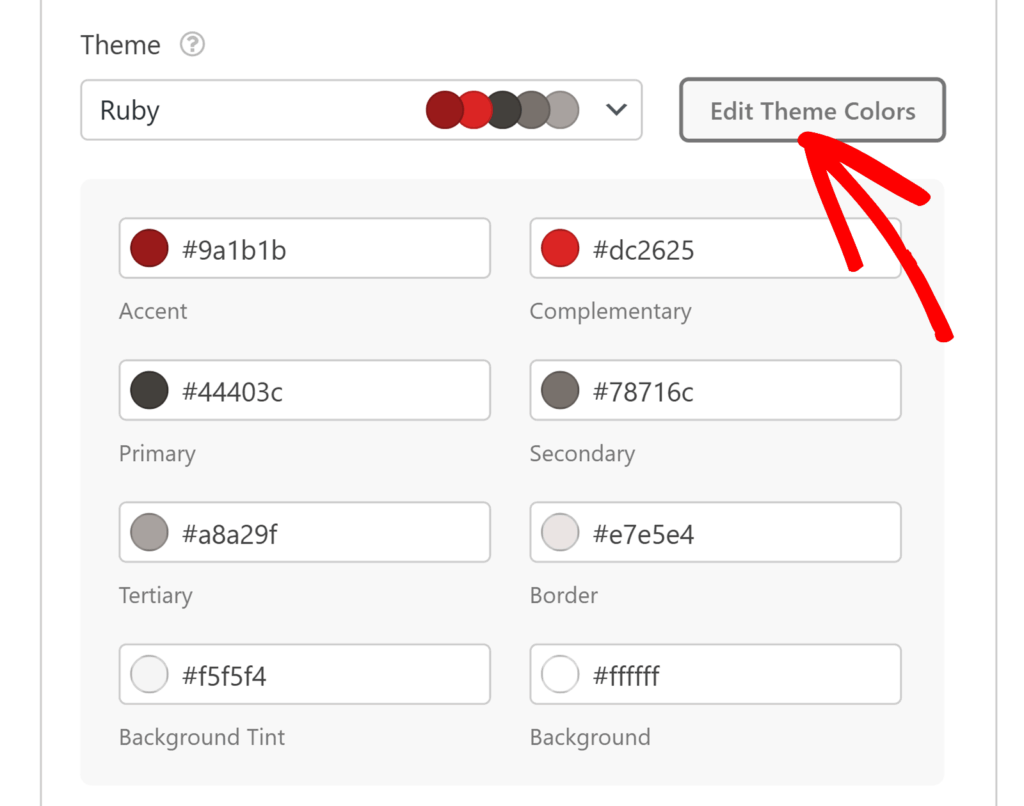
### Selecting a Theme
Open the **Theme** dropdown to choose from over 40 ready-made themes. Each theme shows a preview of its main colors so you can quickly find one that suits your design.
If you’d like to make changes, click **Edit Theme Colors** to adjust the theme’s palette. When you edit a theme, the changes will instantly apply anywhere those colors are used in your PDF — such as headings, borders, and text.
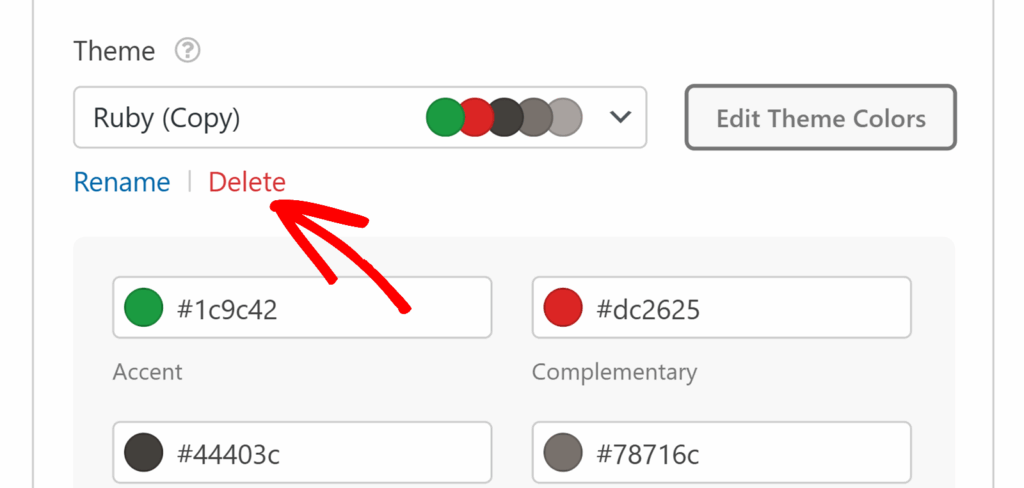
As soon as you make any change to a theme or other settings in the Appearance section, WPForms automatically creates a copy of the theme instead of overwriting the original. This allows you to keep the default theme intact while working with your custom version.
Once a custom theme is created, you’ll see **Rename** and **Delete** options under the Theme field so you can easily organize or remove saved themes.
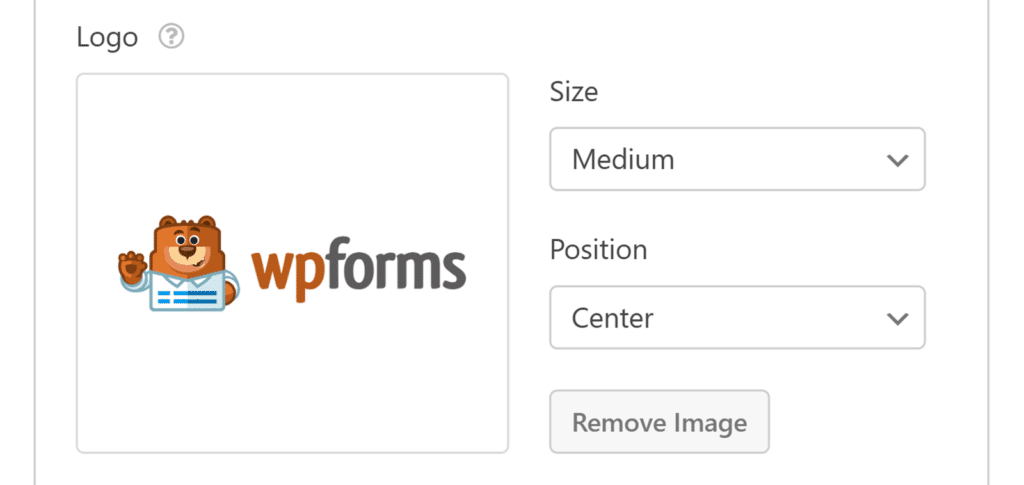
### Adding and Positioning a Logo
Click the **Upload Image** button to choose an image from your Media Library. Supported formats include .png, .gif, .jpg, and .svg. The .webp format isn’t supported at this time.
**Note**: If a logo is already uploaded, you’ll see a **Remove Image** button instead. Click this to remove the current logo, then the Upload Image button will appear so you can add a new one.
Use the **Size** dropdown to choose **Small**, **Medium**, **Large** or **Full**, and the **Position** dropdown to place the logo on the **Left**, **Center**, or **Right** of your PDF.
**Note:** The **Page Background** and **Container Background** settings are available only for templates in the Document, Financial, and Certificate categories. If you are using a Notification template, you will see font customization options (font, font size, and text color) instead.
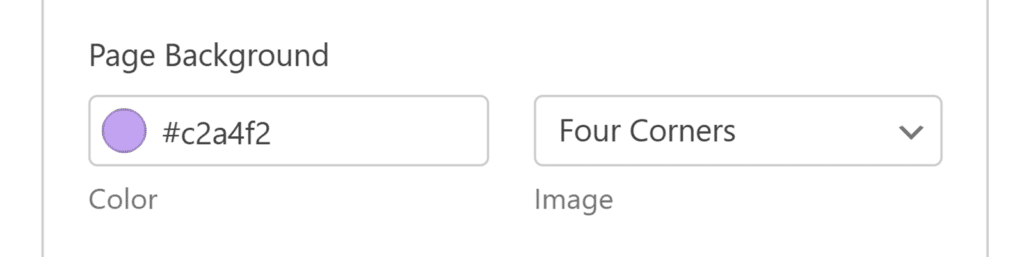
### Page Background
You can customize the background for the entire PDF page using the following fields:
- **Color**: Click the color box to choose a solid background color.
- **Image**: Use the dropdown to select from built-in decorative backgrounds such as Ribbons, Triangles, Waves, Wings, Four Corners, Two Corners, Classic, Vintage, Halftone, Layers, Paper, Confetti, and various Gradient styles.
- Most backgrounds will adapt to your theme colors, while some (like Vintage and Confetti) use fixed colors.
If you’ve edited your theme colors, those changes will also be applied to any background patterns that support theme color adaptation, so your design stays consistent across the entire PDF.
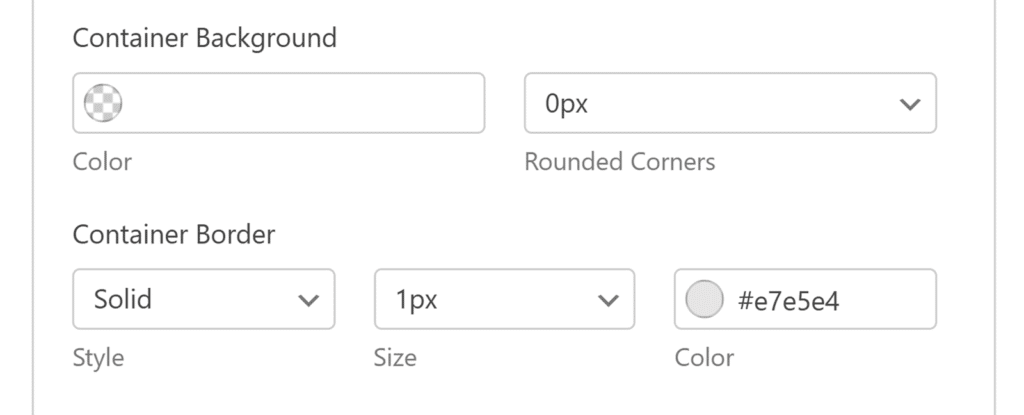
### Container Background and Border
The container background is the area directly behind your content. This helps keep your text readable when using patterned or dark page backgrounds.
- **Color**: Click the color box to choose a background color for the container.
- **Rounded Corners**: Use the dropdown to adjust the corner radius for a softer or sharper look.
You can also add a border around the container to frame your content. Select a border style such as **Solid**, **Dashed**, or **Dotted**, then choose the border’s width from the **Size** dropdown. Finally, pick a border color using the **Color** box. All changes will appear instantly in the live preview so you can fine-tune the look.
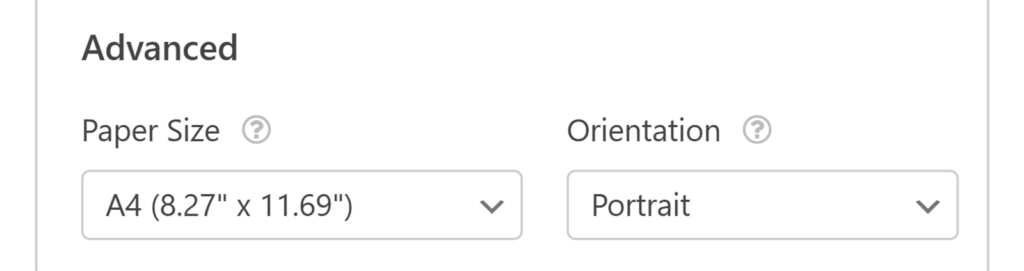
## Adjusting Advanced Settings
The Advanced settings let you control the paper size, page orientation, and access restrictions for your PDF.
### Paper Size and Orientation
Use the **Paper Size** dropdown to select from common global sizes such as A4, Letter, or Legal.
You can also choose between **Portrait** and **Landscape** orientation depending on the layout you need.
### Enable Access Restrictions
If you want to control who can view the PDF, turn on **Enable Access Restrictions** from the Advanced section. You can limit access to logged-in users, specific user roles, or individual users, and you can also set a password for added security.
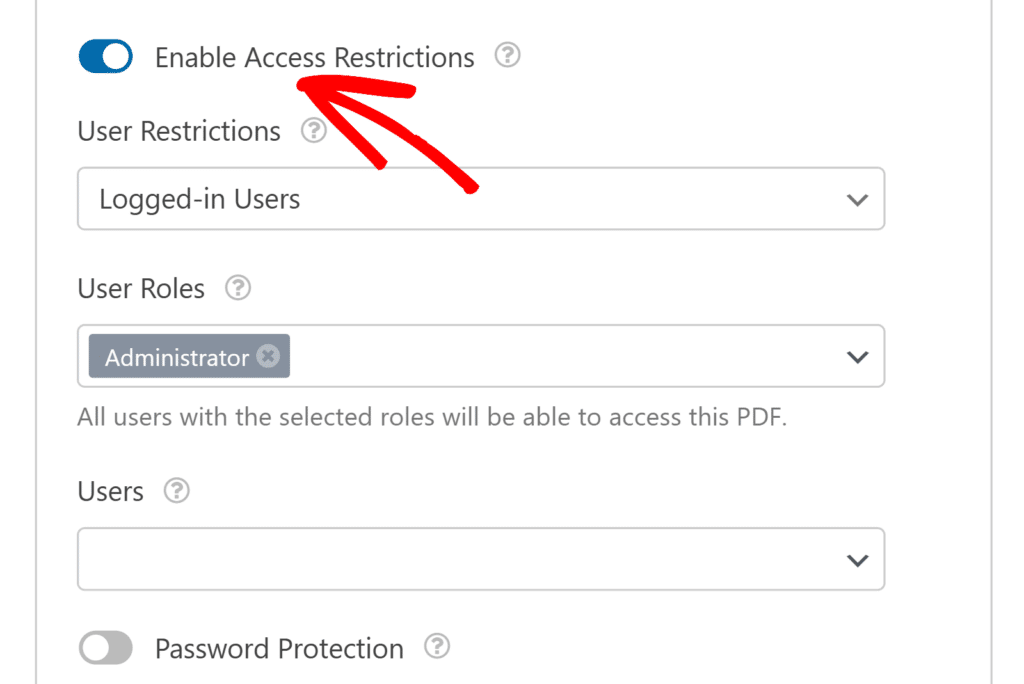For more details on how these settings work, check out our guide on [Restricting Access to Uploaded Files](https://wpforms.com/docs/restricting-access-to-uploaded-files/).
## Viewing Generated PDFs
Once your PDF is set up and your form has been submitted, you can view and download the generated document directly from the form entry.
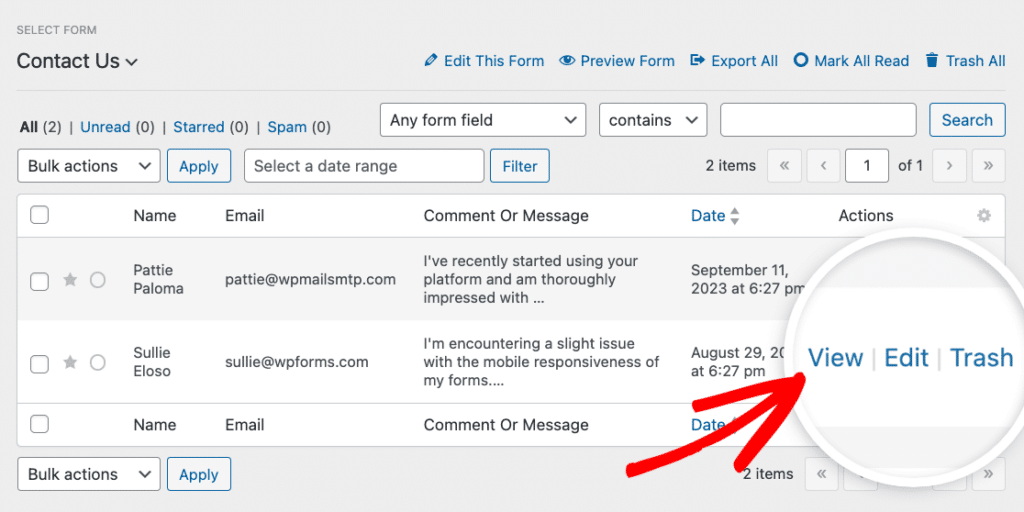
To view a generated PDF for a specific submission, open the **WPForms » Entries** page from your WordPress dashboard and select the form you’ve configured with the PDF addon.
Then, click **View** next to the entry you’d like to see.
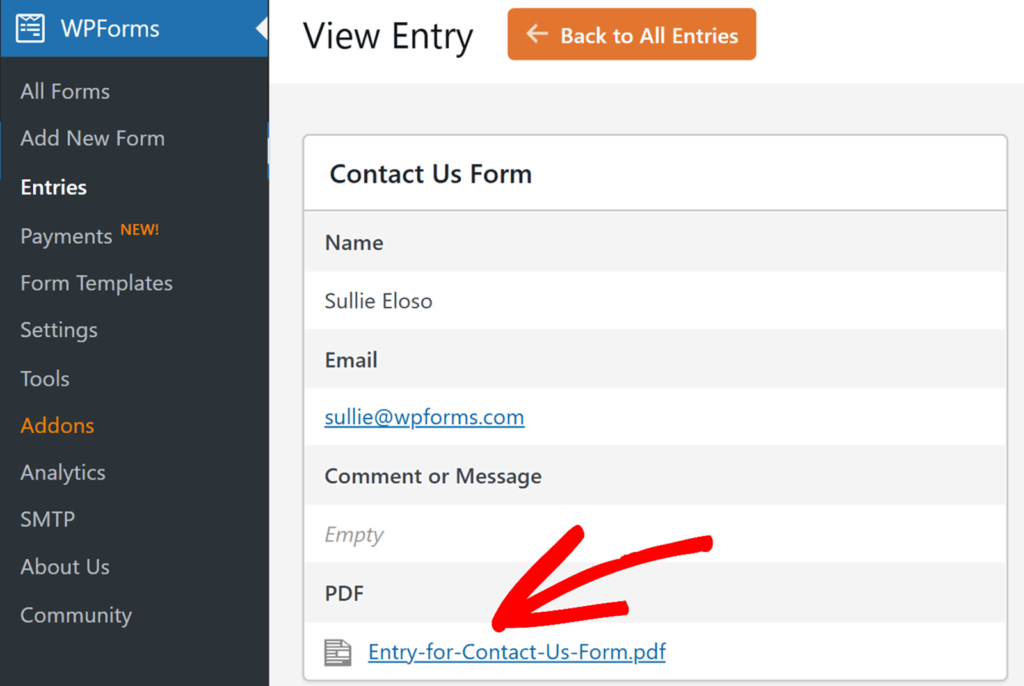
In the individual entry page, you’ll find a link to download the PDF that was created for that submission under the **PDF** section.
Inside the form builder, the PDF preview shows only the first page of your document. To view the complete PDF, submit a test entry and open the file from the Entries page.
**Note:** If you’d like to store your generated PDF link in Google Sheets, you can do this with the Google Sheets addon by mapping the **PDF Links** smart tag in your connection’s Field Mapping section. For details, see our [Google Sheets addon documentation](https://wpforms.com/docs/google-sheets-addon/#send-pdf-links-to-google-sheets).
That’s it! You’ve now learned how to install and use the PDF addon in WPForms.
Next, would you like to enhance the look and feel of your forms without writing any custom CSS? Be sure to check out our tutorial on [using Form Themes ](https://wpforms.com/docs/using-form-themes/)for more details.
**Categories:** Addons, Advanced (Pro) Addons
---