### [How to Link Your Conversational Form Logo](https://wpforms.com/developers/how-to-link-your-conversational-form-logo/)
**Published:** October 6, 2021
**Author:** David Ozokoye
**Excerpt:** This tutorial will show you how to link your Conversational Form logo to the homepage with a little JavaScript and PHP.
**Content:**
## Introduction
Would you like to link your Conversational Forms logo from your form to your homepage? In this tutorial, we’re going to create a conversational form using the [WPForms Conversational Forms addon](https://wpforms.com/addons/conversational-forms-addon/ "Conversational Forms Addon"), upload a logo for our form, and then add a snippet that would link that logo back to our homepage using a small code snippet.
This guide will show you how to enable this functionality step by step.
## Setting Up Your form
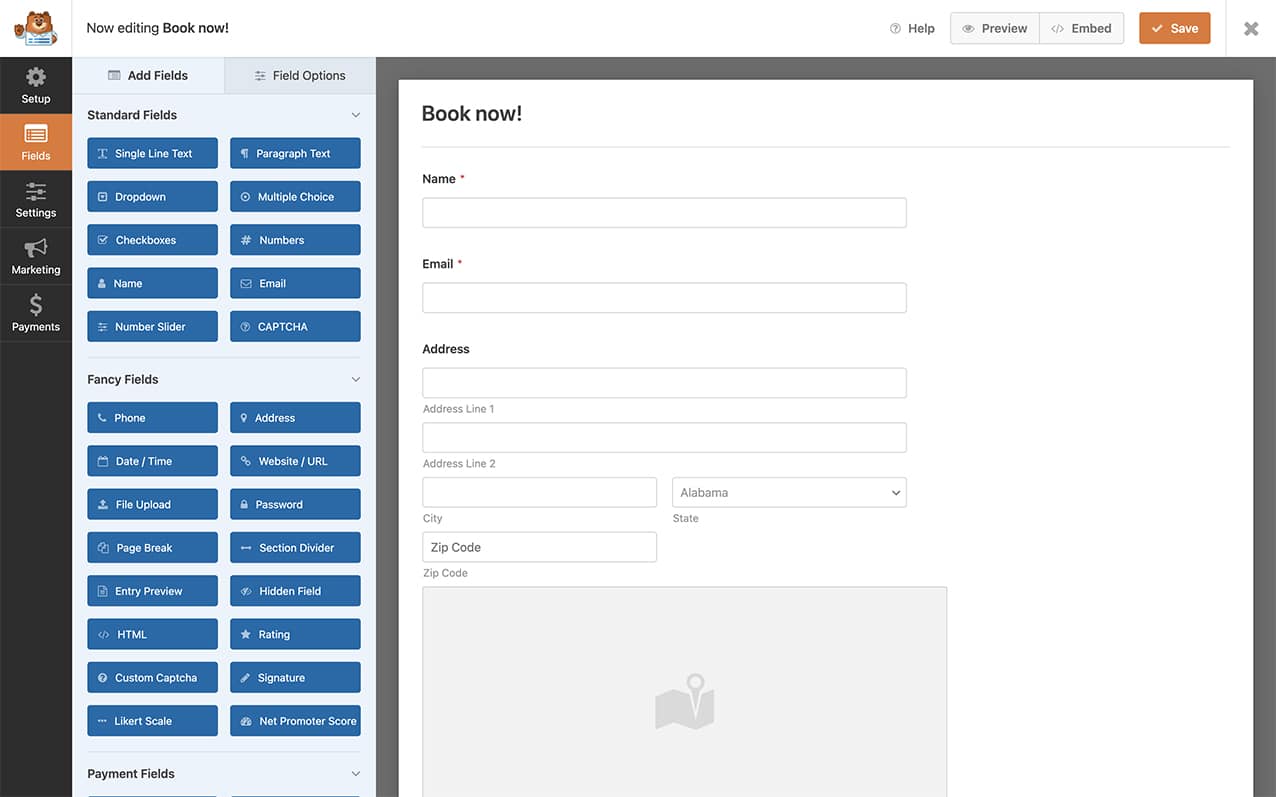
First, we’ll need to create a new form and add our fields to this form. For the purpose of this tutorial, we’re going to just create a booking form with some basic fields.
### Enabling Conversational Forms
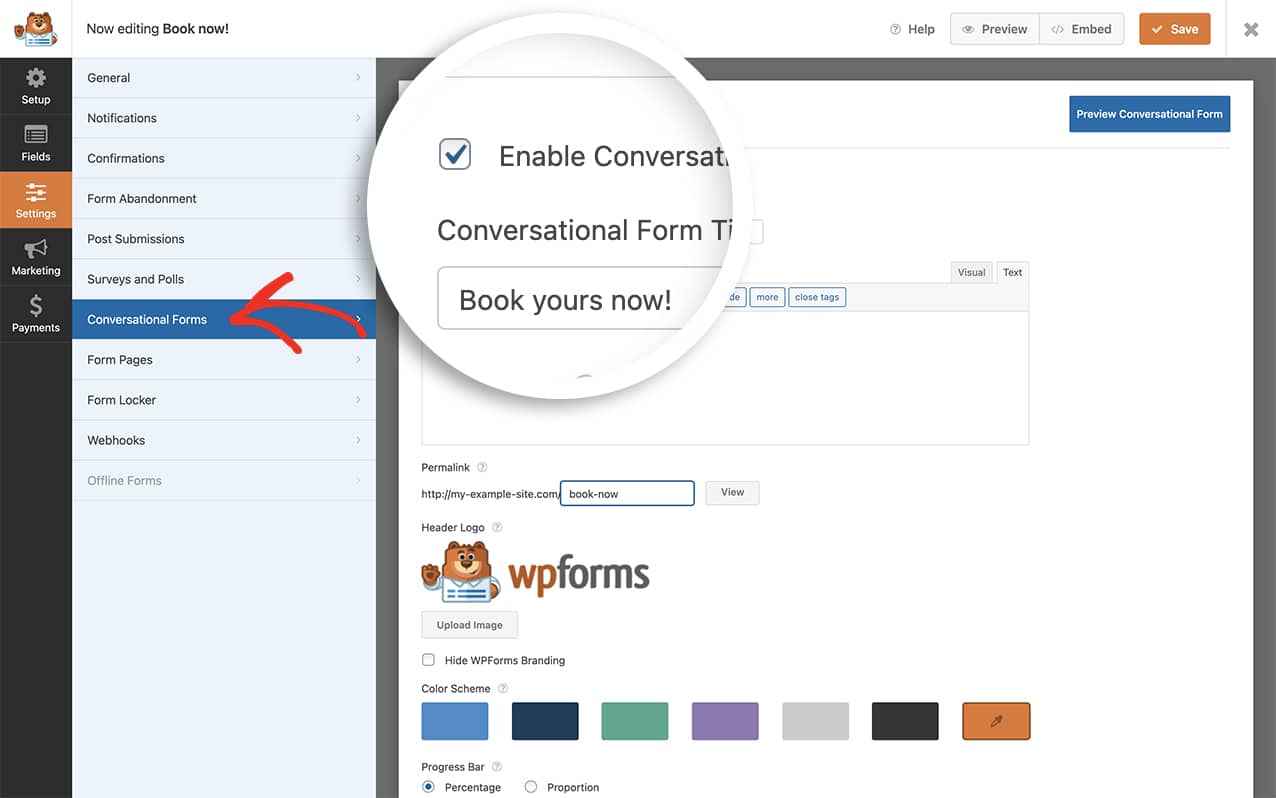
Next, you’ll need to enable the form as a **Conversational Form**. To do so, go to **Settings » Conversational Forms** to enable the conversational format for your form.
For more information on Conversational Forms, check out our detailed guide on [Conversational Forms addon](https://wpforms.com/docs/how-to-install-and-use-the-conversational-forms-addon/).
### Uploading Your Logo
Now it’s time to upload your logo to the conversational form. While on the **Conversational Forms** tab, click the **Upload Image** and upload your logo. Once complete, click **Save** to save the changes.
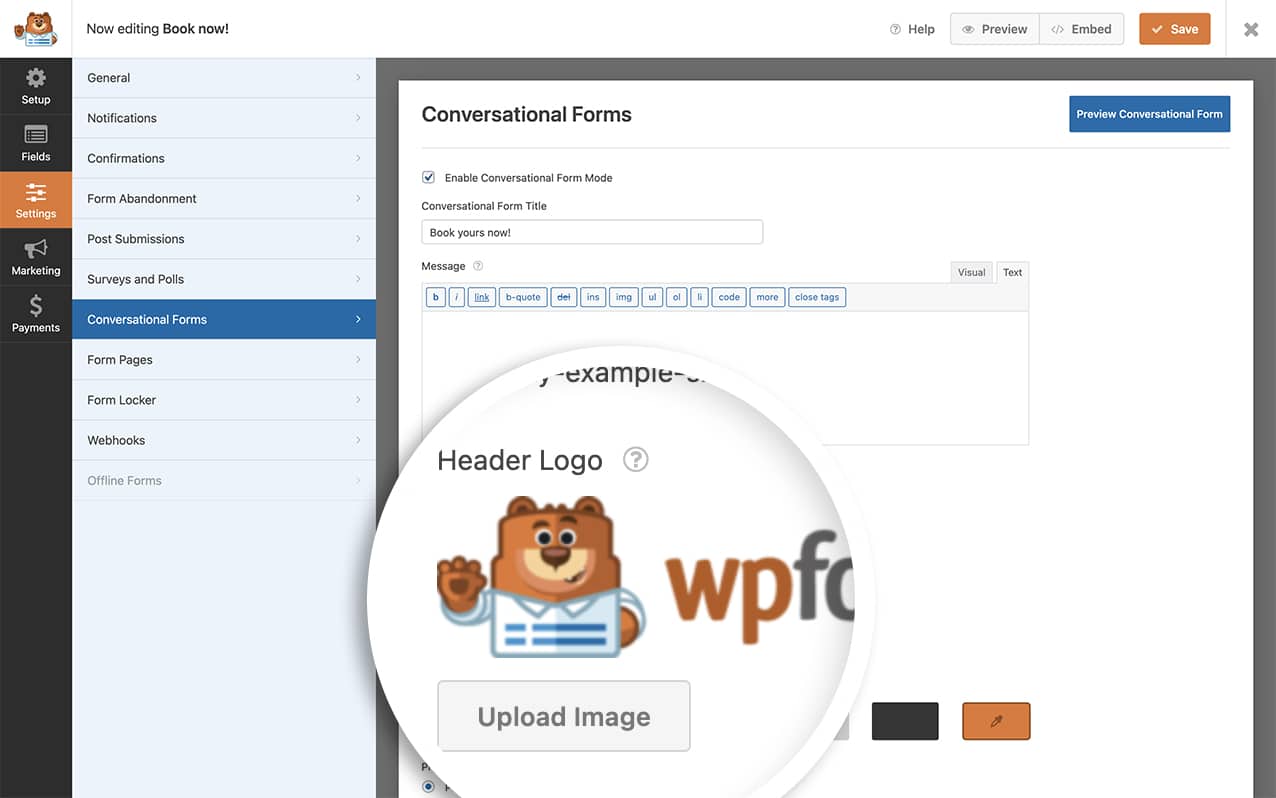By default, this image doesn’t link to anything. In the next step, we’re going to add a code snippet that will link this image back to the homepage.
## Adding the Code Snippet
Now it’s time to add a snippet to your site that will turn your logo image into a link.
For assistance in adding the code, check out our guide on [adding custom JavaScript or PHP](https://wpforms.com/developers/how-to-add-custom-php-or-javascript-for-wpforms/).
## Customizing the Code
You’ll need to make two important changes to the code:
On **line 10**, replace `375` with your actual form ID. You can find your form ID in the WPForms Forms Overview page.
On **line 20**, replace `'/'` with your desired URL. For example:
- For homepage: keep `'/'`
- For another page: use `'/about'`
- For external site: use `'https://example.com'`
**Note:** We’ve used `'/'` to represent the destination page for the image. This would direct users to your homepage. However, you can update the `'/'` value next to the `href` key to any link you’d like to use.
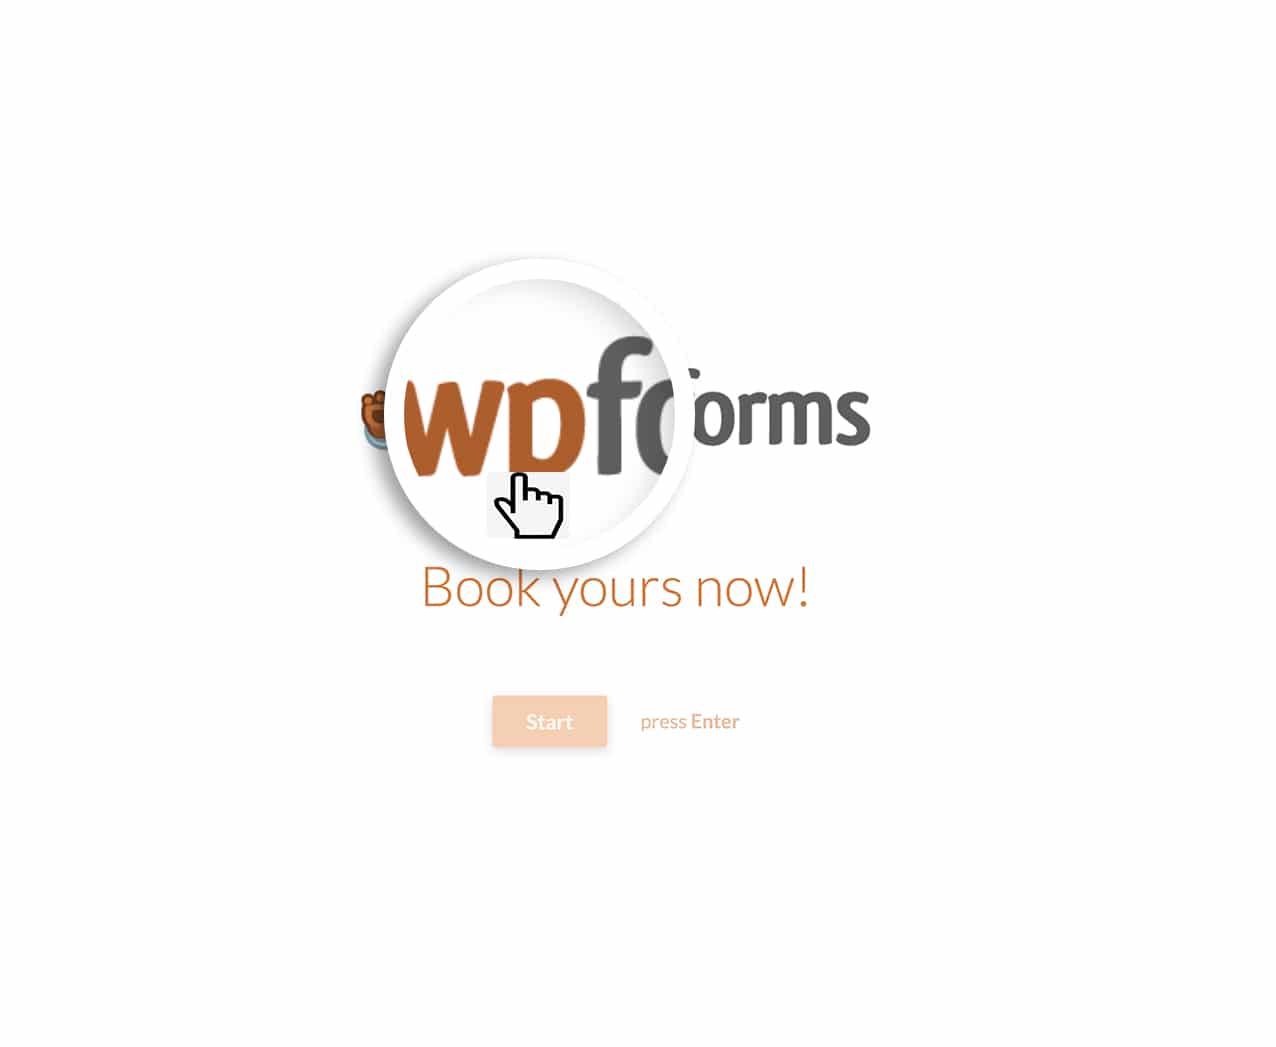
Now when you view your conversational form and hover over the logo image, you’ll see the pointer to click the image.
And that’s all you need to link your Conversational Forms logo. Would you like to also do the same for the **Form Pages** addon? Take a look at our tutorial on [How to Link Your Form Pages Form Logo](https://wpforms.com/developers/how-to-link-your-form-pages-form-logo/ "How to Link Your Form Pages Form Logo").
## Related
Action Reference: [wpforms\_wp\_footer](https://wpforms.com/developers/wpforms_wp_footer/ "Using the wpforms_wp_footer action")
**Categories:** Tutorials
**Tags:** Javascript, JS, PHP
---